
Creating a 3 1/3 x 4 label can be a daunting task, especially if you're new to label design or don't have experience with graphic design software. However, with the right tools and a little bit of know-how, you can create a professional-looking label in just a few easy steps.
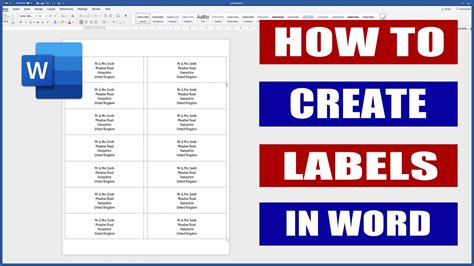
In this article, we'll walk you through the process of creating a 3 1/3 x 4 label using a popular graphic design software. We'll cover the basics of label design, provide tips and tricks for creating a professional-looking label, and give you a step-by-step guide on how to create your own 3 1/3 x 4 label.
Why Create a 3 1/3 x 4 Label?
Before we dive into the steps, let's talk about why you might need a 3 1/3 x 4 label. This size label is commonly used for shipping and packaging, as well as for labeling products and files. The 3 1/3 x 4 size is also a popular choice for creating address labels, as it fits nicely on most envelopes and packages.
Benefits of Creating Your Own Labels
Creating your own labels can save you time and money in the long run. By designing your own labels, you can:
- Customize the layout and design to fit your needs
- Use your own logo and branding
- Print as many or as few labels as you need
- Avoid wasting money on pre-made labels that may not fit your needs
Step 1: Choose a Graphic Design Software
The first step in creating a 3 1/3 x 4 label is to choose a graphic design software that you feel comfortable using. There are many software options available, ranging from free online tools to professional-grade software like Adobe Illustrator.
Some popular graphic design software options include:
- Adobe Illustrator
- Canva
- Microsoft Word
- Label software like LabelMaster or Label Designer
For this example, we'll be using Canva, a popular online graphic design software that's free to use.
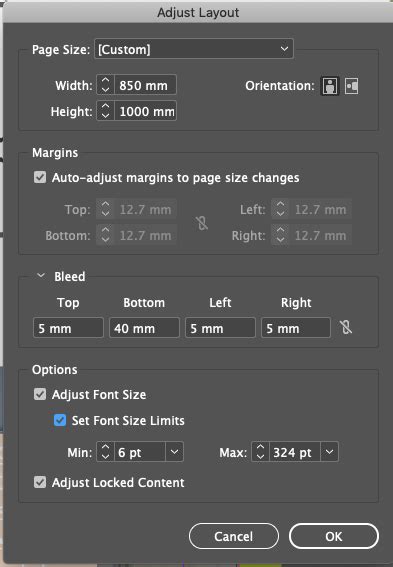
Step 2: Set Up Your Label Template
Once you've chosen your graphic design software, it's time to set up your label template. To do this, follow these steps:
- Open Canva and click on the "Create a design" button
- Choose the "Label" template option
- Select the "3 1/3 x 4" label size from the dropdown menu
- Choose a label shape (e.g. rectangle, oval, etc.)
- Click on the "Create" button to create your label template
Customizing Your Label Template
Once you've created your label template, you can customize it to fit your needs. You can add your own text, images, and logos, as well as adjust the layout and design.
Some tips for customizing your label template include:
- Use a clear and easy-to-read font
- Choose a font size that's large enough to be read easily
- Use a color scheme that matches your brand or logo
- Add a border or background image to give your label some visual interest
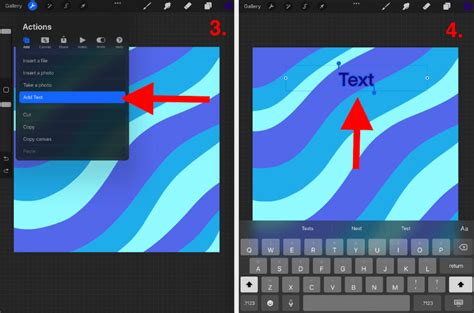
Step 3: Add Your Text and Images
Now that you've customized your label template, it's time to add your text and images. To do this, follow these steps:
- Click on the "Text" tab and choose a font and font size
- Type in your text, using the formatting options to adjust the layout and design
- Click on the "Images" tab and upload your own images or logos
- Drag and drop your images onto the label template
Tips for Adding Text and Images
Some tips for adding text and images to your label include:
- Use a consistent font and font size throughout the label
- Choose images that are high-resolution and clear
- Use the formatting options to adjust the layout and design of your text and images
Step 4: Adjust the Layout and Design
Once you've added your text and images, it's time to adjust the layout and design of your label. To do this, follow these steps:
- Use the formatting options to adjust the layout and design of your text and images
- Drag and drop your text and images to adjust the positioning
- Use the "Undo" and "Redo" buttons to experiment with different layouts and designs
Tips for Adjusting the Layout and Design
Some tips for adjusting the layout and design of your label include:
- Use a grid or ruler to help you align your text and images
- Experiment with different layouts and designs to find one that works best for you
- Use the "Preview" button to see how your label will look when printed
Step 5: Print Your Label
Once you've adjusted the layout and design of your label, it's time to print it. To do this, follow these steps:
- Click on the "Print" button
- Choose your printer and paper settings
- Click on the "Print" button to print your label
Tips for Printing Your Label
Some tips for printing your label include:
- Use high-quality paper or label stock
- Choose a printer that's compatible with your label size and shape
- Use the "Preview" button to make sure your label looks correct before printing
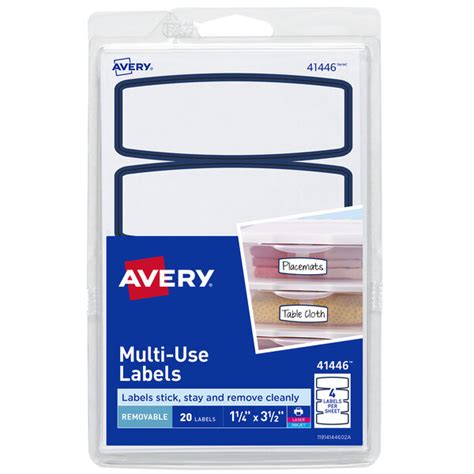
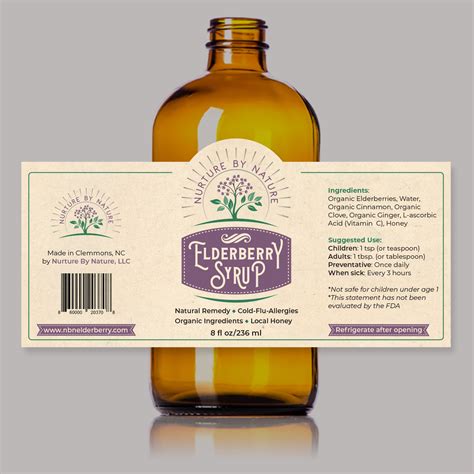
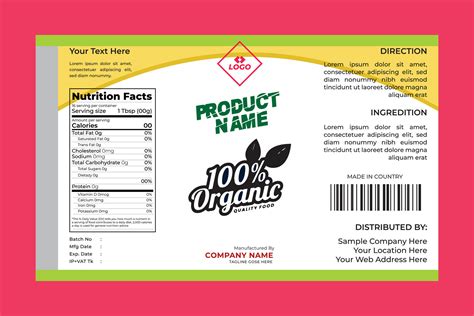
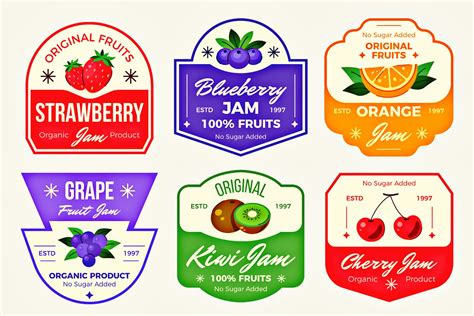
Gallery of Label Design Examples
Label Design Examples


We hope this article has been helpful in guiding you through the process of creating a 3 1/3 x 4 label. Remember to take your time and have fun with the design process. Don't be afraid to experiment and try new things – and don't hesitate to reach out if you have any questions or need further assistance.
What's your experience with creating labels? Do you have any tips or tricks to share? Let us know in the comments below!