
If you're an enthusiast of radio-controlled (RC) boats and 3D printing, you're in for a treat. Building a 3D printable RC boat is a fun and rewarding project that combines the thrill of RC modeling with the innovative world of 3D printing. In this article, we'll take you through a step-by-step guide on how to build your very own 3D printable RC boat.
With the rise of affordable 3D printing technology, hobbyists and enthusiasts can now create complex models with ease. RC boats are no exception, and with the right tools and materials, you can build a custom RC boat that's both functional and visually stunning.
Understanding the Basics of 3D Printing and RC Boats
Before we dive into the step-by-step guide, it's essential to understand the basics of 3D printing and RC boats.
- 3D printing is a process that creates physical objects from digital designs by layering materials such as plastics, metals, and ceramics.
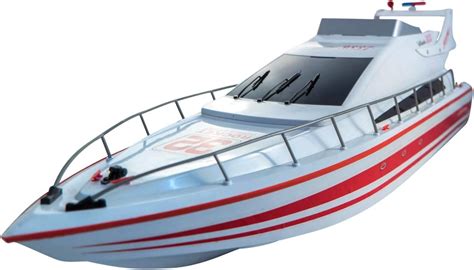
- RC boats are remote-controlled watercraft that use radio signals to control their movement.
Choosing the Right Materials and Tools
To build a 3D printable RC boat, you'll need the following materials and tools:
- 3D printer
- 3D modeling software (e.g., Tinkercad, Fusion 360)
- RC boat kit (including motors, propellers, and radio control system)
- 3D printing filament (e.g., PLA, ABS)
- Sandpaper
- Paint and varnish (optional)
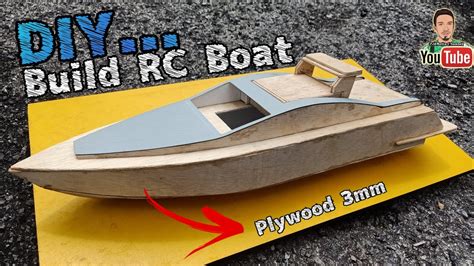
Step 1: Designing Your RC Boat
The first step in building your 3D printable RC boat is to design the model using 3D modeling software.
- Choose a software that you're comfortable with, and start creating your RC boat design.
- Consider factors such as hull shape, size, and weight when designing your boat.
- You can also download pre-made designs from online repositories or modify existing designs to suit your needs.
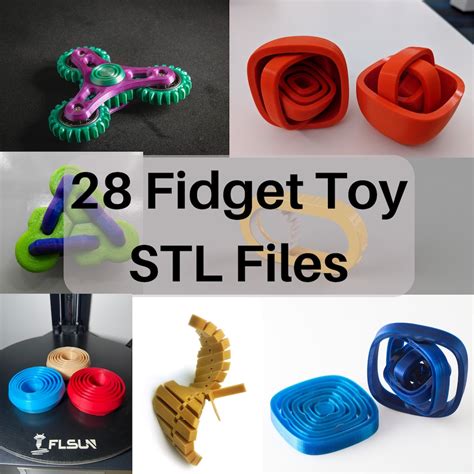
Step 2: Preparing Your 3D Printing Files
Once you've designed your RC boat, you'll need to prepare the 3D printing files.
- Export your design as an STL file, which is the standard file format for 3D printing.
- Use slicing software (e.g., Cura, Slic3r) to convert the STL file into a G-code file that your 3D printer can understand.
- Adjust settings such as layer height, infill density, and support material as needed.
Step 3: 3D Printing Your RC Boat
With your 3D printing files ready, it's time to start printing your RC boat.
- Load the G-code file into your 3D printer's software, and start the printing process.
- Depending on the complexity of your design and the size of your printer, this process can take several hours or even days.
- Monitor the printing process, and adjust settings as needed to ensure a smooth and successful print.
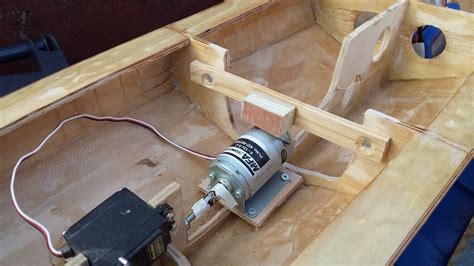
Step 4: Assembling Your RC Boat
Once the printing is complete, it's time to assemble your RC boat.
- Remove the support material, and sand the model to smooth out any rough edges.
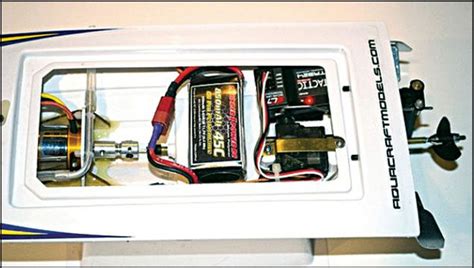
- Install the motors, propellers, and radio control system according to the manufacturer's instructions.
- Apply paint and varnish to protect the model and enhance its appearance.
Step 5: Installing the Electronics
With the assembly complete, it's time to install the electronics.
- Install the radio control system, including the receiver and transmitter.
- Connect the motors to the radio control system, and test the boat's movement.
- Install any additional electronics, such as a battery monitor or LED lights.
Step 6: Testing and Tuning Your RC Boat
Before taking your RC boat out on the water, it's essential to test and tune its performance.
- Test the boat's movement, and adjust the trim and balance as needed.
- Tune the radio control system to optimize the boat's response and performance.
- Test the boat's electronics, and ensure that everything is working smoothly.
Step 7: Launching Your RC Boat
The final step is to launch your RC boat and enjoy the thrill of remote-controlled watercraft.
- Find a suitable body of water, such as a lake or pond.
- Launch the boat, and test its performance in different conditions.
- Enjoy the thrill of controlling your RC boat, and experiment with different speeds and maneuvers.
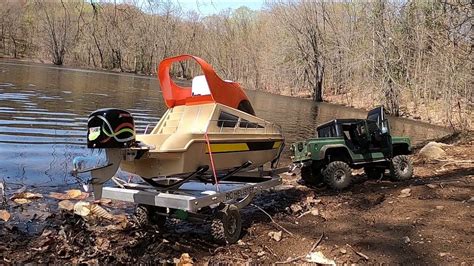
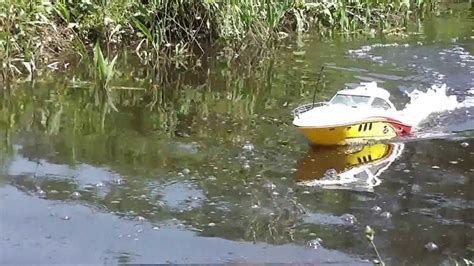
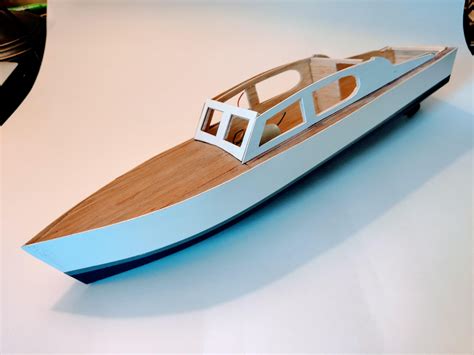
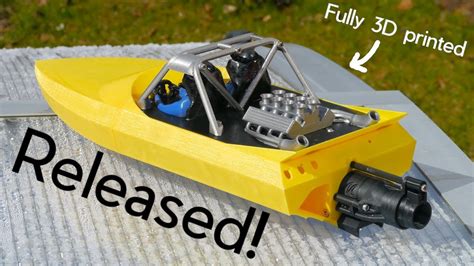
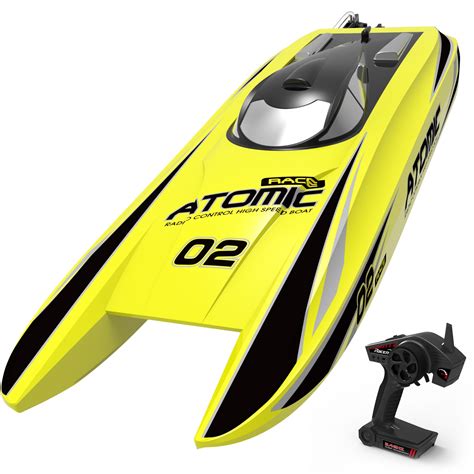
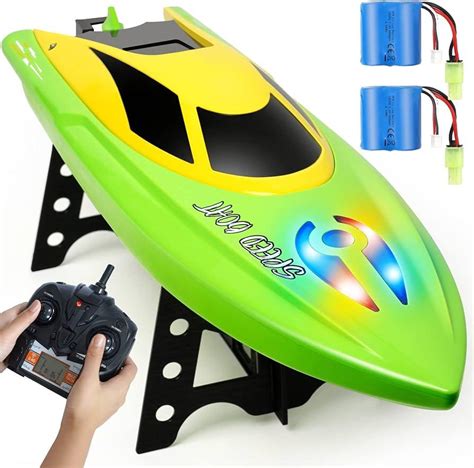
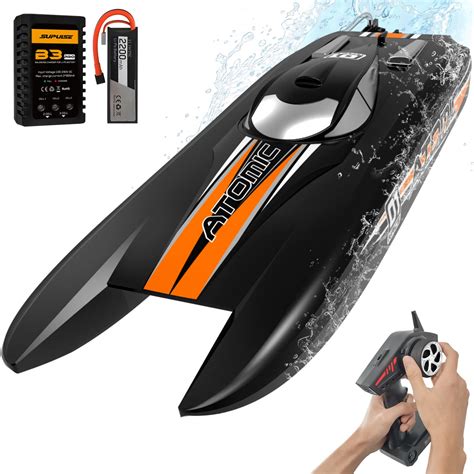
Gallery of RC Boat Images
RC Boat Image Gallery

By following these 7 steps, you can build your very own 3D printable RC boat and enjoy the thrill of remote-controlled watercraft. Whether you're a seasoned hobbyist or just starting out, this project is sure to provide hours of fun and excitement. So why not get started today and see what amazing creations you can come up with?