
Organizing and managing documents is a crucial part of any business or personal endeavor. One effective way to keep your papers in order is by using a binder. However, creating a professional-looking binder spine template can be a challenge, especially if you're not familiar with Microsoft Word. In this article, we will guide you through the process of creating a 5-inch binder spine template in Microsoft Word.
Why Use a Binder Spine Template?
A binder spine template is a pre-designed layout that allows you to easily create a professional-looking binder spine. Using a template can save you time and effort, as it eliminates the need to start from scratch. With a binder spine template, you can create a consistent look and feel for all your binders, making it easier to identify and organize your documents.

Benefits of Using Microsoft Word
Microsoft Word is a popular word processing software that offers a wide range of features and tools for creating professional-looking documents. When it comes to creating a binder spine template, Microsoft Word is an ideal choice because:
- It offers a wide range of fonts, colors, and design elements that can be used to create a custom template.
- It has a user-friendly interface that makes it easy to navigate and use, even for those who are not familiar with graphic design.
- It allows you to easily edit and customize your template as needed.
Creating a 5-Inch Binder Spine Template in Microsoft Word
To create a 5-inch binder spine template in Microsoft Word, follow these steps:
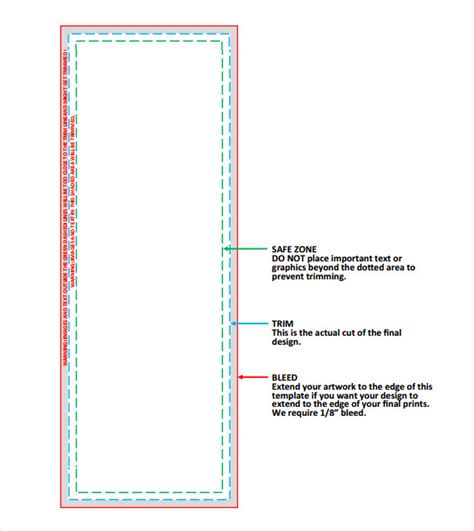
Step 1: Set Up Your Document
- Open Microsoft Word and create a new document.
- Set the document size to 5 inches wide and 8.5 inches tall.
- Set the margins to 0.5 inches on all sides.
- Choose a font that is easy to read, such as Arial or Calibri.
Step 2: Add a Background Image (Optional)
- If you want to add a background image to your template, go to the "Insert" tab and click on "Picture."
- Select the image you want to use and click "Insert."
- Resize the image to fit the entire page.

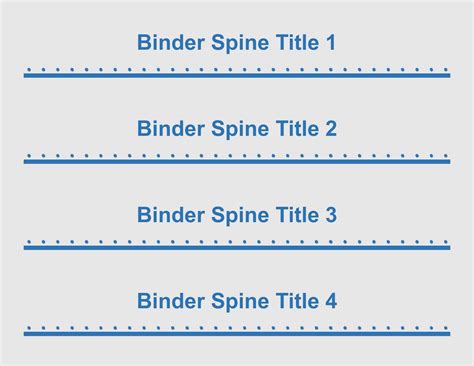
Step 3: Add Text and Design Elements
- Go to the "Home" tab and select the font you chose earlier.
- Type in the title of your binder, such as "Company Documents" or "Project Files."
- Use the "Text Effects" tool to add a drop shadow or other effects to your text.
- Add any additional design elements, such as logos or graphics.
Step 4: Customize Your Template
- Use the "Layout" tab to adjust the positioning and alignment of your text and design elements.
- Use the "Font" tab to change the font size, color, and style.
- Use the "Paragraph" tab to adjust the spacing and indentation.
Step 5: Save Your Template
- Go to the "File" tab and click on "Save As."
- Choose a location to save your template and give it a name.
- Click "Save" to save your template.
Tips and Variations
- To create a more professional-looking template, use a consistent font and color scheme throughout.
- Use a font size that is easy to read, such as 24 points or larger.
- Consider adding a border or other design element to your template to make it more visually appealing.
- If you want to create a template for a specific industry or company, consider using industry-specific fonts and colors.

Conclusion
Creating a 5-inch binder spine template in Microsoft Word is a straightforward process that can be completed in just a few steps. By following the steps outlined in this article, you can create a professional-looking template that will help you to easily organize and manage your documents. Whether you're creating a template for personal or business use, Microsoft Word is an ideal choice because of its user-friendly interface and wide range of features and tools.
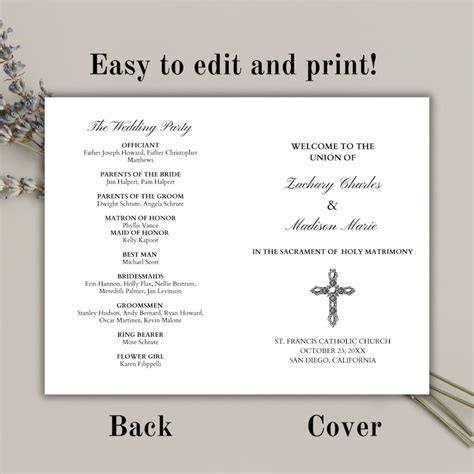
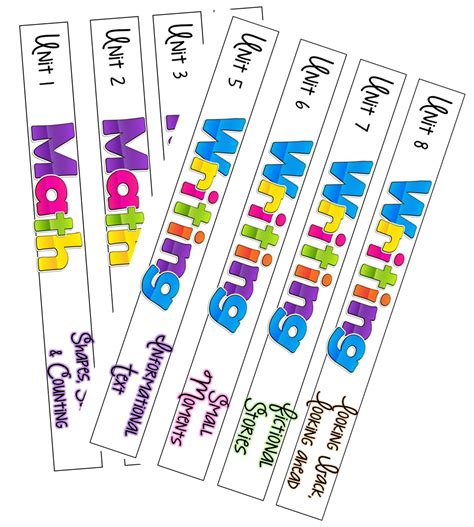
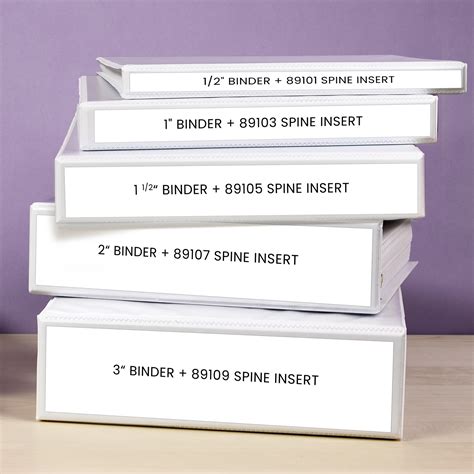
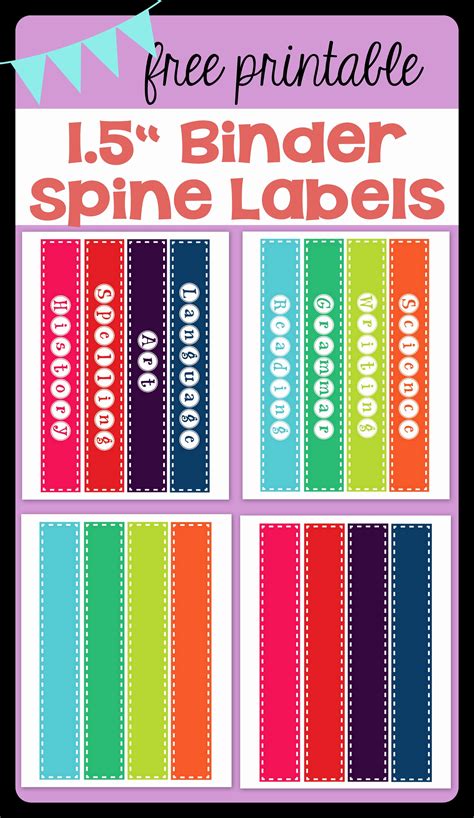
Gallery of Binder Spine Template Examples
Binder Spine Template Examples


We hope this article has been helpful in guiding you through the process of creating a 5-inch binder spine template in Microsoft Word. If you have any questions or need further assistance, please don't hesitate to ask.