Creating perfect binders can be a daunting task, especially when it comes to designing the binder spine. A well-designed binder spine can make a huge difference in the overall appearance of your binder, making it more professional and visually appealing. In this article, we will explore the importance of using a binder spine template in Word and provide a step-by-step guide on how to create perfect binders with a binder spine template.
What is a Binder Spine Template?
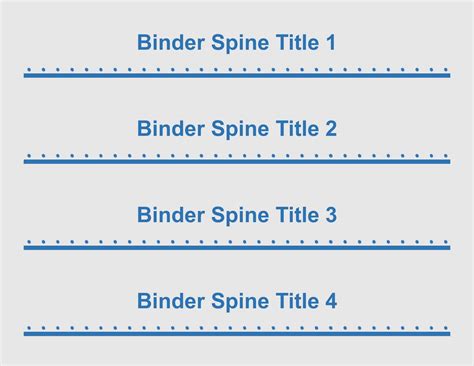
A binder spine template is a pre-designed template that helps you create a professional-looking binder spine. It usually includes a layout with the title of the binder, the author's name, and other relevant information. Using a binder spine template can save you time and effort, ensuring that your binder looks polished and consistent.
Benefits of Using a Binder Spine Template
Using a binder spine template offers several benefits, including:
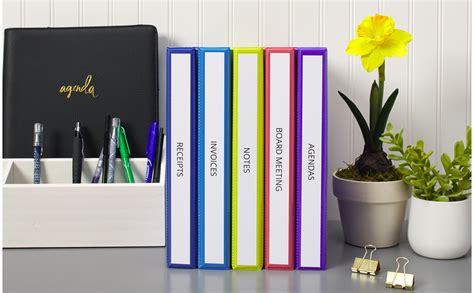
- Professional appearance: A well-designed binder spine template can make your binder look professional and visually appealing.
- Time-saving: With a pre-designed template, you don't have to spend hours designing your binder spine from scratch.
- Consistency: A binder spine template ensures that your binder looks consistent with other binders in your collection.
How to Create a Binder Spine Template in Word
Creating a binder spine template in Word is a straightforward process. Here's a step-by-step guide to help you get started:

- Open Word: Open Microsoft Word on your computer.
- Create a new document: Click on "File" > "New" to create a new document.
- Set the page layout: Set the page layout to "Landscape" by clicking on "Layout" > "Orientation" > "Landscape".
- Set the page size: Set the page size to the desired size for your binder spine. Typically, it's 1-2 inches wide and 11-12 inches tall.
- Add a table: Click on "Insert" > "Table" to add a table to your document. Set the number of rows and columns to 1.
- Add text: Add the title of your binder, author's name, and other relevant information to the table.
- Format the text: Format the text to your desired font, size, and color.
- Save the template: Save the template as a Word document (.docx) or a template (.dotx).
Customizing Your Binder Spine Template
To customize your binder spine template, you can add or remove elements as needed. Here are some ideas:
- Add a logo: Add your company logo or a relevant image to the binder spine.
- Change the font: Change the font to match your company's brand or style.
- Add color: Add color to the binder spine to make it more visually appealing.
- Add a background image: Add a background image to the binder spine to give it a unique look.
Using Your Binder Spine Template
Once you've created your binder spine template, you can use it to create perfect binders. Here's how:

- Open the template: Open the binder spine template you created in Word.
- Replace the text: Replace the text in the template with your own information.
- Print the template: Print the template on the desired paper or material.
- Attach the spine: Attach the printed spine to your binder using a strong adhesive or binding machine.
Tips for Creating Perfect Binders
Here are some tips for creating perfect binders with your binder spine template:
- Use high-quality paper: Use high-quality paper that is durable and long-lasting.
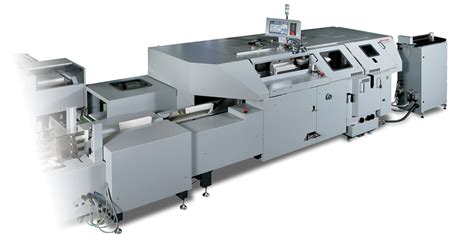
- Choose the right binding method: Choose a binding method that is suitable for your binder, such as a three-ring binder or a perfect bind.
- Pay attention to details: Pay attention to details such as font size, color, and spacing to ensure that your binder looks professional.
Conclusion
Creating perfect binders with a binder spine template in Word is a simple and effective way to create professional-looking binders. By following the steps outlined in this article, you can create a custom binder spine template that reflects your company's brand or style. Remember to customize your template, use high-quality paper, and pay attention to details to create perfect binders that will impress your audience.
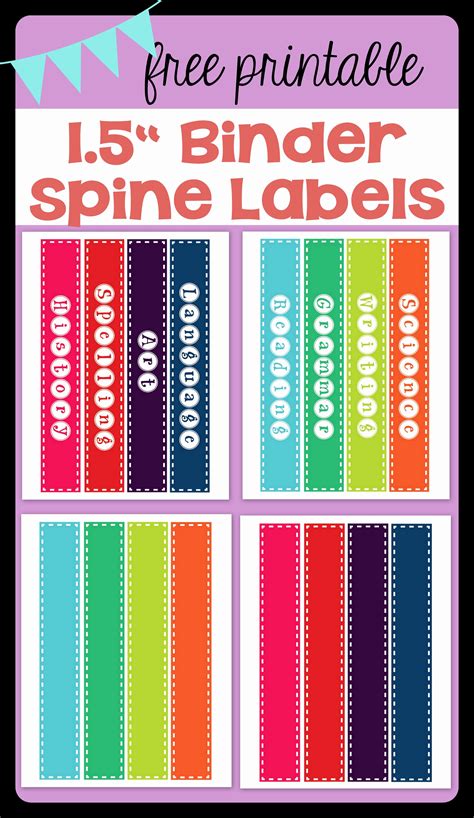
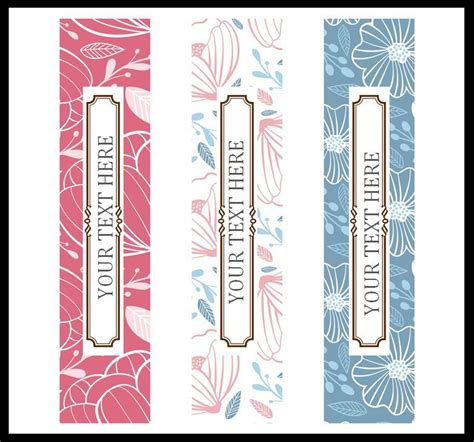
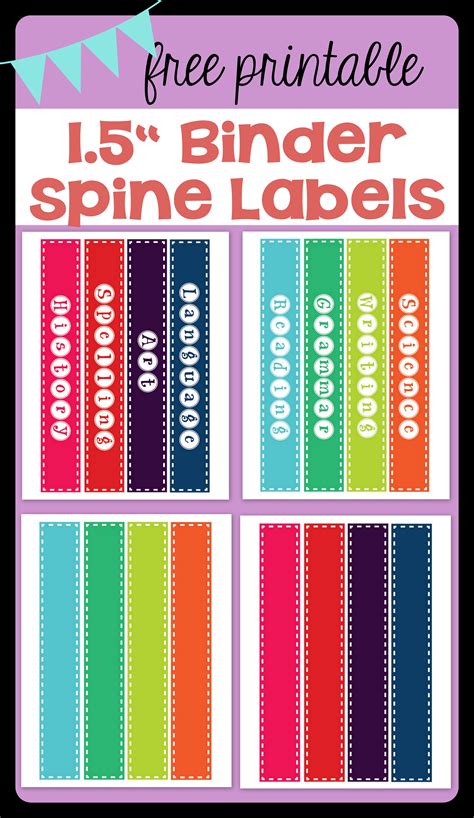
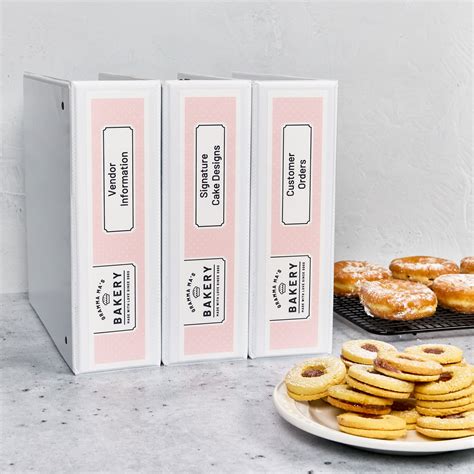
Binder Spine Template Image Gallery