Intro
Master the art of date manipulation in Excel! Learn how to easily convert date and time to date in Excel using simple formulas and functions. Discover how to extract dates from timestamps, remove time from dates, and format cells to display only the date. Boost your Excel skills and streamline data analysis with our step-by-step guide.
In Excel, dates and times are often stored in a single cell, but sometimes you may want to display only the date part, without the time. This can be useful for various purposes, such as data analysis, reporting, or formatting. Fortunately, Excel provides several easy ways to convert date and time to date only. In this article, we'll explore the most common methods to achieve this.
Why Convert Date and Time to Date?
Before we dive into the methods, let's quickly discuss why you might want to convert date and time to date only. Here are a few reasons:
- Simplify data analysis: By removing the time component, you can focus on date-based analysis, such as calculating dates between two events or identifying trends over time.
- Improve reporting: Displaying only the date can make your reports more readable and easier to understand, especially when dealing with large datasets.
- Enhance formatting: Converting date and time to date only can help you format your cells more efficiently, making your spreadsheet look more professional.
Method 1: Using the INT Function
The INT function is a simple and straightforward way to convert date and time to date only. Here's how to use it:
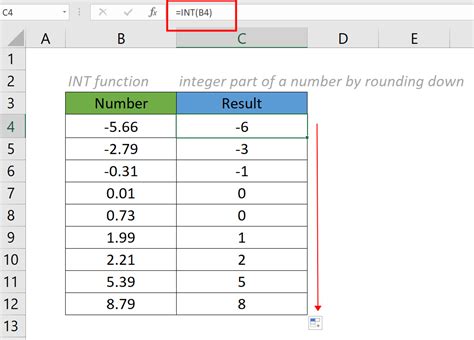
Assuming your date and time value is in cell A1, you can use the following formula:
=INT(A1)
This formula will truncate the time component, leaving only the date part.
Method 2: Using the DATE Function
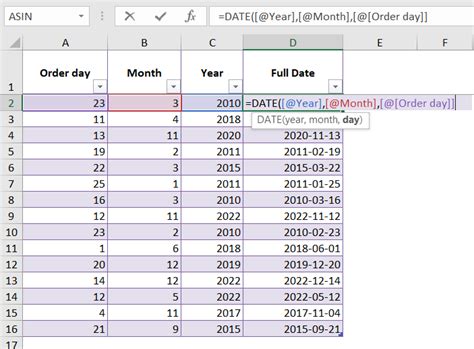
The DATE function is another way to convert date and time to date only. This function is more versatile than the INT function, as it allows you to specify the year, month, and day separately. Here's an example:
=DATE(YEAR(A1), MONTH(A1), DAY(A1))
This formula will extract the year, month, and day from the original date and time value in cell A1 and return a new date value without the time component.
Method 3: Using the TEXT Function
The TEXT function is a powerful tool in Excel that allows you to format numbers and dates in various ways. You can use it to convert date and time to date only by applying a custom format. Here's an example:
=TEXT(A1, "yyyy-mm-dd")
This formula will format the date and time value in cell A1 as a date only, using the "yyyy-mm-dd" format.
Method 4: Using VBA Macro
If you prefer to use VBA macros, you can create a custom function to convert date and time to date only. Here's an example code:
Function DateOnly(d As Date) As Date
    DateOnly = Int(d)
End Function
To use this macro, simply enter the following formula in a cell:
=DateOnly(A1)
Method 5: Using Power Query
Power Query is a powerful data manipulation tool in Excel that allows you to transform and format data with ease. You can use Power Query to convert date and time to date only by applying a custom transform. Here's an example:
- Go to the "Data" tab in Excel.
- Click on "From Table/Range" and select your date and time column.
- In the Power Query Editor, click on "Add Column" and select "Custom Column".
- Enter the following formula:
=Date.From(DateTime.LocalNow())
- Click "OK" to apply the transform.
Gallery of Excel Date and Time Functions
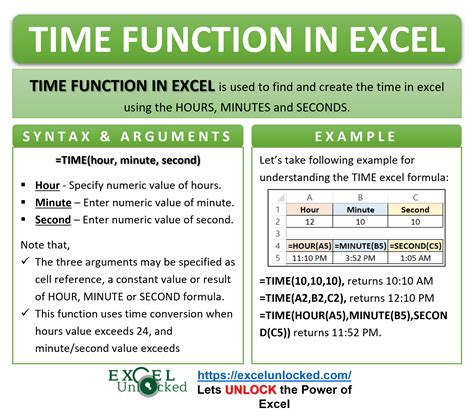
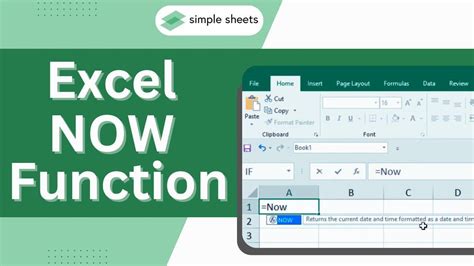
Excel Date and Time Functions Gallery
Conclusion
Converting date and time to date only in Excel is a straightforward process that can be achieved using various methods, including the INT function, DATE function, TEXT function, VBA macro, and Power Query. Each method has its own advantages and disadvantages, and the choice of method depends on your specific needs and preferences. By mastering these techniques, you can simplify your data analysis, improve reporting, and enhance formatting in Excel.
