
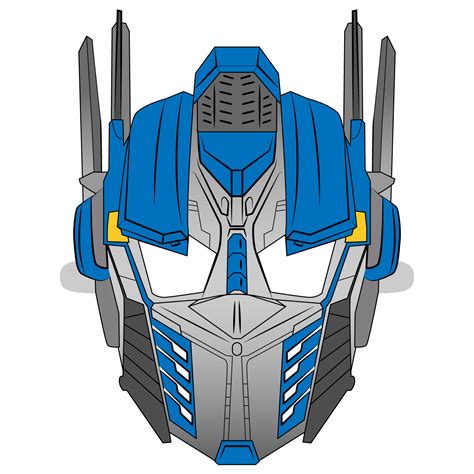
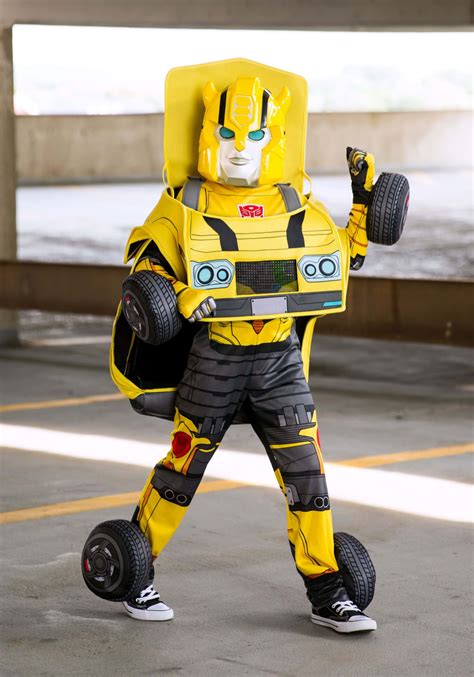
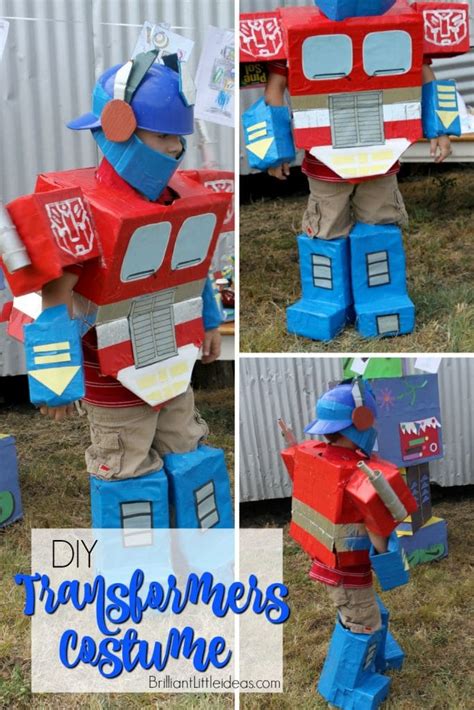
Transformers, the iconic franchise that has been thrilling fans for decades with its epic battles between the Autobots and Decepticons. One of the most recognizable and beloved characters in the Transformers universe is Optimus Prime, the fearless leader of the Autobots. With his iconic red and blue armor and powerful Energon axe, Optimus Prime is the epitome of heroism and courage. If you're a fan of the Transformers franchise, you might be looking for a DIY costume template to create your own Optimus Prime costume. Look no further! In this article, we'll provide a step-by-step guide on how to create a DIY Transformer costume template.
The Importance of DIY Costumes
Before we dive into the DIY Transformer costume template, let's talk about the importance of DIY costumes. Creating your own costume from scratch can be a fun and rewarding experience, allowing you to express your creativity and showcase your fandom. DIY costumes also offer a unique opportunity to save money and create a costume that is tailored to your specific needs and preferences. Whether you're attending a comic-con, a costume party, or simply want to show off your fandom, a DIY Transformer costume template is a great way to go.
Materials Needed
Before we start, let's take a look at the materials you'll need to create your DIY Transformer costume template. Here's a list of the materials you'll need:
- Cardboard or foam board
- PVC pipes or foam tubing
- Fabric (red, blue, and silver)
- Hot glue gun
- Scissors
- Paint (silver, red, and blue)
- EVA foam or Worbla
- 3D printing or laser cutting (optional)

Step 1: Create the Armor Template
The first step in creating your DIY Transformer costume template is to create the armor template. You can use cardboard or foam board to create the template, which will serve as the base for your costume. Start by drawing the shape of Optimus Prime's armor onto the cardboard or foam board, using reference images to ensure accuracy. Cut out the shape, and use hot glue to attach the pieces together.
Step 1: Armor Template Tips
- Use a hot glue gun to attach the pieces together, making sure to align them properly.
- Use a ruler or straightedge to ensure the edges are straight and smooth.
- Cut out the shape carefully, using a craft knife or scissors.
Step 2: Add the PVC Pipes or Foam Tubing
The next step is to add the PVC pipes or foam tubing to create the framework for your costume. Cut the PVC pipes or foam tubing to the desired length, and use hot glue to attach them to the armor template. Make sure to space them evenly apart, using reference images to ensure accuracy.
Step 2: PVC Pipe Tips
- Use a hot glue gun to attach the PVC pipes or foam tubing to the armor template.
- Make sure to space them evenly apart, using reference images to ensure accuracy.
- Use a level to ensure the pipes are straight and level.
Step 3: Add the Fabric
The next step is to add the fabric to your DIY Transformer costume template. Cut out the fabric to the desired shape and size, using reference images to ensure accuracy. Use hot glue to attach the fabric to the armor template, making sure to smooth out any wrinkles or creases.
Step 3: Fabric Tips
- Use a hot glue gun to attach the fabric to the armor template.
- Make sure to smooth out any wrinkles or creases.
- Use a sewing machine to sew the edges of the fabric, if desired.
Step 4: Add the Details
The next step is to add the details to your DIY Transformer costume template. Use paint to add the iconic red and blue stripes to the armor, as well as any other details you desire. You can also use EVA foam or Worbla to create additional details, such as the Energon axe or the Autobot symbol.
Step 4: Detail Tips
- Use paint to add the iconic red and blue stripes to the armor.
- Use EVA foam or Worbla to create additional details, such as the Energon axe or the Autobot symbol.
- Use reference images to ensure accuracy.
Step 5: Add the Final Touches
The final step is to add the final touches to your DIY Transformer costume template. Use hot glue to attach any additional details, such as the helmet or the gloves. Make sure to smooth out any wrinkles or creases, and use paint to add any final details.
Step 5: Final Touches Tips
- Use hot glue to attach any additional details, such as the helmet or the gloves.
- Make sure to smooth out any wrinkles or creases.
- Use paint to add any final details.

Step 6: Wear and Enjoy
The final step is to wear and enjoy your DIY Transformer costume template! Make sure to wear the costume to a comic-con, a costume party, or simply to show off your fandom. Don't forget to take plenty of photos to share with your friends and family.
Step 6: Wear and Enjoy Tips
- Make sure to wear the costume to a comic-con, a costume party, or simply to show off your fandom.
- Take plenty of photos to share with your friends and family.
- Don't forget to have fun and enjoy the experience!

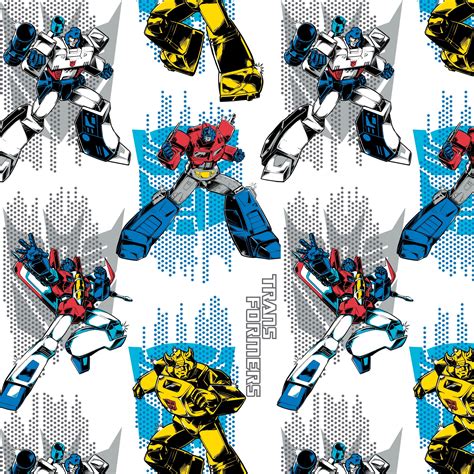
Gallery of Transformer Costume Templates
Transformer Costume Template Gallery


Conclusion
Creating a DIY Transformer costume template is a fun and rewarding experience that allows you to express your creativity and showcase your fandom. With these 6 steps, you can create a costume that is both accurate and impressive. Remember to have fun and enjoy the experience, and don't forget to take plenty of photos to share with your friends and family. Happy crafting!
We hope you enjoyed this article and found it helpful in creating your own DIY Transformer costume template. If you have any questions or comments, please feel free to leave them below. Don't forget to share this article with your friends and family, and happy crafting!