Working with dates and timestamps in Excel can be a bit tricky, especially when you need to convert datetime to a simple date format. Whether you're dealing with data imports, database exports, or simply organizing your spreadsheet, converting datetime to date is a common task. In this article, we'll explore five ways to achieve this conversion in Excel, making it easier for you to manage and analyze your data.
The Importance of Date Conversion in Excel
When working with datetime data in Excel, you might encounter situations where you need to focus solely on the date component, ignoring the time part. This could be due to various reasons, such as:
- Simplifying data analysis by eliminating time variables
- Ensuring data consistency across different systems or imports
- Improving data visualization by removing unnecessary time details
- Meeting specific formatting requirements for reporting or presentation purposes
Method 1: Using the INT Function
One of the simplest ways to convert datetime to date in Excel is by using the INT function. This function truncates the decimal part of a number, effectively removing the time component from a datetime value.
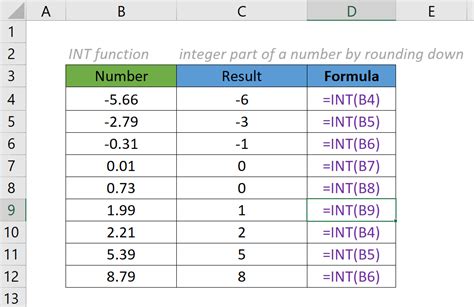
Here's how to apply the INT function:
- Select the cell containing the datetime value you want to convert
- Type
=INT(A1)(assuming the datetime value is in cell A1) - Press Enter to get the converted date value
Method 2: Using the TRUNC Function
Similar to the INT function, the TRUNC function also removes the decimal part of a number, but it provides more flexibility by allowing you to specify the number of digits to truncate.
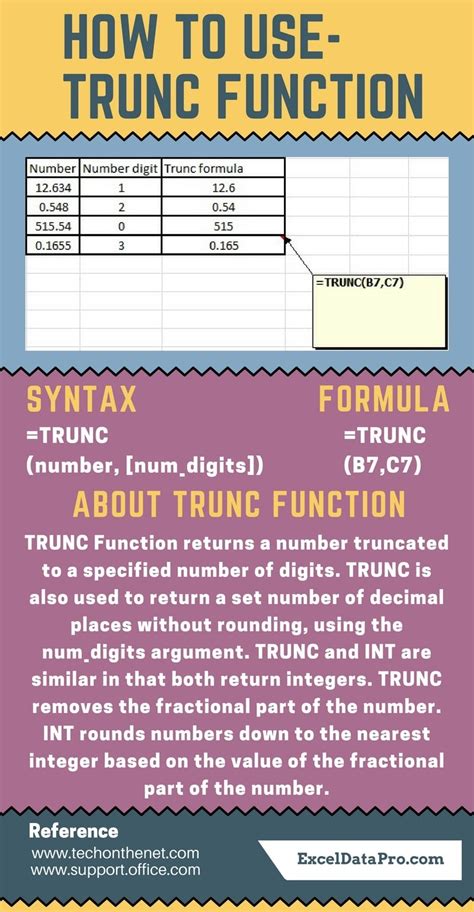
To use the TRUNC function:
- Select the cell containing the datetime value you want to convert
- Type
=TRUNC(A1,0)(assuming the datetime value is in cell A1) - Press Enter to get the converted date value
Method 3: Using the FLOOR Function
The FLOOR function is another way to convert datetime to date in Excel. This function rounds down a number to the nearest multiple of a specified value.
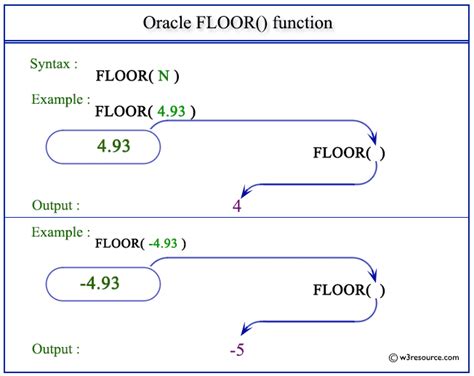
Here's how to apply the FLOOR function:
- Select the cell containing the datetime value you want to convert
- Type
=FLOOR(A1,1)(assuming the datetime value is in cell A1) - Press Enter to get the converted date value
Method 4: Using the TEXT Function
If you want to convert datetime to date in a more formatting-oriented way, you can use the TEXT function. This function converts a value to text in a specific format.
To use the TEXT function:
- Select the cell containing the datetime value you want to convert
- Type
=TEXT(A1,"mmm dd yyyy")(assuming the datetime value is in cell A1) - Press Enter to get the converted date value
Method 5: Using the DATE Function
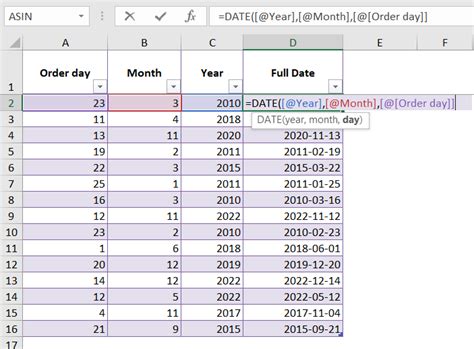
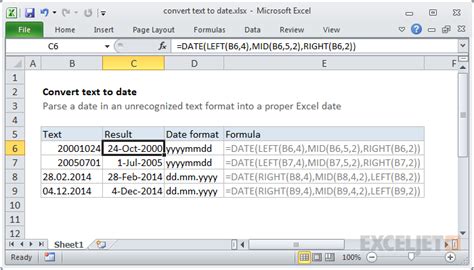
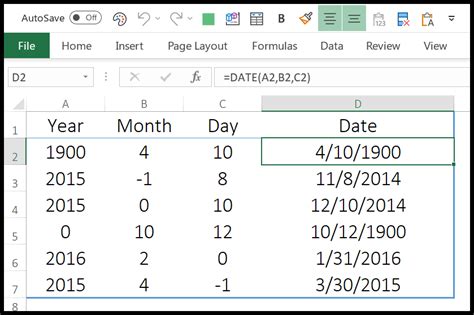
The DATE function is specifically designed to work with dates in Excel. You can use it to extract the date component from a datetime value.
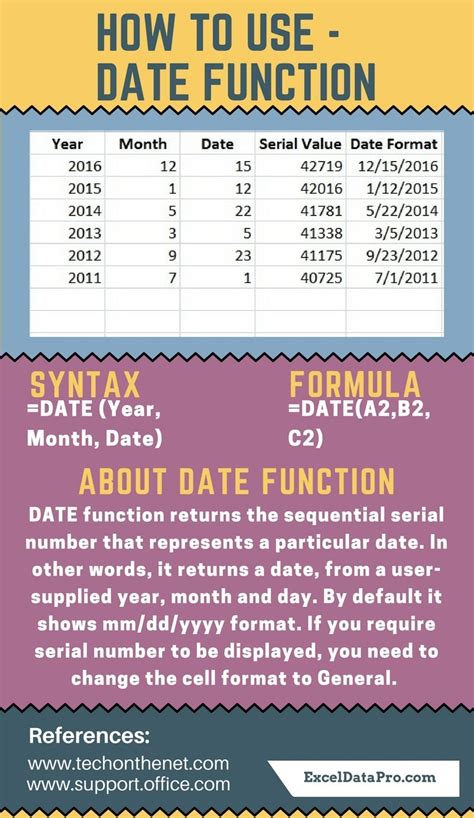
Here's how to apply the DATE function:
- Select the cell containing the datetime value you want to convert
- Type
=DATE(YEAR(A1),MONTH(A1),DAY(A1))(assuming the datetime value is in cell A1) - Press Enter to get the converted date value
Gallery of Date Conversion Methods in Excel
Date Conversion Methods in Excel

Final Thoughts
Converting datetime to date in Excel is a common task that can be achieved using various methods. By understanding the different approaches and functions available, you can choose the best method for your specific needs and improve your data analysis and visualization capabilities. Whether you're working with financial data, project timelines, or customer information, mastering date conversion techniques in Excel will help you work more efficiently and effectively.
