Creating an Excel drop-down list from a different sheet can be a useful feature when working with large datasets or multiple worksheets. This functionality allows you to create a list of options in one sheet that can be easily selected from in another sheet, making data entry more efficient and reducing errors. In this article, we will explore five different methods to create an Excel drop-down list from a different sheet.
Why Use a Drop-Down List in Excel?
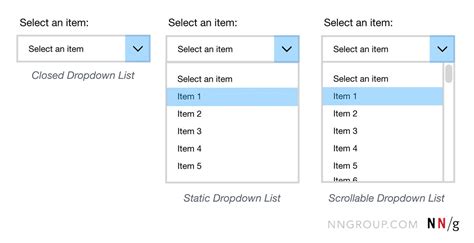
Before we dive into the methods, let's quickly discuss the benefits of using a drop-down list in Excel. A drop-down list allows you to:
- Restrict user input to a predefined set of options
- Reduce data entry errors
- Improve data consistency
- Make data entry faster and more efficient
- Enhance the overall user experience
Method 1: Using Data Validation with a Separate Sheet
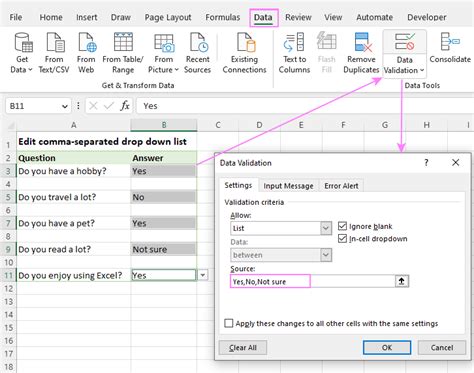
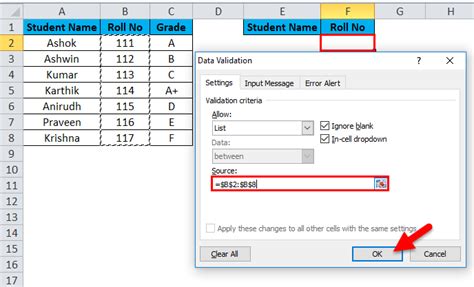
One of the most common methods to create a drop-down list from a different sheet is by using data validation. Here's how:
- Go to the sheet where you want to create the drop-down list.
- Select the cell where you want to create the list.
- Go to the "Data" tab in the ribbon.
- Click on "Data Validation" in the "Data Tools" group.
- In the "Data Validation" dialog box, select "List" from the "Allow" dropdown menu.
- In the "Source" field, enter the range of cells that contains the list of options from the other sheet. You can do this by typing
=SheetName!$A$1:$A$10, assuming the list is in cells A1:A10 in the other sheet. - Click "OK" to apply the data validation.

Method 2: Using a Named Range
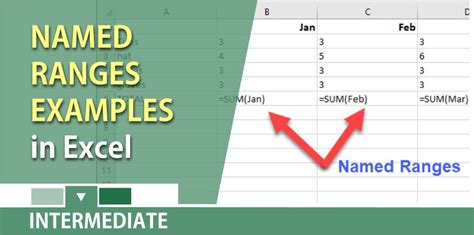
Another method to create a drop-down list from a different sheet is by using a named range. Here's how:
- Go to the sheet that contains the list of options.
- Select the range of cells that contains the list.
- Go to the "Formulas" tab in the ribbon.
- Click on "Define Name" in the "Defined Names" group.
- In the "New Name" dialog box, enter a name for the range, such as "Options".
- Click "OK" to define the name.
- Go to the sheet where you want to create the drop-down list.
- Select the cell where you want to create the list.
- Go to the "Data" tab in the ribbon.
- Click on "Data Validation" in the "Data Tools" group.
- In the "Data Validation" dialog box, select "List" from the "Allow" dropdown menu.
- In the "Source" field, enter the named range, such as
=Options. - Click "OK" to apply the data validation.
Method 3: Using a Table
You can also create a drop-down list from a different sheet by using a table. Here's how:
- Go to the sheet that contains the list of options.
- Select the range of cells that contains the list.
- Go to the "Insert" tab in the ribbon.
- Click on "Table" in the "Tables" group.
- In the "Create Table" dialog box, select the range of cells and click "OK".
- Go to the sheet where you want to create the drop-down list.
- Select the cell where you want to create the list.
- Go to the "Data" tab in the ribbon.
- Click on "Data Validation" in the "Data Tools" group.
- In the "Data Validation" dialog box, select "List" from the "Allow" dropdown menu.
- In the "Source" field, enter the table name, such as
=TableName[Column1]. - Click "OK" to apply the data validation.

Method 4: Using Power Query
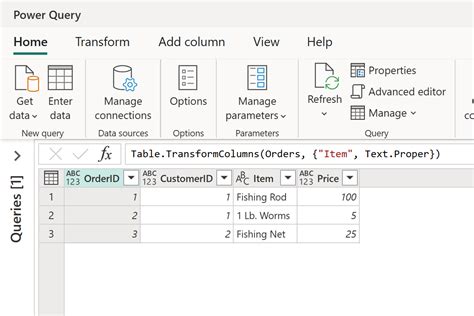
If you have Excel 2010 or later, you can use Power Query to create a drop-down list from a different sheet. Here's how:
- Go to the sheet where you want to create the drop-down list.
- Go to the "Data" tab in the ribbon.
- Click on "New Query" in the "Get & Transform Data" group.
- In the "Query Editor" dialog box, select "From Other Sources" and then select "From Microsoft Query".
- In the "Microsoft Query" dialog box, select the sheet that contains the list of options.
- Select the range of cells that contains the list.
- Click "OK" to import the data.
- In the "Query Editor" dialog box, click on "Load" to load the data into the worksheet.
- Go to the sheet where you want to create the drop-down list.
- Select the cell where you want to create the list.
- Go to the "Data" tab in the ribbon.
- Click on "Data Validation" in the "Data Tools" group.
- In the "Data Validation" dialog box, select "List" from the "Allow" dropdown menu.
- In the "Source" field, enter the query name, such as
=QueryName. - Click "OK" to apply the data validation.
Method 5: Using VBA
Finally, you can also create a drop-down list from a different sheet using VBA. Here's how:
- Go to the sheet where you want to create the drop-down list.
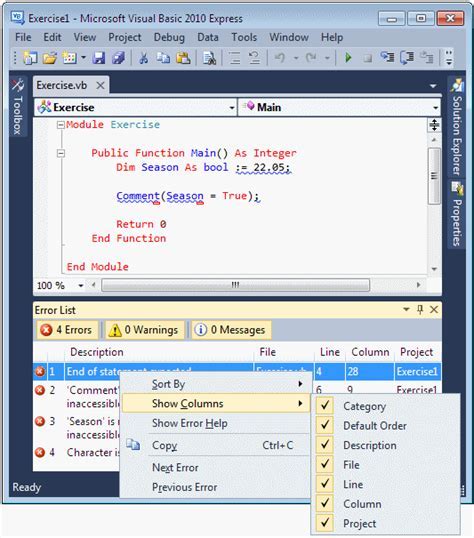
- Press "Alt + F11" to open the Visual Basic Editor.
- In the "Visual Basic Editor" window, click on "Insert" and then select "Module".
- In the "Module" window, enter the following code:
Sub CreateDropDownList()
    Dim ws As Worksheet
    Dim rng As Range
    Set ws = ThisWorkbook.Worksheets("Sheet1")
    Set rng = ws.Range("A1:A10")
    With ws.Range("B2").Validation
       .Delete
       .Add Type:=xlValidateList, AlertStyle:=xlValidAlertStop, Operator:=xlBetween, Formula1:="=Sheet2!$A$1:$A$10"
       .IgnoreBlank = True
       .InCellDropdown = True
       .InputTitle = ""
       .ErrorTitle = ""
       .InputMessage = ""
       .ErrorMessage = ""
       .ShowInput = True
       .ShowError = True
    End With
End Sub
- Replace "Sheet1" and "Sheet2" with the actual sheet names.
- Replace "A1:A10" with the actual range of cells that contains the list.
- Click "Run" to run the code.
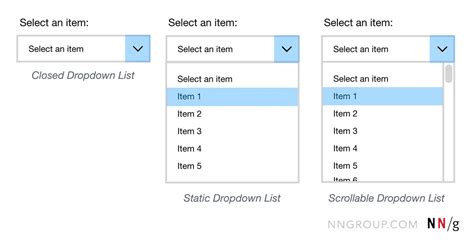
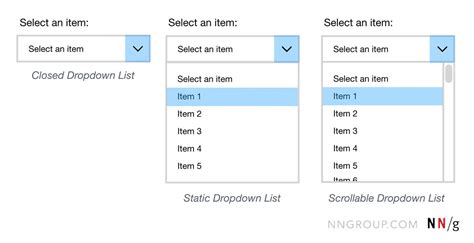
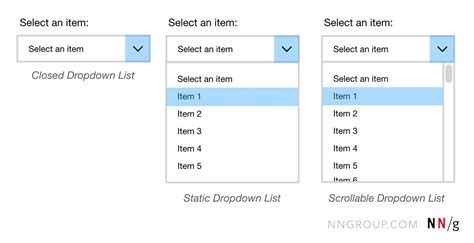
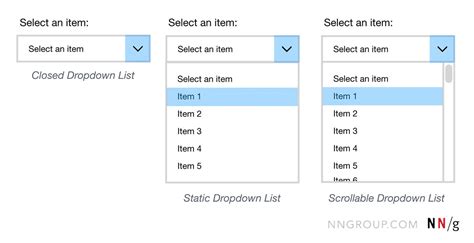
Gallery of Drop Down List in Excel
Excel Drop Down List Image Gallery

Final Thoughts
Creating a drop-down list from a different sheet in Excel can be a useful feature to improve data entry efficiency and reduce errors. There are several methods to achieve this, including using data validation, named ranges, tables, Power Query, and VBA. By following the steps outlined in this article, you can create a drop-down list that meets your specific needs.
We hope this article has been helpful in teaching you how to create a drop-down list from a different sheet in Excel. If you have any questions or need further assistance, please don't hesitate to ask.
