
Excel Find And Replace Not Working: Fix It Now
Are you experiencing issues with Excel's find and replace feature? You're not alone. Many users encounter problems with this feature, which can be frustrating and time-consuming. In this article, we'll explore the common reasons why Excel find and replace might not be working and provide step-by-step solutions to fix the issue.
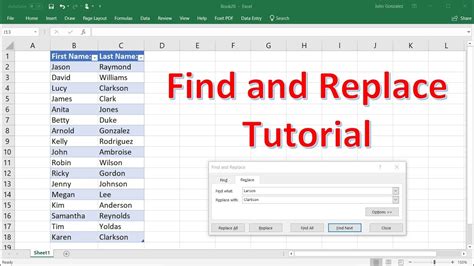
Excel's find and replace feature is a powerful tool that allows users to quickly locate and replace specific text or values within a spreadsheet. However, when it's not working correctly, it can hinder productivity and cause delays. Let's dive into the possible causes and solutions.
Reasons Why Excel Find and Replace Might Not Be Working
Before we dive into the solutions, let's explore some common reasons why Excel find and replace might not be working:
- Incorrect settings: Excel's find and replace feature has several settings that can affect its functionality. If these settings are not configured correctly, the feature might not work as expected.
- Hidden or protected worksheets: If a worksheet is hidden or protected, Excel's find and replace feature might not be able to access it.
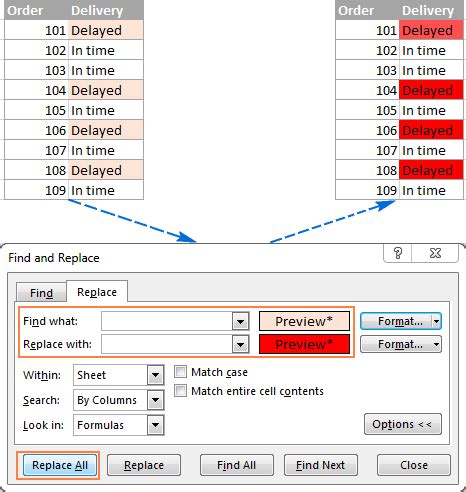
- Formatting issues: Formatting issues, such as font styles or colors, can prevent Excel's find and replace feature from working correctly.
- Data type issues: If the data type of the cell is not compatible with the find and replace feature, it might not work.
Troubleshooting Steps to Fix Excel Find and Replace Issues

Now that we've explored the common reasons why Excel find and replace might not be working, let's dive into the troubleshooting steps to fix the issue.
Step 1: Check Excel Settings
Ensure that Excel's find and replace settings are configured correctly. To do this:
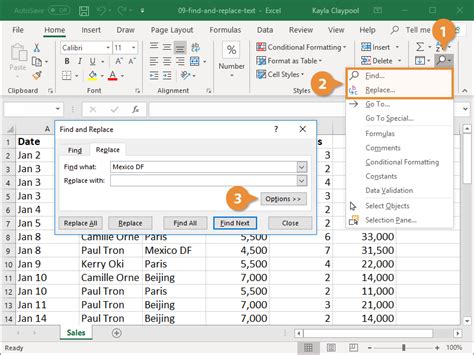
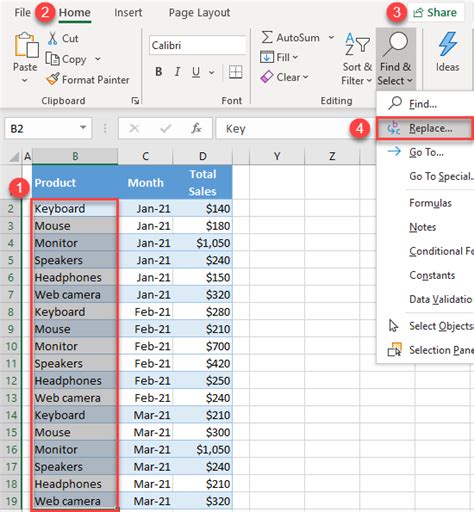
- Go to the "Home" tab in the ribbon.
- Click on the "Find" button in the "Editing" group.
- Select "Find and Replace" from the drop-down menu.
- Check the "Options" button to ensure that the correct settings are selected.
Step 2: Unhide and Unprotect Worksheets
If a worksheet is hidden or protected, Excel's find and replace feature might not be able to access it. To unhide or unprotect a worksheet:
- Go to the "Home" tab in the ribbon.
- Click on the "Format" button in the "Cells" group.
- Select "Hide & Unhide" from the drop-down menu.
- Select "Unhide Sheet" to unhide a hidden worksheet.
- To unprotect a worksheet, go to the "Review" tab in the ribbon and click on the "Unprotect Sheet" button.
Step 3: Check Formatting Issues
Formatting issues can prevent Excel's find and replace feature from working correctly. To check for formatting issues:
- Select the cell range that you want to search.
- Go to the "Home" tab in the ribbon.
- Click on the "Clear" button in the "Editing" group.
- Select "Clear Formats" to remove any formatting issues.
Step 4: Check Data Type Issues
If the data type of the cell is not compatible with the find and replace feature, it might not work. To check for data type issues:
- Select the cell range that you want to search.
- Go to the "Data" tab in the ribbon.
- Click on the "Data Tools" button in the "Data Tools" group.
- Select "Text to Columns" to convert the data type to text.
Advanced Solutions to Fix Excel Find and Replace Issues

If the troubleshooting steps above don't resolve the issue, you can try the following advanced solutions:
Solution 1: Use VBA Macro
You can use a VBA macro to create a custom find and replace feature. To do this:
- Press "Alt + F11" to open the VBA editor.
- Create a new module by clicking on "Insert" and selecting "Module".
- Paste the following code into the module:
Sub FindAndReplace()
    Dim rng As Range
    Set rng = Selection
    rng.Find(What:="find_text", Replacement:="replace_text").Execute
End Sub
Replace "find_text" and "replace_text" with the text you want to find and replace.
Solution 2: Use Excel's Built-in Functions
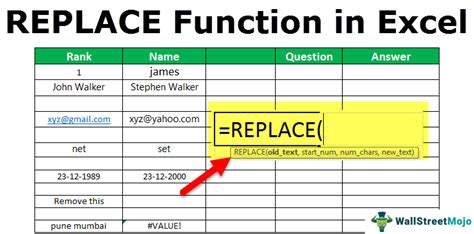
You can use Excel's built-in functions, such as SUBSTITUTE or REPLACE, to create a custom find and replace feature. To do this:
- Select the cell range that you want to search.
- Go to the "Formulas" tab in the ribbon.
- Click on the "Text" button in the "Functions" group.
- Select "SUBSTITUTE" or "REPLACE" from the drop-down menu.
- Enter the formula
=SUBSTITUTE(A1,"find_text","replace_text")or=REPLACE(A1,"find_text","replace_text").
Gallery of Excel Find and Replace
Excel Find and Replace Image Gallery


We hope this article has helped you resolve your Excel find and replace issues. If you have any further questions or need additional assistance, please don't hesitate to ask. Share your thoughts and experiences in the comments section below.