Intro
Master the Excel formula to calculate months between two dates with ease. Discover a step-by-step guide on how to use the DATEDIF function, including syntax and examples. Boost your productivity and simplify date calculations with this efficient formula, perfect for finance, accounting, and project management tasks.
Calculating the number of months between two dates is a common task in Microsoft Excel. Whether you're managing projects, tracking deadlines, or analyzing sales data, having a reliable formula to calculate months between dates can save you time and effort.
In this article, we'll explore the most efficient Excel formulas to calculate months between two dates, including step-by-step instructions and examples. We'll also discuss the benefits and limitations of each formula, so you can choose the best approach for your specific needs.
Understanding Date Formats in Excel
Before diving into the formulas, it's essential to understand how Excel handles dates. Excel stores dates as serial numbers, where each day is represented by a unique integer. The starting point is January 1, 1900, which corresponds to the serial number 1. This system allows for easy calculations and comparisons between dates.
Method 1: Using the DATEDIF Function
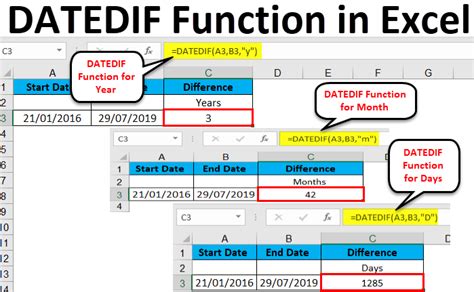
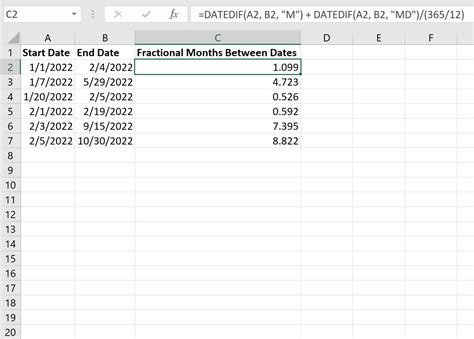
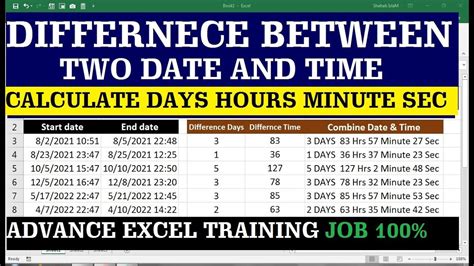
The DATEDIF function is a hidden gem in Excel that can calculate the difference between two dates in various units, including days, months, and years. To use the DATEDIF function, follow these steps:
- Select the cell where you want to display the result.
- Type
=DATEDIF(and select the start date cell. - Type
,and select the end date cell. - Type
,and specify the unit as "M" for months. - Close the parentheses and press Enter.
The syntax is: =DATEDIF(start_date, end_date, "M")
Example: =DATEDIF(A1, B1, "M")
Assuming the start date is in cell A1 and the end date is in cell B1, this formula will return the number of months between the two dates.
Method 2: Using the YEARFRAC Function
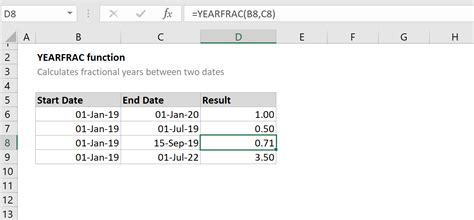
The YEARFRAC function calculates the fraction of a year between two dates. To get the number of months, you can multiply the result by 12. Here's how:
- Select the cell where you want to display the result.
- Type
=YEARFRAC(and select the start date cell. - Type
,and select the end date cell. - Close the parentheses and multiply the result by 12.
- Press Enter.
The syntax is: =YEARFRAC(start_date, end_date) * 12
Example: =YEARFRAC(A1, B1) * 12
Assuming the start date is in cell A1 and the end date is in cell B1, this formula will return the number of months between the two dates.
Method 3: Using the EOMONTH Function
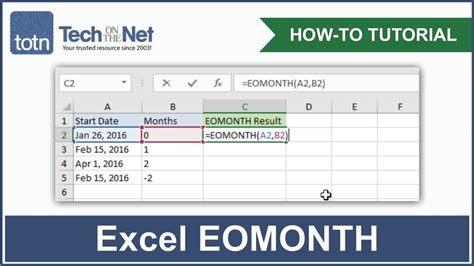
The EOMONTH function returns the last day of the month for a given date. By using this function, you can calculate the number of months between two dates. Here's how:
- Select the cell where you want to display the result.
- Type
=(EOMONTH(end_date, 0) - EOMONTH(start_date, 0)) / 30 - Close the parentheses and press Enter.
The syntax is: =(EOMONTH(end_date, 0) - EOMONTH(start_date, 0)) / 30
Example: =(EOMONTH(B1, 0) - EOMONTH(A1, 0)) / 30
Assuming the start date is in cell A1 and the end date is in cell B1, this formula will return the number of months between the two dates.
Comparing the Methods
Each method has its advantages and disadvantages. Here's a brief comparison:
- DATEDIF function: This method is the most straightforward and efficient way to calculate months between dates. However, it's a hidden function, and some users might not be familiar with it.
- YEARFRAC function: This method is more flexible, as it allows you to calculate the fraction of a year between dates. However, it requires an additional step to convert the result to months.
- EOMONTH function: This method is more complex, but it provides a more accurate result, especially when dealing with dates that fall on the 31st day of the month.
Best Practices and Tips
When working with dates in Excel, keep the following tips in mind:
- Always format your date cells correctly to avoid errors.
- Use the
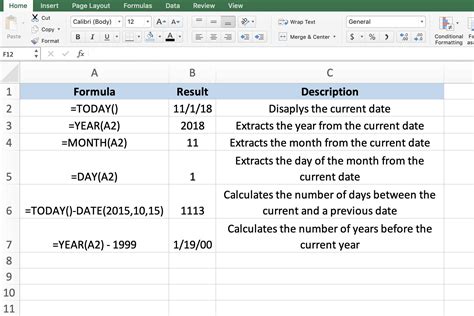
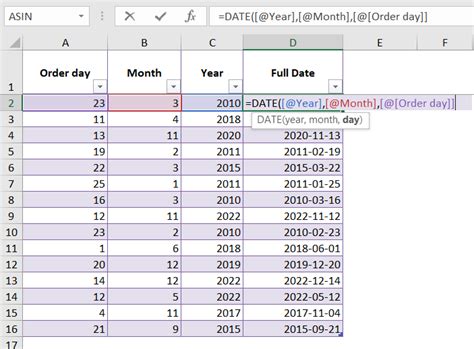
DATEfunction to ensure that your dates are recognized as dates, rather than text strings. - When using the DATEDIF function, make sure to specify the correct unit (in this case, "M" for months).
- When using the YEARFRAC function, multiply the result by 12 to get the number of months.
Gallery of Excel Date Functions
Excel Date Functions Gallery
Frequently Asked Questions
Q: What is the best method to calculate months between dates in Excel? A: The DATEDIF function is the most efficient and straightforward method to calculate months between dates.
Q: How do I format my date cells correctly in Excel?
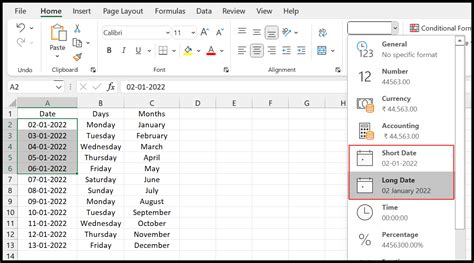
A: Use the DATE function to ensure that your dates are recognized as dates, rather than text strings. You can also format your date cells using the "Short Date" or "Long Date" format options.
Q: Can I use the YEARFRAC function to calculate months between dates? A: Yes, you can use the YEARFRAC function to calculate the fraction of a year between dates and then multiply the result by 12 to get the number of months.
Q: What is the EOMONTH function, and how does it work? A: The EOMONTH function returns the last day of the month for a given date. By using this function, you can calculate the number of months between two dates.
We hope this article has helped you understand the different methods to calculate months between dates in Excel. Whether you're a beginner or an advanced user, mastering these formulas will save you time and effort in your spreadsheet tasks.
Now, it's your turn! Share your favorite Excel date formulas and tips in the comments below.
