Intro
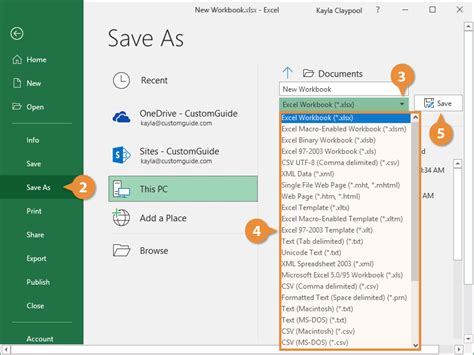
Learn how to save Excel files as XLSX using VBA with ease. Discover the simple steps to automate file saving in Excel VBA, including working with file formats, file paths, and VBA macros. Master the art of saving XLSX files programmatically and boost your productivity with this easy-to-follow guide on Excel VBA file saving.
Saving Excel files as XLSX using VBA is an efficient way to manage and standardize your spreadsheet files. In this article, we will explore the importance of using VBA to save Excel files, the benefits of using the XLSX format, and provide a step-by-step guide on how to use VBA to save Excel files as XLSX.
Why Use VBA to Save Excel Files?
VBA (Visual Basic for Applications) is a powerful tool that allows you to automate tasks in Excel. By using VBA to save Excel files, you can streamline your workflow, reduce manual errors, and increase productivity. With VBA, you can create custom scripts that can save files in a specific format, location, and naming convention.
Benefits of Using XLSX Format
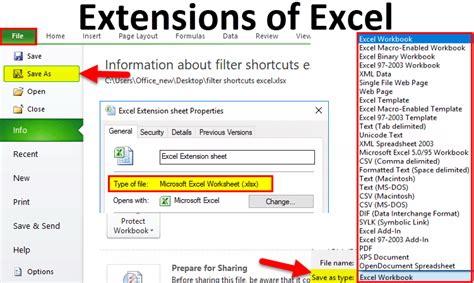
XLSX is a popular file format used by Excel and other spreadsheet software. The benefits of using XLSX format include:
- Compatibility: XLSX files can be opened by most spreadsheet software, including Excel, Google Sheets, and LibreOffice Calc.
- Security: XLSX files are less prone to corruption and data loss compared to older file formats like XLS.
- Flexibility: XLSX files can store a wide range of data, including formulas, charts, and formatting.
How to Use VBA to Save Excel Files as XLSX
To use VBA to save Excel files as XLSX, follow these steps:
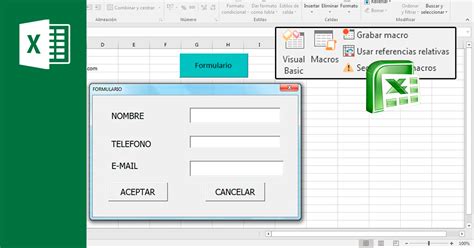
Step 1: Open the Visual Basic Editor
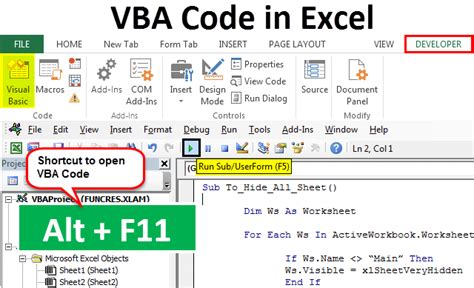
To open the Visual Basic Editor, press Alt + F11 or navigate to Developer > Visual Basic in the ribbon.
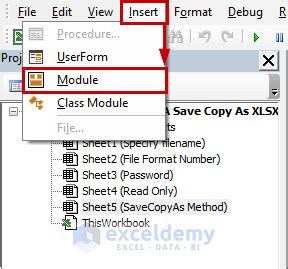
Step 2: Create a New Module
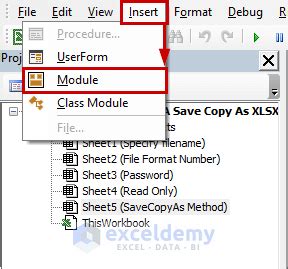
In the Visual Basic Editor, click Insert > Module to create a new module.
Step 3: Write the VBA Code
In the module, paste the following VBA code:
Sub SaveAsXLSX()
    Dim filePath As String
    Dim fileName As String

    ' Specify the file path and name
    filePath = "C:\Users\YourName\Documents\"
    fileName = "MyWorkbook"

    ' Save the file as XLSX
    ActiveWorkbook.SaveAs fileName:=filePath & fileName & ".xlsx", FileFormat:=xlOpenXMLWorkbook
End Sub
Step 4: Run the VBA Code
To run the VBA code, click Run > Run Sub/UserForm or press F5.
Tips and Variations
- To save the file with a specific naming convention, modify the
fileNamevariable to include a timestamp or other unique identifier. - To save the file in a different location, modify the
filePathvariable to specify a different directory. - To save multiple files, create a loop that iterates through a range of files and saves each one as XLSX.
Gallery of Saving Excel Files as XLSX
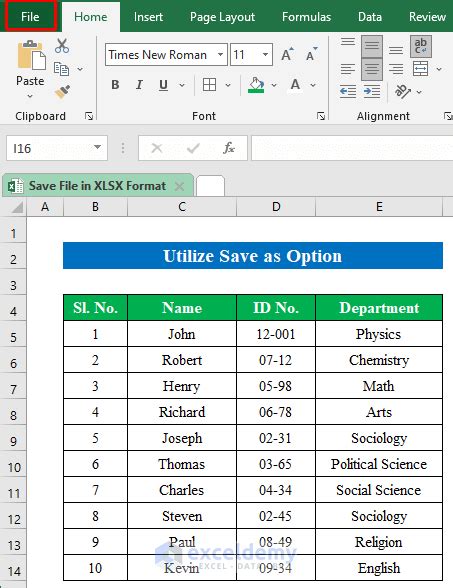
Saving Excel Files as XLSX Gallery
Frequently Asked Questions
Q: How do I save an Excel file as XLSX using VBA? A: To save an Excel file as XLSX using VBA, create a new module and paste the VBA code provided in this article.
Q: What is the benefit of using XLSX format? A: XLSX format is compatible with most spreadsheet software, secure, and flexible.
Q: Can I modify the VBA code to save files with a specific naming convention?
A: Yes, you can modify the fileName variable to include a timestamp or other unique identifier.
Conclusion
Saving Excel files as XLSX using VBA is a simple and efficient way to manage and standardize your spreadsheet files. By following the steps outlined in this article, you can create a VBA script that saves files in a specific format, location, and naming convention. With the benefits of using XLSX format and the flexibility of VBA, you can streamline your workflow and increase productivity.
