Unlock the Power of Automated Emails with Excel VBA
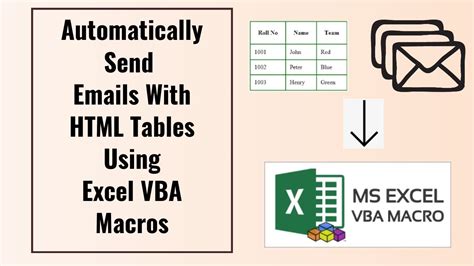
In today's fast-paced business world, automating tasks can save time, increase productivity, and improve overall efficiency. One such task that can be automated is sending emails. With Excel VBA, you can automate email sending, making it a powerful tool for businesses and individuals alike. In this article, we will explore the world of automated emails with Excel VBA and provide a step-by-step tutorial on how to get started.
Why Automate Emails with Excel VBA?
Automating emails with Excel VBA offers numerous benefits, including:
- Time-saving: Automating emails saves time and effort, allowing you to focus on more critical tasks.
- Increased productivity: With automated emails, you can send multiple emails at once, increasing your productivity.
- Improved accuracy: Automated emails reduce the risk of human error, ensuring that emails are sent to the right people with the correct information.
- Enhanced customer experience: Automated emails can be used to send personalized messages, improving the customer experience.
Getting Started with Excel VBA
Before we dive into the tutorial, let's cover the basics of Excel VBA.
- What is VBA? VBA (Visual Basic for Applications) is a programming language used to create and automate tasks in Microsoft Office applications, including Excel.
- What is Excel VBA? Excel VBA is a specific implementation of VBA used in Excel to automate tasks, such as sending emails.
To get started with Excel VBA, follow these steps:
- Open Excel and navigate to the Developer tab. If you don't see the Developer tab, go to File > Options > Customize Ribbon and check the box next to Developer.
- Click on the Visual Basic button to open the VBA editor.
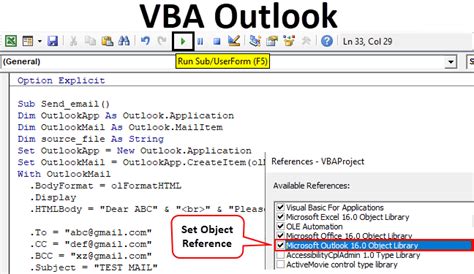
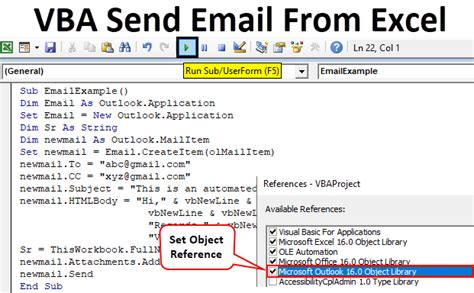
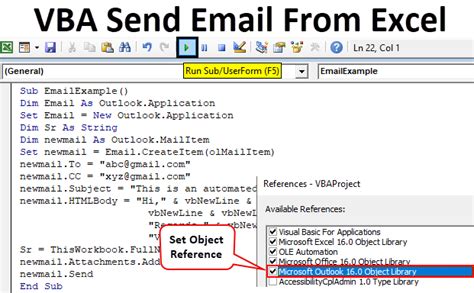
- In the VBA editor, click on Tools > References and ensure that the Microsoft Outlook Object Library is checked.
Step-by-Step Tutorial: Automating Emails with Excel VBA
Now that we have covered the basics, let's move on to the step-by-step tutorial.
Step 1: Set up your email template
- Create a new worksheet in Excel and set up your email template. This can include the recipient's email address, subject line, and body of the email.
- Use Excel formulas and functions to populate the template with data.
Step 2: Create a VBA script
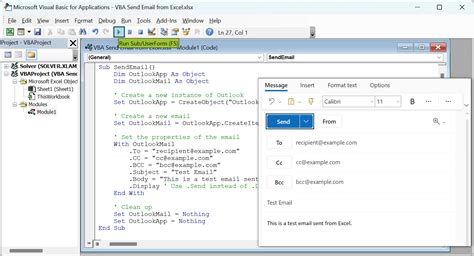
- Open the VBA editor and create a new module by clicking on Insert > Module.
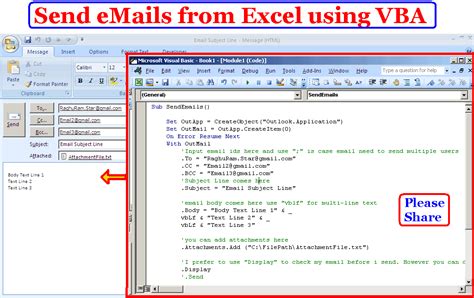
- Paste the following code into the module:
Sub SendEmail()
    Dim olApp As Object
    Dim olMail As Object
    Set olApp = CreateObject("Outlook.Application")
    Set olMail = olApp.CreateItem(0)

    'Set email template
    With olMail
       .To = Range("A1").Value
       .Subject = Range("B1").Value
       .Body = Range("C1").Value
    End With

    'Send email
    olMail.Send

    'Clean up
    Set olMail = Nothing
    Set olApp = Nothing
End Sub
Step 3: Configure the email template
- Go back to your worksheet and configure the email template. Use the VBA script to populate the template with data.
- Use Excel formulas and functions to ensure that the data is accurate and up-to-date.
Step 4: Run the VBA script
- Go back to the VBA editor and run the script by clicking on Run > Run Sub/UserForm.
- The script will send the email using the template and data you provided.
Advanced Techniques: Looping and Conditional Statements
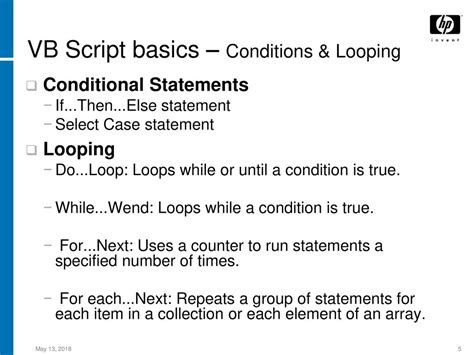
Once you have mastered the basics of automating emails with Excel VBA, you can move on to more advanced techniques, such as looping and conditional statements.
- Looping: Use the For Next loop to send multiple emails at once. This can be useful when sending emails to a large list of recipients.
- Conditional statements: Use If statements to control the flow of your script. This can be useful when sending emails based on specific conditions.
Example code:
Sub SendEmails()
    Dim olApp As Object
    Dim olMail As Object
    Set olApp = CreateObject("Outlook.Application")

    'Loop through email list
    For i = 1 To 10
        Set olMail = olApp.CreateItem(0)

        'Set email template
        With olMail
           .To = Range("A" & i).Value
           .Subject = Range("B" & i).Value
           .Body = Range("C" & i).Value
        End With

        'Send email
        olMail.Send

        'Clean up
        Set olMail = Nothing
    Next i

    Set olApp = Nothing
End Sub
Gallery of Automating Emails with Excel VBA
Automating Emails with Excel VBA Image Gallery



By following this tutorial and mastering the advanced techniques, you can unlock the full potential of automating emails with Excel VBA. Take the first step today and start saving time and increasing productivity!
We hope you found this article helpful. Share your thoughts and experiences with automating emails with Excel VBA in the comments below.
