
Intro
Unlock the ultimate modeling experience with our in-depth F-22 Raptor plastic model kit review and build guide. Discover the intricacies of this 5th-generation stealth fighter, from its aerodynamic design to advanced avionics. Get expert tips and tricks for a flawless assembly, and elevate your scale modeling skills with this comprehensive tutorial, featuring scale modeling techniques, model kit reviews, and stealth aircraft insights.
The F-22 Raptor is a fifth-generation supermaneuverable fighter jet developed by Lockheed Martin for the United States Air Force. As one of the most advanced military aircraft in the world, the F-22 has captivated the attention of aviation enthusiasts and scale modelers alike. In this article, we will review the F-22 Raptor plastic model kit and provide a comprehensive build guide for hobbyists.

Kit Overview
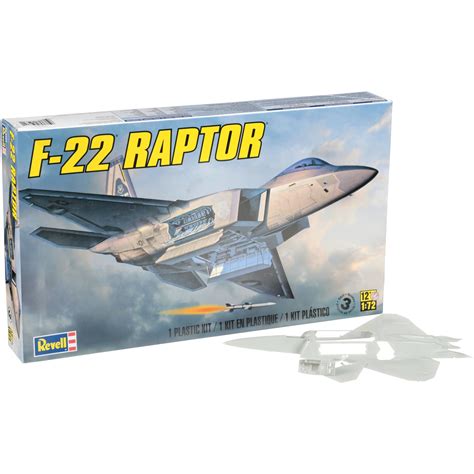
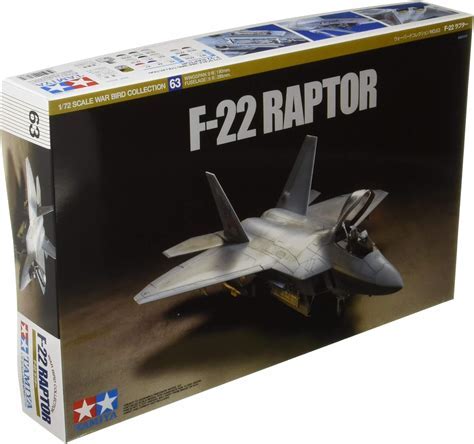
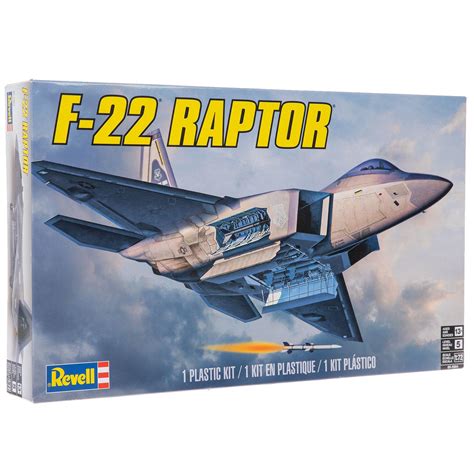
The F-22 Raptor plastic model kit we will be reviewing is produced by Revell, a renowned model kit manufacturer. This 1/48 scale kit consists of 235 parts, including detailed cockpit and engine components, as well as a range of missiles and bombs. The kit also features engraved panel lines, a detailed radar system, and a separate nose section.
Kit Specifications
- Scale: 1/48
- Parts: 235
- Dimensions: 12.25 inches (31.1 cm) long, 8.25 inches (20.9 cm) wide
- Recommended age: 14 and above
- Skill level: Intermediate to advanced
Unboxing and Inventory
Upon opening the box, you'll find a range of sprues containing the various parts, including:
- 5 sprues of gray plastic for the main airframe, cockpit, and engine components
- 1 sprue of clear plastic for the canopy and other transparent parts
- 1 sprue of photo-etched metal parts for details such as seatbelts and radar antennas
- Decals for the US Air Force and various other markings

Building the F-22 Raptor Model Kit
Before starting the build, make sure to carefully read the instructions and familiarize yourself with the parts. Here's a step-by-step guide to help you build the F-22 Raptor model kit:
Step 1: Cockpit Assembly
- Start by assembling the cockpit, which consists of the seat, instrument panel, and control stick.
- Use a small amount of glue to attach the parts together, making sure not to leave any gaps.
- Paint the cockpit components according to the instructions.
Step 2: Engine Assembly
- Assemble the engine components, including the nozzle, fan, and engine block.
- Make sure to align the parts carefully and use a small amount of glue to attach them.
Step 3: Airframe Assembly
- Assemble the main airframe components, including the fuselage, wings, and tail.
- Use a small amount of glue to attach the parts together, making sure to align them carefully.
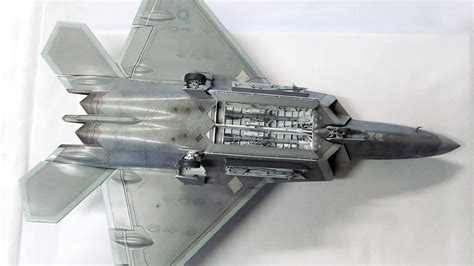
Step 4: Adding Details
- Add details such as radar antennas, missiles, and bombs.
- Use photo-etched metal parts to add a high level of detail.
Step 5: Decaling and Painting
- Apply decals to the model according to the instructions.
- Paint the model using acrylic paints, following the color scheme of the US Air Force.

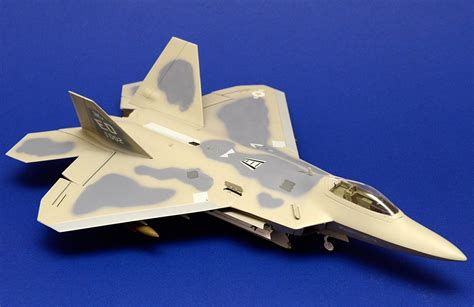
Gallery of F-22 Raptor Model Kits
F-22 Raptor Model Kit Gallery


Conclusion
The F-22 Raptor plastic model kit is a challenging but rewarding build for intermediate to advanced hobbyists. With its detailed cockpit, engine, and airframe components, this kit is perfect for those who want to create a realistic representation of this advanced fighter jet. By following this build guide and using the recommended techniques and materials, you can create a stunning model that showcases your skills and attention to detail. Whether you're a seasoned modeler or just starting out, this kit is sure to provide hours of enjoyment and satisfaction.
We hope this review and build guide has been helpful in your modeling journey. If you have any questions or comments, please feel free to share them with us below. Happy building!