
Learn how to field strip a Glock 45 with ease. Discover the 7 essential steps to safely disassemble and maintain your firearm. Master the art of Glock maintenance with our comprehensive guide, covering topics like takedown, slide removal, and trigger mechanism access. Improve your gun care skills and ensure optimal performance.
The Glock 45 is a popular handgun known for its reliability and durability. Field stripping a Glock 45 is a crucial skill for any gun owner, as it allows for routine maintenance and cleaning. In this article, we will walk you through the 7 steps to field strip a Glock 45.
The Importance of Field Stripping
Field stripping is the process of disassembling a firearm into its major components, allowing for cleaning and maintenance. Regular field stripping can help prevent malfunctions, reduce wear and tear, and ensure the longevity of your Glock 45. Before we begin, make sure you have a clear workspace, a soft brush, and a cleaning solution.
Safety Precautions
Before starting the field stripping process, ensure that your Glock 45 is unloaded. Check the chamber and magazine to confirm that there are no rounds present. It's also essential to wear safety glasses and a pair of gloves to protect yourself from any potential debris.
Step 1: Remove the Magazine
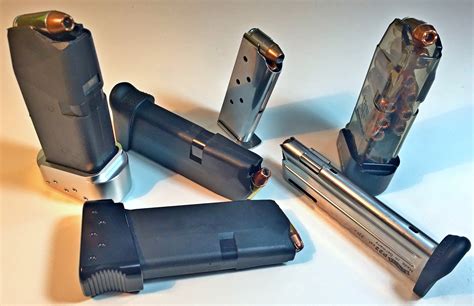
Start by removing the magazine from the Glock 45. Press the magazine release button, located on the right side of the frame, and slide the magazine out of the grip.
Step 2: Rack the Slide

Rack the slide back, making sure it's in the locked position. This will allow you to access the barrel and other internal components.
Step 3: Remove the Slide Stop
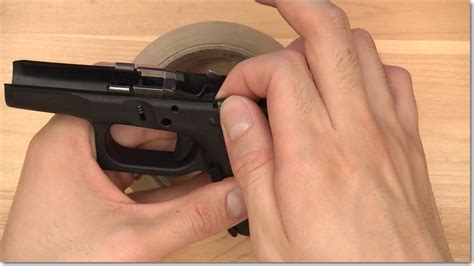
Press the slide stop lever, located on the left side of the frame, and pull it out of the gun. This will allow you to remove the slide.
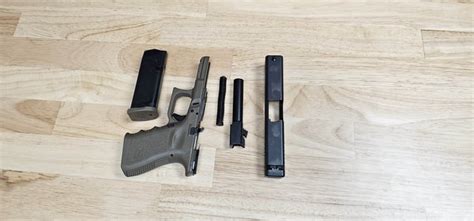
Step 4: Remove the Slide
Carefully pull the slide forward and off the frame. This will give you access to the barrel, recoil spring, and other internal components.
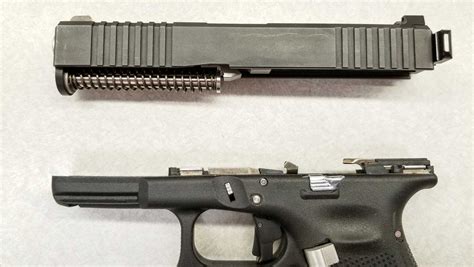
Step 5: Remove the Barrel
Pull the barrel out of the slide, taking care not to touch the rifling. Set the barrel aside for cleaning.
Step 6: Remove the Recoil Spring
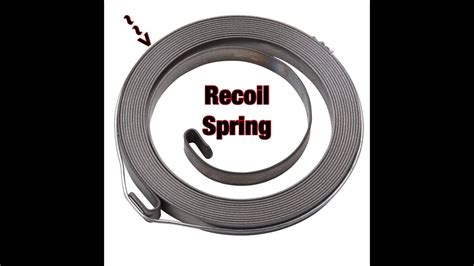
Pull the recoil spring out of the slide, taking care not to stretch or damage it.
Step 7: Reassemble the Glock 45
Once you've completed the field stripping process, reassemble the Glock 45 in the reverse order. Make sure all components are properly aligned and seated before reassembling the gun.
Glock 45 Field Strip Image Gallery
Glock 45 Field Strip Image Gallery


Conclusion
Field stripping a Glock 45 is a straightforward process that requires attention to detail and patience. By following these 7 steps, you'll be able to properly maintain and clean your Glock 45, ensuring its longevity and reliability. Remember to always handle firearms safely and responsibly, and seek professional guidance if you're unsure about any aspect of the process.