
Creating a Google Form reservation template can be a game-changer for businesses and individuals looking to streamline their booking processes. Whether you're a hotel owner, a restaurant manager, or a tour operator, a well-designed Google Form can help you manage reservations with ease. In this article, we'll explore 7 ways to create a Google Form reservation template that suits your needs.
Why Use Google Forms for Reservations?
Before we dive into the nitty-gritty of creating a Google Form reservation template, let's explore why you should use Google Forms in the first place. Here are a few compelling reasons:
- Easy to use: Google Forms is an intuitive platform that requires no coding skills or technical expertise.
- Customizable: You can tailor your form to fit your brand's style and requirements.
- Cost-effective: Google Forms is free to use, making it an excellent choice for small businesses or individuals.
- Scalable: Google Forms can handle a large volume of submissions, making it perfect for businesses with high demand.
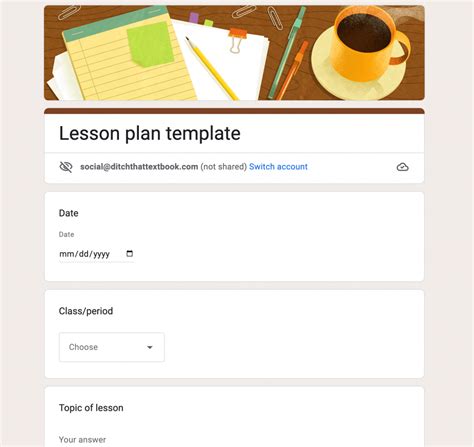
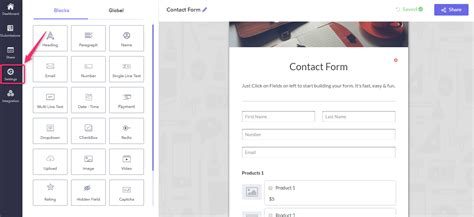
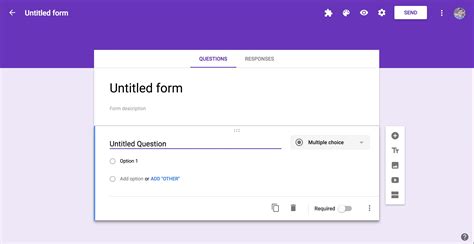
Method 1: Basic Google Form Template
Let's start with the basics. A simple Google Form template can be created using the following steps:
- Go to Google Forms and sign in with your Google account.
- Click on the "+" button to create a new form.
- Add a title and description to your form.
- Create fields for name, email, phone number, and reservation details (e.g., date, time, number of guests).
- Use the "Paragraph text" field to add a message or instruction for the user.
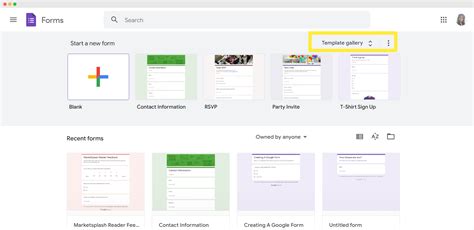
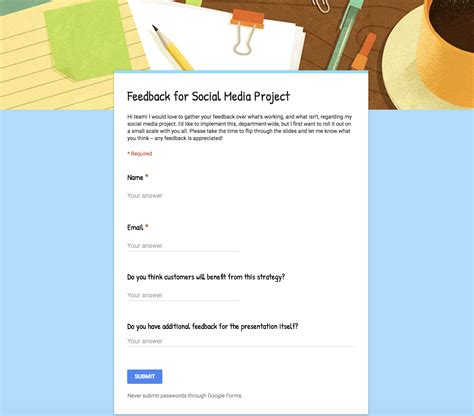
Method 2: Using Google Forms Templates
Google Forms offers a range of pre-designed templates that you can use as a starting point for your reservation form. To access these templates, follow these steps:
- Go to Google Forms and sign in with your Google account.
- Click on the "Template" button.
- Browse through the available templates and select the one that suits your needs.
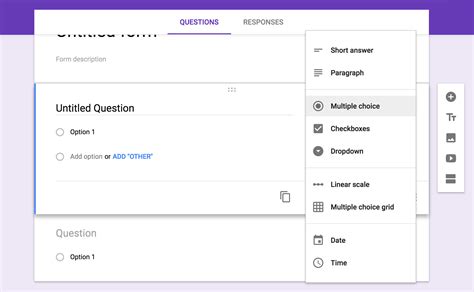
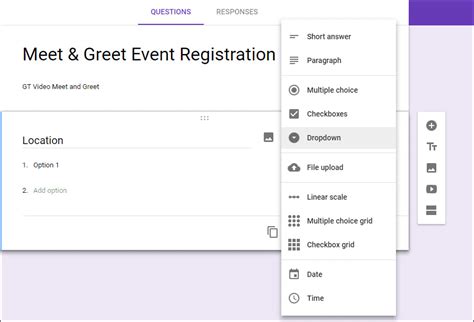
Method 3: Creating a Multi-Page Form
If you need to collect more information from your users, consider creating a multi-page form. This can help to reduce clutter and make the form more manageable for users. To create a multi-page form:
- Go to Google Forms and sign in with your Google account.
- Create a new form or edit an existing one.
- Click on the "Add page" button.
- Create fields and sections for each page.
- Use the "Go to page" button to link each page.

Method 4: Using Conditional Logic
Conditional logic allows you to create dynamic forms that adapt to user input. For example, you can create a form that asks users to select a date and time, and then uses conditional logic to display additional fields or sections based on their selection.
To use conditional logic in Google Forms:
- Go to Google Forms and sign in with your Google account.
- Create a new form or edit an existing one.
- Click on the "Settings" button.
- Select the "Presentations" tab.
- Click on the "Conditional logic" button.
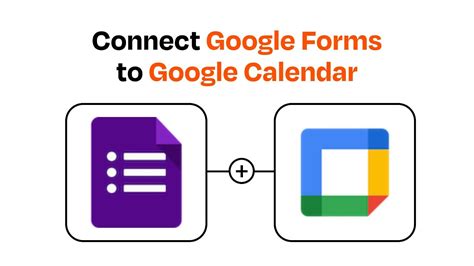
Method 5: Adding a Calendar Integration
If you're using Google Forms to manage reservations, it's likely that you'll want to integrate your form with a calendar. This allows users to select a date and time, and then syncs the reservation with your calendar.
To add a calendar integration to your Google Form:
- Go to Google Forms and sign in with your Google account.
- Create a new form or edit an existing one.
- Click on the "Add-ons" button.
- Select the "Google Calendar" add-on.
- Follow the prompts to set up the integration.
Method 6: Creating a Responsive Form
A responsive form is one that adapts to different screen sizes and devices. This ensures that your form looks great on desktops, laptops, tablets, and mobile devices.
To create a responsive form in Google Forms:
- Go to Google Forms and sign in with your Google account.
- Create a new form or edit an existing one.
- Click on the "Settings" button.
- Select the "Presentations" tab.
- Click on the "Responsive" button.
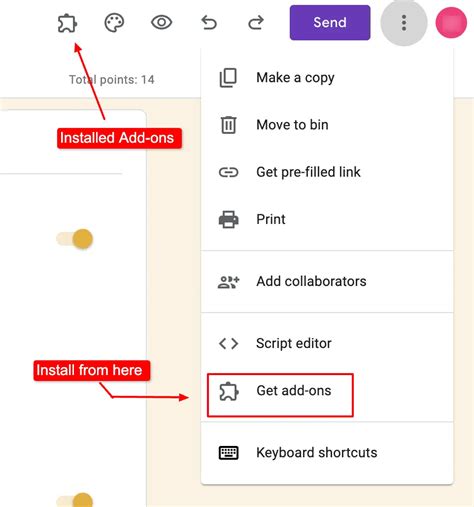
Method 7: Using Google Forms Add-ons
Google Forms has a range of add-ons that can help you to extend the functionality of your form. For example, you can use add-ons to:
- Validate user input
- Send notifications
- Create custom buttons
- Integrate with other apps
To use Google Forms add-ons:
- Go to Google Forms and sign in with your Google account.
- Create a new form or edit an existing one.
- Click on the "Add-ons" button.
- Browse through the available add-ons and select the one that suits your needs.
Gallery of Google Form Templates
Google Form Templates


Conclusion
Creating a Google Form reservation template is a straightforward process that can help you to streamline your booking processes. With the 7 methods outlined in this article, you can create a form that meets your specific needs and requirements. Remember to use conditional logic, calendar integrations, and responsive design to create a form that is both functional and user-friendly. Don't forget to explore the range of Google Forms add-ons and templates available to help you to extend the functionality of your form.