
Intro
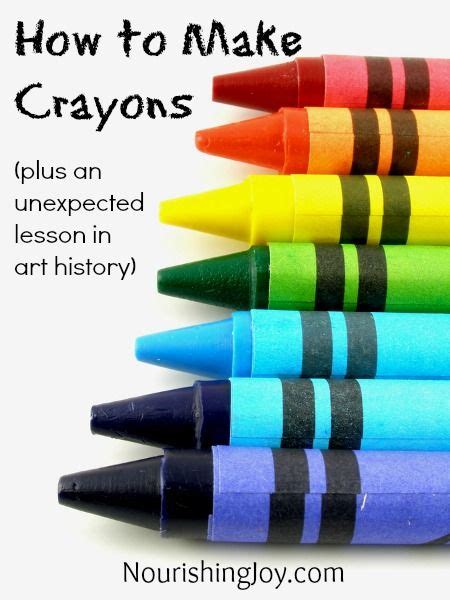
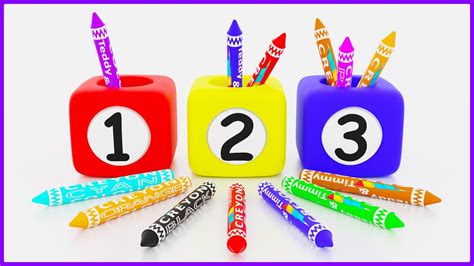
Discover the art of creating colorful crayons in 5 easy steps. Learn the crayon making process, from mixing pigments and binder to shaping and hardening. Uncover the secrets of transforming raw materials into vibrant, durable art supplies. Get ready to unleash your creativity and bring color to life with our simple, step-by-step guide to making crayons.
For many of us, crayons are a nostalgic reminder of our childhood days spent coloring and creating. But have you ever wondered how these colorful sticks are made? The process of creating crayons is quite fascinating, and in this article, we will delve into the world of crayon manufacturing and break it down into 5 simple steps.
The art of making crayons has been around for centuries, with the first crayons made from a combination of charcoal and oil. Over the years, the process has evolved, and today, crayons are made from a mixture of paraffin wax, pigments, and other additives. Let's take a closer look at the steps involved in making these colorful art supplies.
Step 1: Mixing the Ingredients
The first step in making crayons is to mix the ingredients together. This includes paraffin wax, pigments, and other additives such as silica, talc, and silicone. The paraffin wax is the main component of the crayon, providing the structure and shape. The pigments are added to give the crayon its color, while the additives help to improve the crayon's strength and durability.
The ingredients are mixed together in a large container, where they are heated and stirred until they are fully incorporated. The mixture is then cooled and formed into a large block.
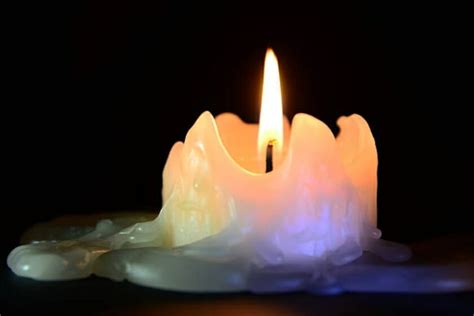
Step 2: Melting the Wax
The next step is to melt the wax mixture in a large vat. This is done by heating the mixture to a high temperature, typically around 180°F to 200°F. The melted wax is then stirred and mixed until it is smooth and consistent.
The melting process is an important step in making crayons, as it helps to ensure that the wax is fully incorporated and that the crayon will have a smooth and even texture.
Step 3: Adding Color
Once the wax is melted, it's time to add the color. This is done by adding pigments to the melted wax mixture. The pigments are added in small amounts, and the mixture is stirred until the color is evenly distributed.
The type and amount of pigment used will depend on the desired color of the crayon. Some crayons may require only a small amount of pigment, while others may require more.
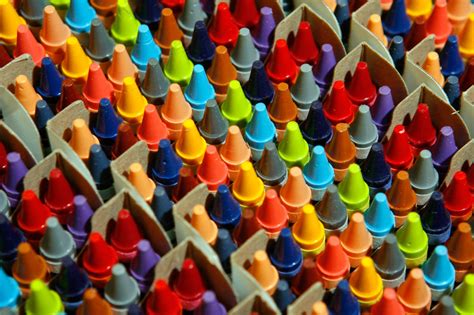
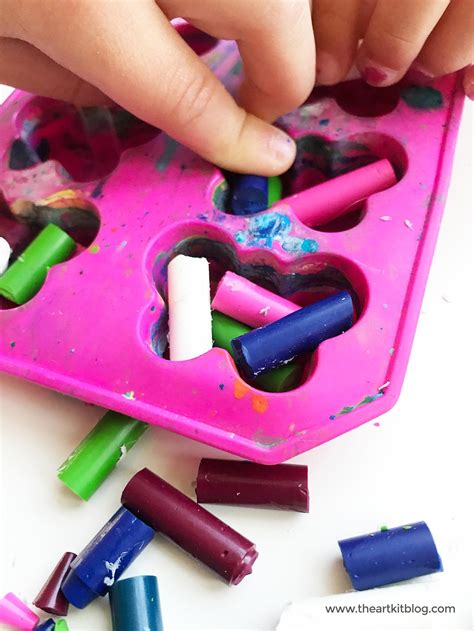
Step 4: Shaping the Crayon
With the wax mixture now colored, it's time to shape the crayon. This is done by pouring the melted wax mixture into a mold. The mold is shaped like a long, thin stick, and the wax mixture is poured into it.
The wax mixture is then allowed to cool and harden in the mold. Once hardened, the crayon is removed from the mold and is now ready to use.
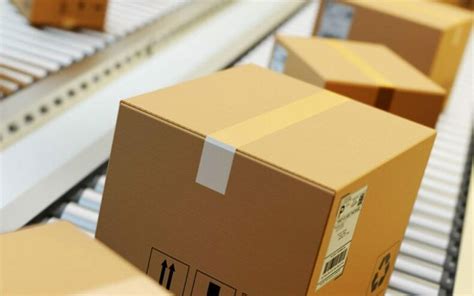
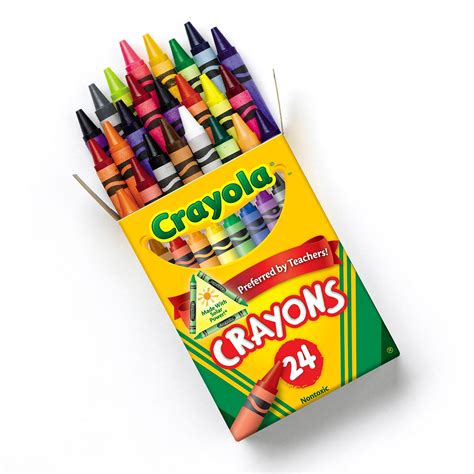
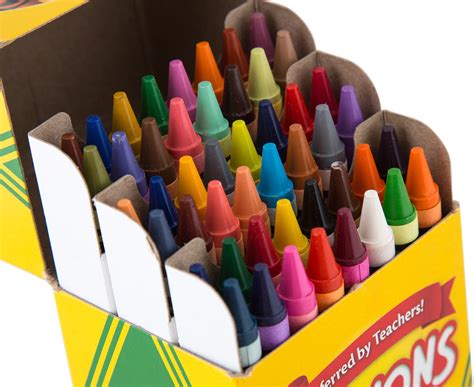
Step 5: Packaging and Distribution
The final step in making crayons is to package and distribute them. This involves placing the crayons in boxes or bags and shipping them to stores.
Some crayons may also undergo additional processing, such as labeling or wrapping, before they are shipped.
Conclusion: The Joy of Crayons
And that's it! With these 5 simple steps, we have explored the process of making crayons. From mixing the ingredients to packaging and distribution, it's a fascinating process that brings joy to children and adults alike.
Whether you're an artist, a teacher, or just someone who loves to color, crayons are a great way to express yourself and bring creativity to life.
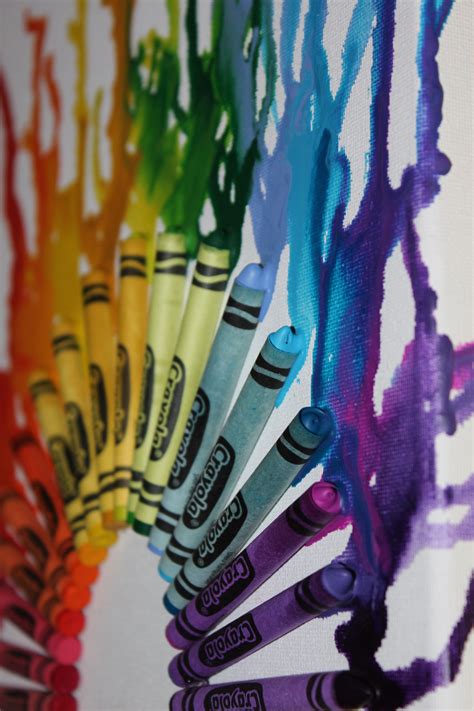
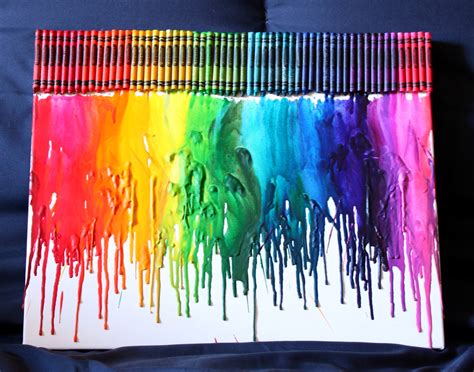
Crayon Making Process Image Gallery

We hope you enjoyed this article on the crayon making process. Whether you're a fan of crayons or just curious about how they're made, we're glad you joined us on this journey.
Now, it's your turn! Share your favorite crayon color or memory with us in the comments below. Do you have a favorite art project that you created with crayons? We'd love to hear about it!
Don't forget to share this article with your friends and family, and follow us for more fun and informative content. Happy coloring!