
Excel is a powerful tool for creating graphs and charts to help visualize data. One common task when working with data is to add a trendline or slope to a graph to help illustrate the relationship between two variables. In this article, we'll explore five ways to add slope to an Excel graph.

Understanding the Importance of Slope in Excel Graphs
Before we dive into the methods for adding slope to an Excel graph, it's essential to understand why slope is important. Slope represents the rate of change between two variables, and it can be a powerful tool for analyzing data. By adding slope to a graph, you can quickly identify trends and patterns in your data, making it easier to make informed decisions.
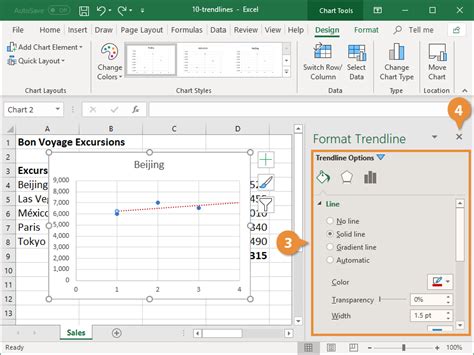
Method 1: Using the Trendline Feature
One of the easiest ways to add slope to an Excel graph is to use the built-in Trendline feature. To do this:
- Select the data range you want to graph.
- Go to the "Insert" tab and click on "Chart."
- Choose a chart type, such as a scatter plot or line chart.
- Click on the chart to select it.
- Go to the "Chart Tools" tab and click on "Trendline."
- Select the type of trendline you want to add, such as a linear or polynomial trendline.
- Click "OK" to add the trendline to your graph.
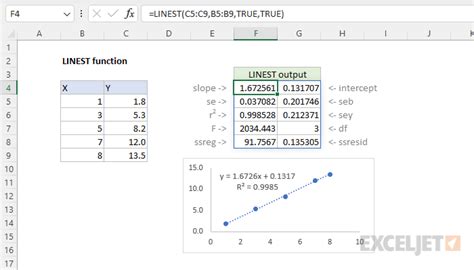
Method 2: Using the LINEST Function
Another way to add slope to an Excel graph is to use the LINEST function. This function returns the slope and intercept of a linear regression line.
- Select the data range you want to graph.
- Go to the "Formulas" tab and click on "More Functions."
- Select "Statistical" and then "LINEST."
- Enter the range of x-values and y-values, separated by commas.
- Click "OK" to return the slope and intercept.
- Use the slope and intercept to create a linear regression line on your graph.
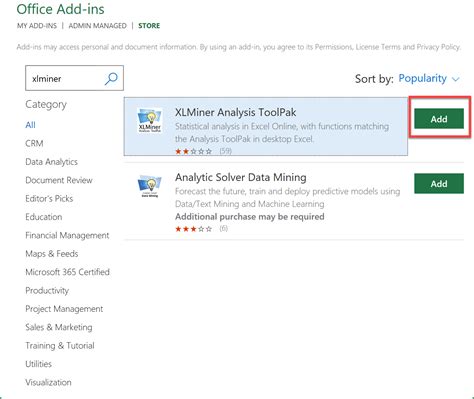
Method 3: Using a Third-Party Add-In
If you need more advanced features for adding slope to an Excel graph, you can use a third-party add-in. One popular option is the "XLMiner" add-in, which provides a range of statistical and data analysis tools.
- Download and install the XLMiner add-in.
- Select the data range you want to graph.
- Go to the "XLMiner" tab and click on "Data Analysis."
- Select "Regression" and then "Linear Regression."
- Enter the range of x-values and y-values, separated by commas.
- Click "OK" to add the regression line to your graph.
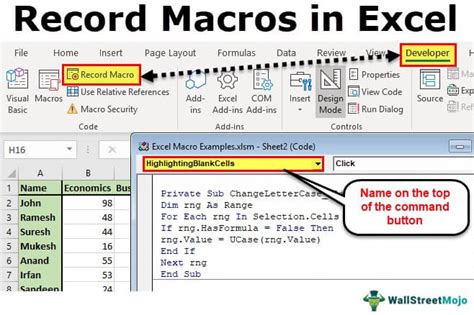
Method 4: Using a Macro
If you need to add slope to an Excel graph programmatically, you can use a macro. A macro is a set of instructions that can be executed automatically.
- Open the Visual Basic Editor by pressing "Alt + F11" or navigating to "Developer" > "Visual Basic."
- Create a new module by clicking "Insert" > "Module."
- Paste the following code:
Sub AddSlopeToGraph()
    Dim chart As Chart
    Set chart = ActiveSheet.ChartObjects(1).Chart
    chart.SeriesCollection.NewSeries
    chart.SeriesCollection(1).Trendlines.Add
    chart.SeriesCollection(1).Trendlines(1).Type = xlLinear
End Sub
- Run the macro by clicking "Run" > "Run Sub/UserForm."
Method 5: Using a Formula
Finally, you can add slope to an Excel graph using a formula. This method requires some mathematical knowledge, but it can be a powerful way to customize your graph.
- Select the data range you want to graph.
- Create a new column next to the data range.
- Enter the following formula:
=SLOPE(B2:B10, A2:A10)
This formula returns the slope of the linear regression line. 4. Use the slope value to create a linear regression line on your graph.

Gallery of Excel Graph Slope
Excel Graph Slope Image Gallery


Conclusion
Adding slope to an Excel graph can be a powerful way to analyze data and make informed decisions. In this article, we explored five methods for adding slope to an Excel graph, including using the Trendline feature, the LINEST function, a third-party add-in, a macro, and a formula. Whether you're a seasoned data analyst or just starting out, these methods can help you unlock the power of slope in your Excel graphs.