
In today's digital landscape, having a professional online presence is crucial for individuals and businesses alike. Squarespace, a popular website builder, offers a range of templates to help users create stunning websites. However, as your online presence evolves, you may find that your current template no longer aligns with your brand or needs. Fortunately, changing your Squarespace template is a relatively straightforward process. In this article, we'll guide you through the steps to change your Squarespace template in version 7.1.
Why Change Your Squarespace Template?

Before we dive into the process, let's explore the reasons why you might want to change your Squarespace template:
- Rebranding: If your business or personal brand has undergone a significant transformation, a new template can help reflect your updated identity.
- Improved user experience: A new template can provide a fresh layout, better navigation, and enhanced mobile responsiveness, leading to a more engaging user experience.
- Increased functionality: Depending on your needs, a new template might offer additional features, such as e-commerce integration, blogging tools, or custom layouts.
Preparing for the Template Change
Before making the switch, it's essential to prepare your website and content:
- Backup your site: Ensure you have a recent backup of your website to prevent any potential losses during the template change process.
- Review your content: Take this opportunity to review and update your content, including text, images, and other media, to ensure it aligns with your new template and brand.
- Choose a new template: Browse Squarespace's template library and select a new template that aligns with your brand and needs.
Step-by-Step Guide to Changing Your Squarespace Template

Now that you're prepared, follow these steps to change your Squarespace template:
- Log in to your Squarespace account: Go to your Squarespace dashboard and log in with your credentials.
- Access the template panel: Click on the "Design" tab in the top navigation menu, then select "Templates" from the dropdown menu.
- Browse and select a new template: Browse the template library and choose a new template that suits your needs. You can filter templates by category, features, and style.
- Preview the template: Click on the "Preview" button to see how your content will look in the new template.
- Apply the new template: If you're satisfied with the preview, click the "Apply" button to apply the new template to your website.
- Customize your template: Once the new template is applied, you can customize it to fit your brand and needs. This may include adjusting layouts, adding or removing sections, and modifying styling options.
Troubleshooting and Tips
- Template compatibility: Ensure that your new template is compatible with your existing content and features.
- Content adjustments: Be prepared to make adjustments to your content to fit the new template's layout and design.
- Save regularly: Save your progress regularly to avoid losing any changes during the template change process.
Conclusion and Next Steps
Changing your Squarespace template in version 7.1 is a relatively straightforward process. By following these steps and preparing your website and content, you can give your online presence a fresh new look. Remember to save regularly, troubleshoot any issues, and customize your template to fit your brand and needs.
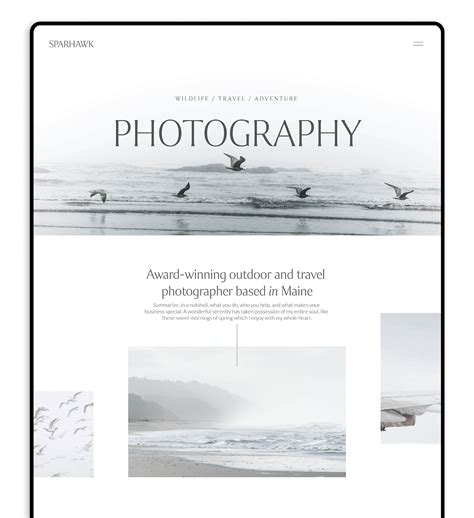
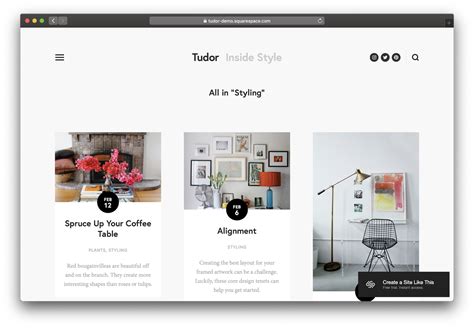
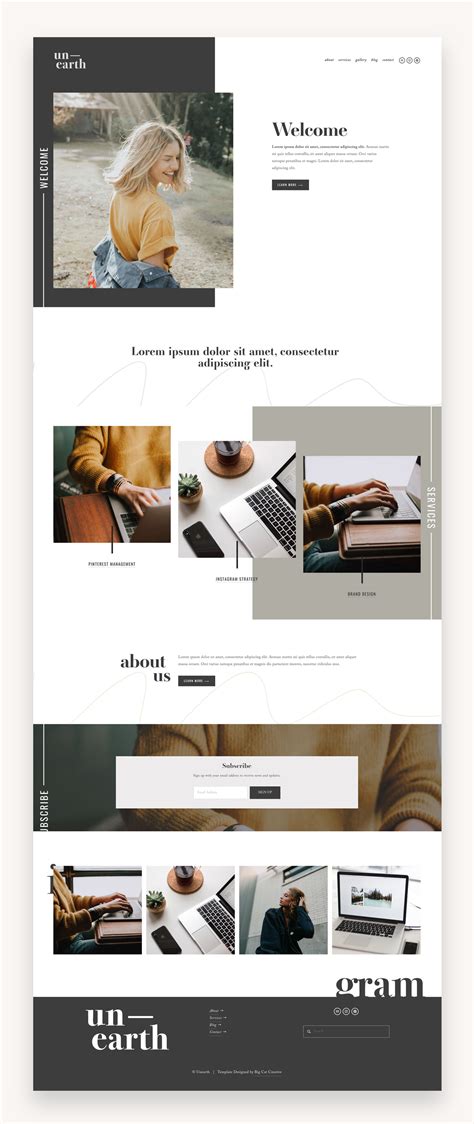
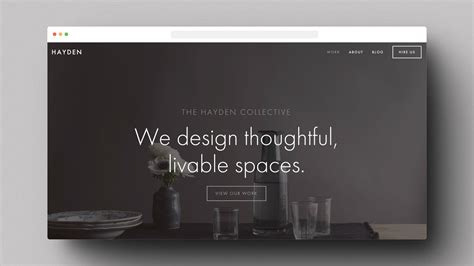
Squarespace Template Change Image Gallery


We hope this guide has helped you change your Squarespace template with ease. If you have any further questions or need assistance, please don't hesitate to reach out. Share your experiences and tips in the comments below, and don't forget to share this article with others who may find it helpful!