
Creating a time series plot in Excel is a great way to visualize and analyze data that varies over time. This type of plot is particularly useful for identifying trends, patterns, and correlations in data. In this article, we will walk you through the 5 easy steps to create a time series plot in Excel.
What is a Time Series Plot?
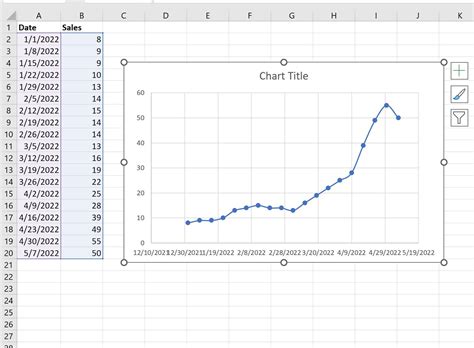
A time series plot is a graphical representation of data that varies over time. It is a type of line chart that displays data points at regular time intervals, such as days, weeks, months, or years. Time series plots are commonly used in finance, economics, and other fields to analyze and forecast data.
Why Create a Time Series Plot in Excel?
Creating a time series plot in Excel is a great way to quickly and easily visualize and analyze data. Excel provides a range of tools and features that make it easy to create and customize time series plots. Additionally, Excel is a widely used software that is easily accessible to most users.
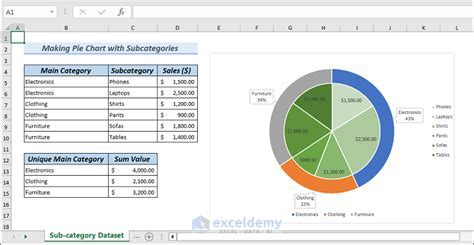
Step 1: Prepare Your Data
Before creating a time series plot, you need to prepare your data. This involves organizing your data into a table format with two columns: one for the date or time period and one for the data values.
Organize Your Data
Organize your data into a table format with two columns: one for the date or time period and one for the data values. Make sure that the date or time period is in a consistent format, such as MM/DD/YYYY or YYYY-MM-DD.
Step 2: Select the Data Range
Once you have prepared your data, select the range of cells that contains the data. To do this, click on the top left cell of the data range and drag your mouse down to the bottom right cell.
Select the Entire Data Range
Make sure to select the entire data range, including the headers and any blank cells.
Step 3: Create a Line Chart
To create a time series plot, you need to create a line chart. To do this, go to the "Insert" tab in the ribbon and click on the "Line" button.
Choose a Line Chart Type
Choose a line chart type that suits your data. For a time series plot, you can choose a simple line chart or a line chart with markers.
Step 4: Customize the Chart
Once you have created the line chart, you can customize it to suit your needs. You can add a title, axis labels, and a legend. You can also change the colors and fonts to match your preferences.
Add a Title and Axis Labels
Add a title to the chart and axis labels to the x and y axes. This will help to clarify the meaning of the data.
Step 5: Format the X Axis
Finally, you need to format the x axis to display the date or time period correctly. To do this, go to the "Format" tab in the ribbon and click on the "Axis" button.
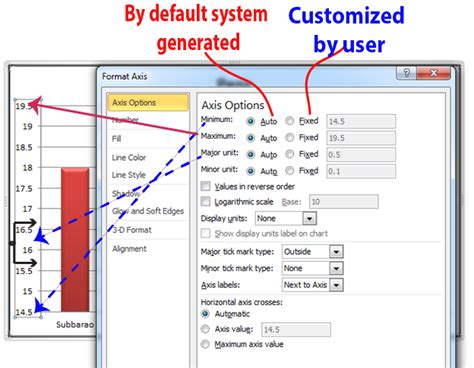
Choose a Date Format
Choose a date format that suits your data. For a time series plot, you can choose a format that displays the date or time period at regular intervals.
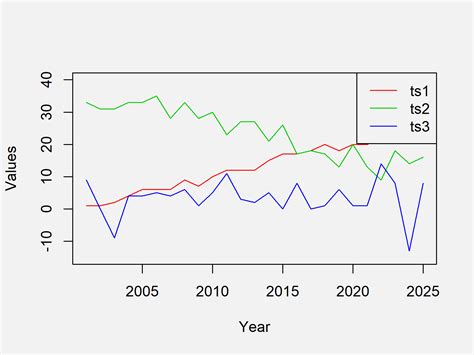
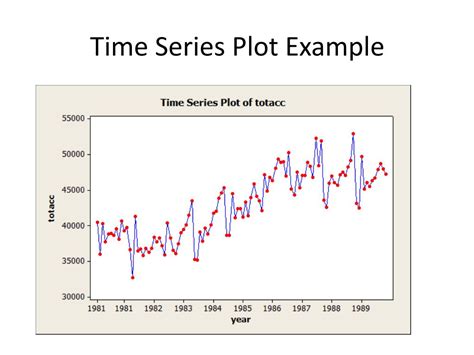
Time Series Plot Gallery


Final Thoughts
Creating a time series plot in Excel is a great way to visualize and analyze data that varies over time. By following the 5 easy steps outlined in this article, you can create a professional-looking time series plot that helps to clarify the meaning of your data.