
Flyers are an excellent way to promote events, products, or services, and creating one in Microsoft Word is easier than you think. With a few simple steps, you can design a professional-looking flyer that grabs attention and conveys your message effectively. In this article, we'll explore five easy ways to create a flyer in Word, along with some valuable tips and tricks to make your design stand out.
Why Use Microsoft Word to Create a Flyer?
Before we dive into the steps, let's quickly discuss why Microsoft Word is an excellent choice for creating flyers. Word offers a wide range of templates, design tools, and formatting options that make it easy to create a professional-looking flyer. Additionally, Word is a widely used software, making it easy to share and collaborate with others.
Method 1: Using a Pre-Designed Template
Microsoft Word offers a variety of pre-designed templates that can help you create a flyer in minutes. To access these templates, follow these steps:

- Open Microsoft Word and click on the "File" tab.
- Select "New" and then click on "Search for online templates."
- Type "flyer" in the search bar and press Enter.
- Browse through the available templates and select the one that suits your needs.
- Customize the template by adding your text, images, and other design elements.
Method 2: Using a Blank Document
If you prefer to start from scratch, you can create a flyer using a blank document in Word. Here's how:
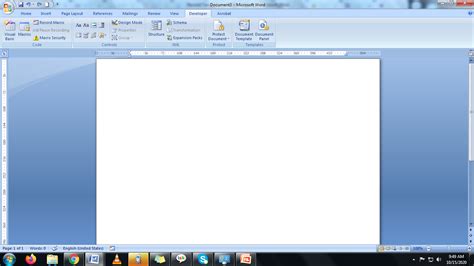
- Open Microsoft Word and click on the "File" tab.
- Select "New" and then click on "Blank Document."
- Set the page size to 8.5 x 11 inches (or any other size you prefer).
- Use the "Layout" tab to set the margins and orientation.
- Start designing your flyer by adding text, images, and other design elements.
Method 3: Using a Brochure Template
Did you know that you can use a brochure template to create a flyer in Word? Here's how:
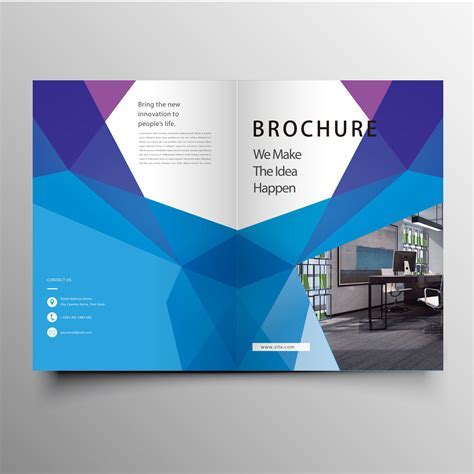
- Open Microsoft Word and click on the "File" tab.
- Select "New" and then click on "Search for online templates."
- Type "brochure" in the search bar and press Enter.
- Browse through the available templates and select the one that suits your needs.
- Customize the template by adding your text, images, and other design elements.
Method 4: Using a Table
Using a table is another great way to create a flyer in Word. Here's how:
- Open Microsoft Word and click on the "Insert" tab.
- Select "Table" and choose the number of rows and columns you need.
- Use the table to organize your content and add design elements.
- Customize the table by changing the border, shading, and other settings.
Method 5: Using a Graphics Software
If you have experience with graphics software like Adobe Illustrator or Canva, you can use these tools to create a flyer and then import it into Word. Here's how:

- Create your flyer design using a graphics software.
- Save the design as a PDF or JPEG file.
- Open Microsoft Word and click on the "Insert" tab.
- Select "Picture" and choose the file you saved.
- Resize and customize the image as needed.
Tips and Tricks
Here are some valuable tips and tricks to help you create a stunning flyer in Word:
- Use high-quality images and graphics to make your flyer stand out.
- Choose a clear and easy-to-read font, such as Arial or Helvetica.
- Use bold and italic text to emphasize important information.
- Add color and texture to your design to make it more visually appealing.
- Use the "Alignment" tool to ensure your text and images are aligned properly.
- Proofread your flyer carefully to catch any spelling or grammar errors.
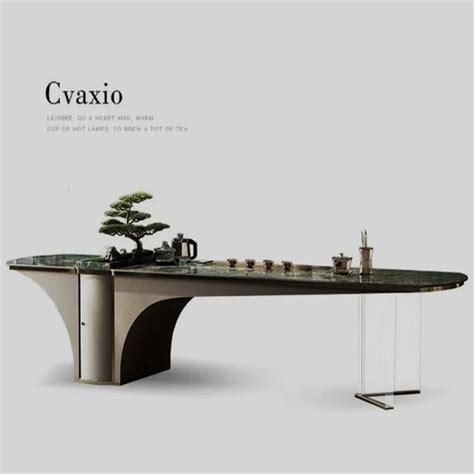
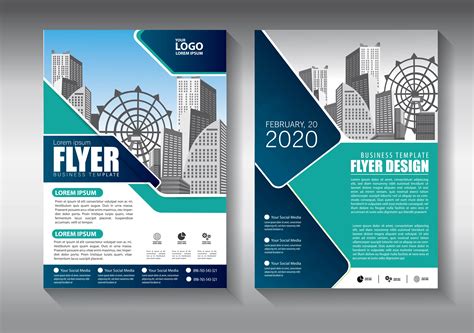
Gallery of Flyer Designs
Here are some examples of flyer designs to inspire you:
Flyer Design Gallery


Final Thoughts
Creating a flyer in Word is easier than you think, and with these five methods, you can design a professional-looking flyer in no time. Remember to use high-quality images, clear fonts, and bold colors to make your flyer stand out. Don't be afraid to experiment and try new things – and most importantly, have fun!
We hope this article has been helpful in guiding you through the process of creating a flyer in Word. If you have any questions or need further assistance, please don't hesitate to comment below. Happy designing!