Intro
Effortlessly manage your email contacts with our step-by-step guide on creating an Outlook distribution list from Excel in just 5 easy steps. Learn how to import contacts, create groups, and send targeted emails using Outlook distribution lists, contact lists, and email marketing strategies.
Managing large numbers of contacts and distributing emails to specific groups can be a daunting task. However, by utilizing the capabilities of both Excel and Outlook, you can streamline this process. Here's how you can create an Outlook distribution list from Excel in five straightforward steps.
Step 1: Organize Your Contacts in Excel
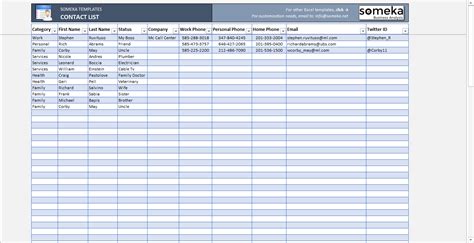
Start by ensuring your contacts are organized in a clear and structured format within an Excel spreadsheet. Each column should represent a different field, such as name, email address, department, etc. This organization will make it easier to import the data into Outlook.
Key Considerations for Organizing Contacts:
- Use a single sheet for all contacts. - Ensure each contact has a unique email address. - Keep the formatting consistent across the spreadsheet.Step 2: Save Your Excel Spreadsheet as a CSV File
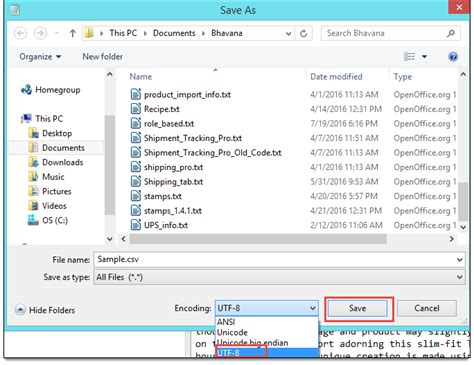
To import your contacts into Outlook, you'll need to save your Excel spreadsheet as a Comma Separated Values (CSV) file. This format is easily readable by Outlook and allows for a seamless import process.
How to Save as CSV:
- Go to the "File" menu. - Click on "Save As". - Select "CSV (Comma delimited)" from the file type options. - Choose a location and give your file a name. - Click "Save".Step 3: Import Contacts into Outlook
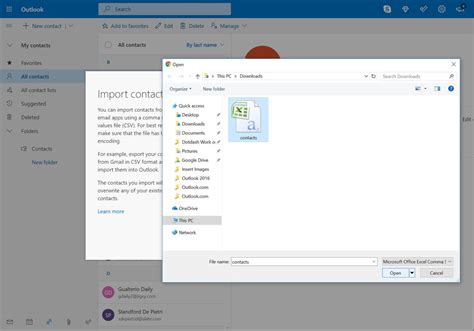
Now that you have your CSV file ready, you can proceed to import your contacts into Outlook. This process varies slightly depending on the version of Outlook you're using, but the general steps remain the same.
Importing Contacts in Outlook:
- Open Outlook and navigate to the "File" menu. - Click on "Open & Export" (in newer versions) or "Import and Export" (in older versions). - Select "Import from another program or file" and then click "Next". - Choose "Comma Separated Values (Windows)" and click "Next". - Browse for your CSV file, select it, and click "Next". - Choose where you want to import the contacts and click "Finish".Step 4: Create a Distribution List in Outlook

After importing your contacts, the next step is to create a distribution list. This list will allow you to send emails to multiple recipients at once without having to manually enter each email address.
Creating a Distribution List:
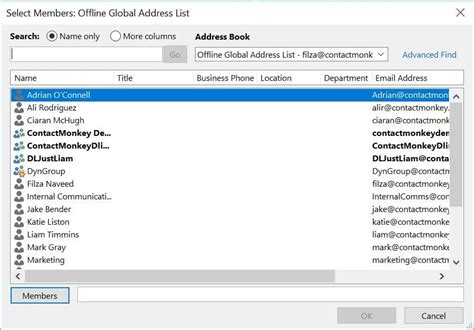
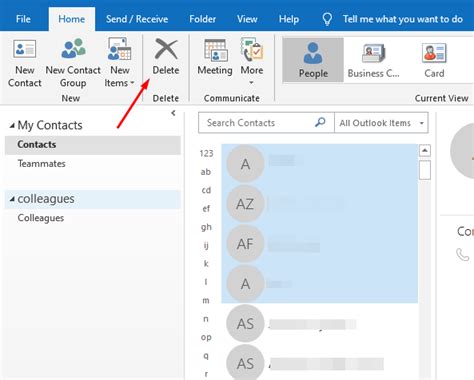
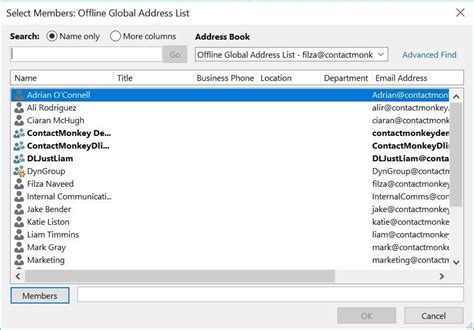
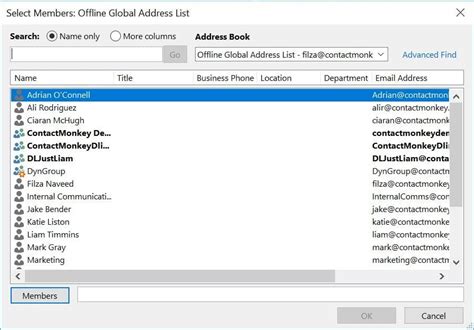
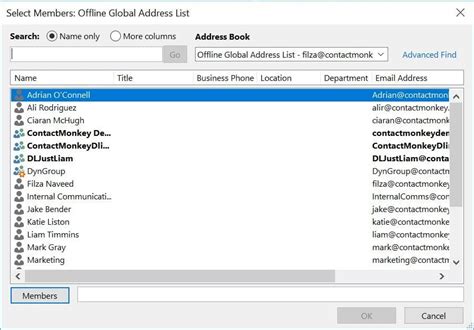
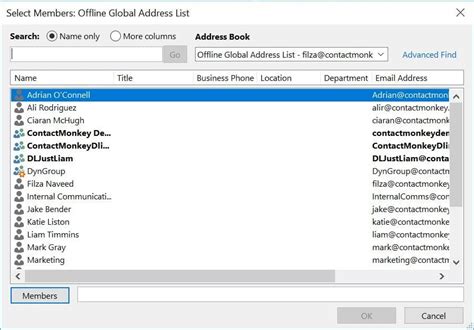
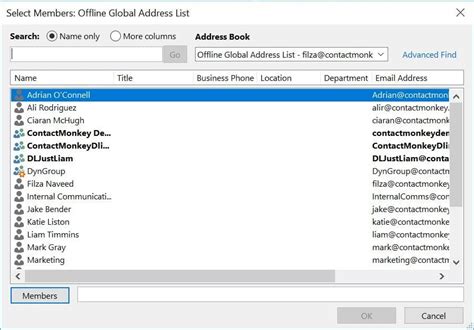
- Go to the "Contacts" tab in Outlook. - Click on "Home" and then click on "New Contact Group" (in newer versions) or "Distribution List" (in older versions). - Give your distribution list a name. - Click on "Add Members" and select "From Outlook Contacts". - Choose the contacts you want to add to the list and click "OK". - Click "OK" again to save the distribution list.Step 5: Use Your Distribution List

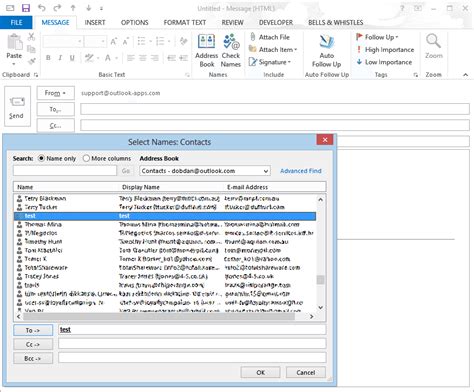
You're now ready to use your distribution list to send emails. Simply start composing a new email, type the name of your distribution list in the "To" field, and Outlook will automatically fill in the email addresses of all the contacts in that list.
Tips for Using Distribution Lists:
- You can edit your distribution list at any time by adding or removing members. - Ensure you update your list whenever there are changes in contact information. - Consider creating multiple distribution lists for different purposes or groups.Outlook Distribution List Gallery


We hope this comprehensive guide has helped you learn how to create an Outlook distribution list from an Excel spreadsheet. Remember, efficiency in communication is key to success in both personal and professional settings. If you have any further questions or need assistance with any of the steps outlined above, feel free to comment below. Additionally, if you found this guide helpful, consider sharing it with others who might benefit from learning how to manage their contacts and distribution lists more effectively in Outlook.
