When working with dates in Excel, it's common to need to extract specific parts of the date, such as the month and year. This can be useful for data analysis, filtering, and formatting purposes. In this article, we'll explore three ways to extract the month and year from a date in Excel.
Why Extract Month and Year?
Before we dive into the methods, let's quickly discuss why you might want to extract the month and year from a date in Excel. Here are a few scenarios:
- You want to analyze sales data by month and year to identify trends and patterns.
- You need to filter a dataset by specific months or years.
- You want to format dates to display only the month and year.
Method 1: Using the MONTH and YEAR Functions
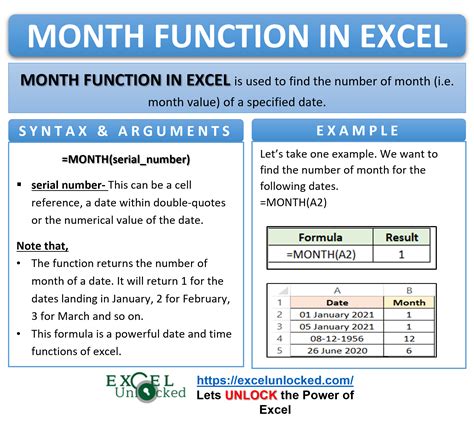
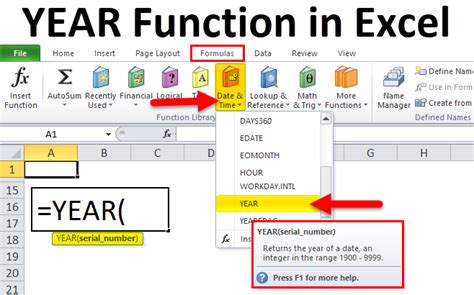
One way to extract the month and year from a date in Excel is by using the MONTH and YEAR functions. These functions are straightforward and easy to use.
Extracting Month and Year with MONTH and YEAR Functions
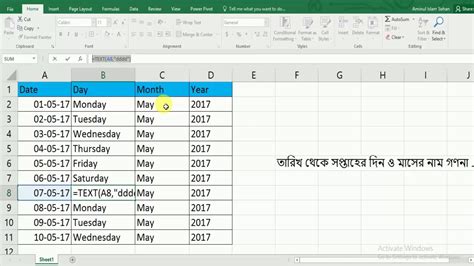
To extract the month and year using these functions, follow these steps:
- Select the cell where you want to display the month.
- Type
=MONTH(A1)and press Enter. This will extract the month from the date in cell A1. - Select the cell where you want to display the year.
- Type
=YEAR(A1)and press Enter. This will extract the year from the date in cell A1.
You can also combine these functions to display the month and year together in a single cell. For example:
=MONTH(A1) & " - " & YEAR(A1)
This will display the month and year separated by a hyphen.
Method 2: Using the TEXT Function
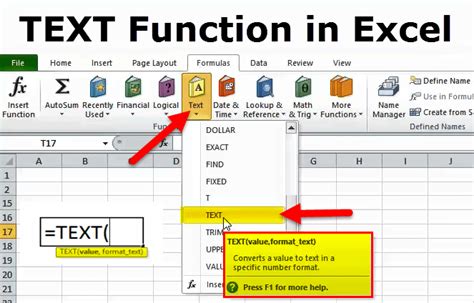
Another way to extract the month and year from a date in Excel is by using the TEXT function. This function is more flexible than the MONTH and YEAR functions, as it allows you to specify the format of the output.
Extracting Month and Year with the TEXT Function
To extract the month and year using the TEXT function, follow these steps:
- Select the cell where you want to display the month and year.
- Type
=TEXT(A1, "mmm - yyyy")and press Enter. This will display the month as an abbreviation (e.g., Jan, Feb, etc.) and the year in four digits.
You can adjust the format string to suit your needs. For example:
=TEXT(A1, "mmmm - yyyy")
This will display the full month name (e.g., January, February, etc.) instead of the abbreviation.
Method 3: Using Power Query
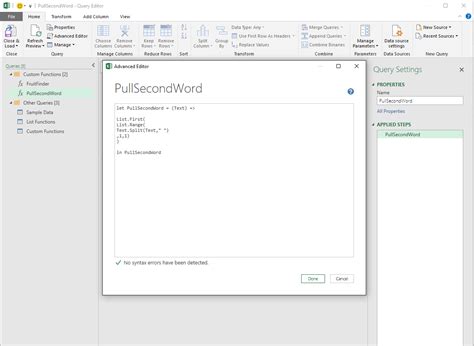
If you're working with a large dataset or need more advanced data manipulation capabilities, you can use Power Query to extract the month and year from a date in Excel.
Extracting Month and Year with Power Query
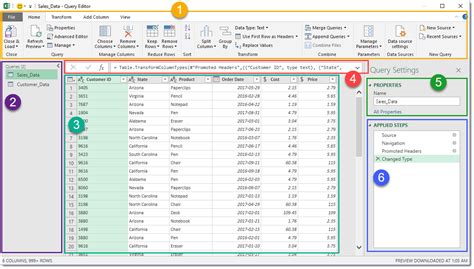
To extract the month and year using Power Query, follow these steps:
- Select the data range that contains the dates.
- Go to the Data tab and click on "From Table/Range" in the Get & Transform Data group.
- In the Power Query Editor, click on the "Date" column and select "Transform" > "Date" > "Month" and "Year".
- Click on "OK" to apply the transformations.
The resulting table will contain two new columns, one for the month and one for the year.
Gallery of Excel Functions
Excel Functions for Date Manipulation

We hope this article has helped you learn three ways to extract the month and year from a date in Excel. Whether you're a beginner or an advanced user, these methods can help you manipulate dates and times in your spreadsheet. Do you have any favorite methods for working with dates in Excel? Share your tips and tricks in the comments below!
