
Have you ever worked on an Excel spreadsheet on your Mac and wanted to protect certain cells from being edited or deleted? Whether you're sharing a budget with your team or creating a report for your boss, locking cells in Excel can help ensure that your data remains accurate and secure. In this article, we'll walk you through the process of locking cells in Excel on your Mac, step by step.
Locking cells in Excel is a useful feature that can help prevent accidental changes to your data. This feature is particularly useful when working with formulas, as it can prevent users from modifying the cells that contain the formulas. By locking cells, you can ensure that your data remains consistent and accurate.
Why Lock Cells in Excel?
There are several reasons why you might want to lock cells in Excel. Here are a few examples:
- Protect formulas: If you have formulas in your spreadsheet that you don't want users to modify, locking cells can help protect them.
- Prevent accidental changes: Locking cells can help prevent accidental changes to your data, which can be particularly useful if you're working with a large dataset.
- Secure sensitive data: If you have sensitive data in your spreadsheet, such as financial information or personal data, locking cells can help keep it secure.
How to Lock Cells in Excel on Mac
Locking cells in Excel on Mac is a straightforward process. Here's how to do it:
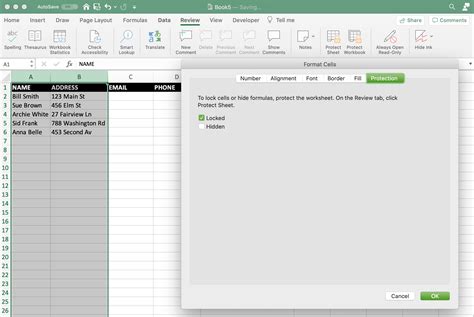
Step 1: Select the Cells You Want to Lock
The first step is to select the cells you want to lock. You can do this by clicking on the cells you want to lock, or by selecting an entire row or column.
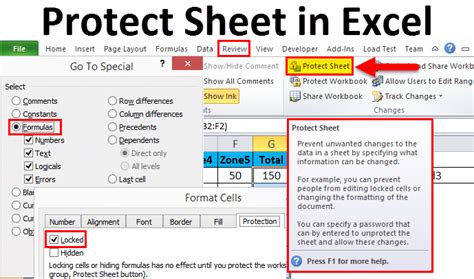
Step 2: Go to the Review Tab
Once you've selected the cells you want to lock, go to the Review tab in the Excel toolbar.
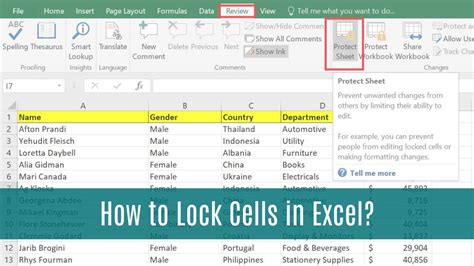
Step 3: Click on Protect Sheet
In the Review tab, click on Protect Sheet. This will open the Protect Sheet dialog box.
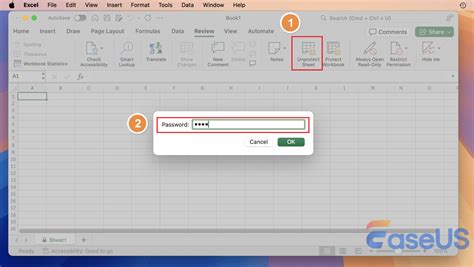
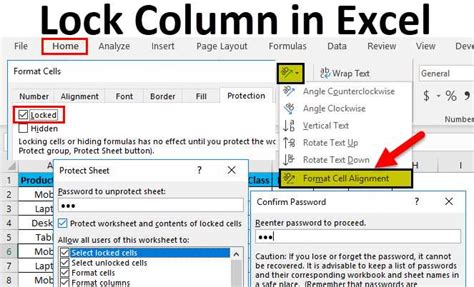
Step 4: Set a Password
In the Protect Sheet dialog box, you can set a password to protect your sheet. This will prevent users from making changes to the locked cells without entering the password.
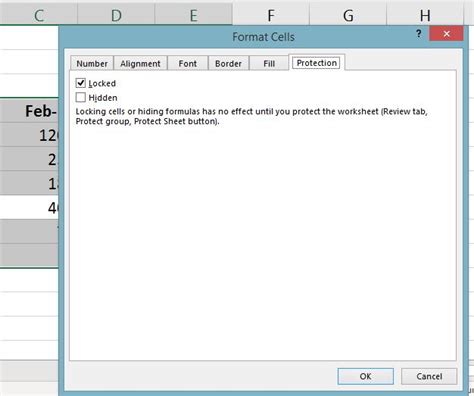
Step 5: Choose the Options You Want to Allow
You can also choose the options you want to allow users to do with the locked cells. For example, you can allow users to select locked cells, but not edit them.

Step 6: Click OK
Once you've set a password and chosen the options you want to allow, click OK to lock the cells.
Tips and Variations
Here are a few tips and variations to keep in mind when locking cells in Excel on Mac:
- Use a strong password: Make sure to use a strong password to protect your sheet. This will prevent unauthorized users from making changes to the locked cells.
- Lock multiple cells: You can lock multiple cells at once by selecting them all before going to the Review tab.
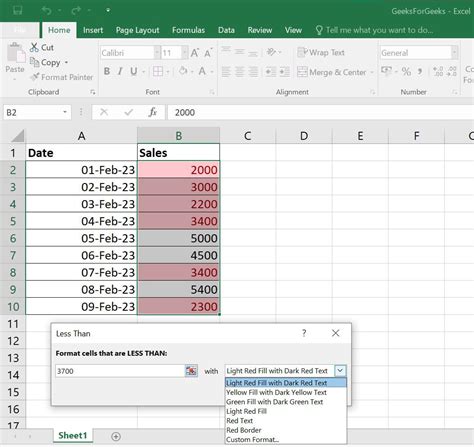
- Use conditional formatting: You can also use conditional formatting to highlight locked cells. This can help users see which cells are locked and which are not.
Gallery of Locking Cells in Excel on Mac
Lock Cells in Excel on Mac

Conclusion
Locking cells in Excel on Mac is a useful feature that can help protect your data and prevent accidental changes. By following the steps outlined in this article, you can easily lock cells in Excel on your Mac. Remember to use a strong password and choose the options you want to allow users to do with the locked cells. With these tips and variations, you can ensure that your data remains secure and accurate.