
CapCut is a popular video editing app that offers a wide range of features and tools to help users create stunning videos. One of the most exciting features of CapCut is its template feature, which allows users to create custom templates in just a few minutes. In this article, we will guide you on how to create a custom CapCut template in minutes.
Why Create a Custom CapCut Template?
Creating a custom CapCut template can save you time and effort in the long run. With a custom template, you can apply your brand's style and aesthetic to all your videos, making them look consistent and professional. Additionally, a custom template can help you to create videos quickly, as you can simply apply the template to your footage and make any necessary adjustments.
Step 1: Plan Your Template

Before you start creating your custom CapCut template, take some time to plan what you want it to look like. Think about the style and aesthetic you want to achieve, and consider the following elements:
- Color scheme
- Fonts
- Transitions
- Effects
- Music
Make a rough sketch or write down your ideas, so you have a clear idea of what you want to create.
Step 2: Choose a Template Type
CapCut offers a variety of template types, including:
- Blank template
- Music template
- Transitions template
- Effects template
Choose the template type that best suits your needs. If you're creating a template for a specific type of video, such as a music video or a transitions video, choose the corresponding template type.
Step 3: Design Your Template
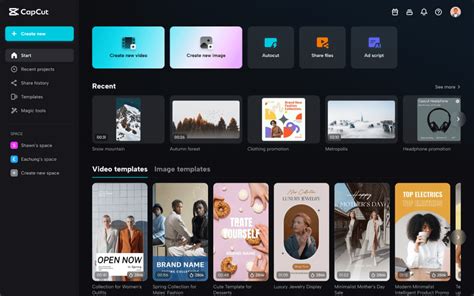
Now it's time to start designing your template. Use the CapCut editor to add the elements you planned in Step 1. You can add:
- Text
- Images
- Videos
- Music
- Transitions
- Effects
Use the drag-and-drop feature to add elements to your template, and adjust the settings to get the look you want.
Step 4: Customize Your Template
Once you've added all the elements to your template, it's time to customize it. Use the CapCut editor to adjust the settings, such as:
- Color scheme
- Font style
- Transition speed
- Effect intensity
You can also add custom animations and effects to make your template stand out.
Step 5: Save and Share Your Template
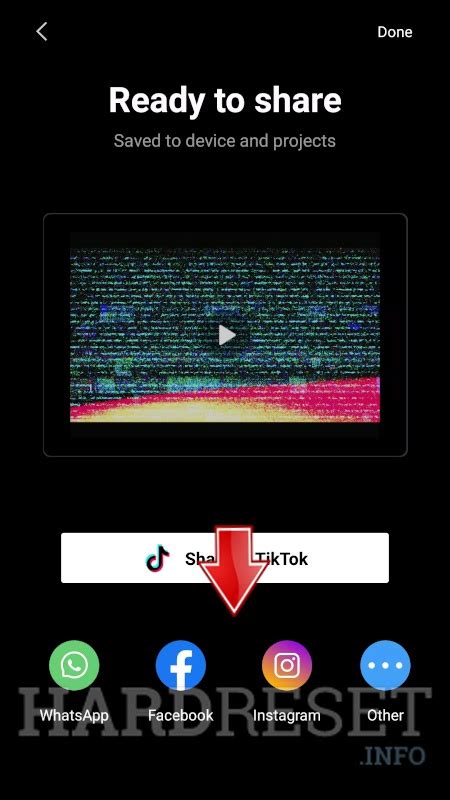
Once you're happy with your template, save it to your CapCut account. You can also share your template with others, either by exporting it as a file or by sharing the link.
Benefits of Creating a Custom CapCut Template
Creating a custom CapCut template offers several benefits, including:
- Consistency: A custom template ensures that all your videos have a consistent look and feel.
- Time-saving: With a custom template, you can create videos quickly, as you can simply apply the template to your footage.
- Professionalism: A custom template can help you to create professional-looking videos that reflect your brand's style and aesthetic.
- Flexibility: A custom template can be adjusted and customized to suit different types of videos.
Conclusion
Creating a custom CapCut template is a great way to take your video editing skills to the next level. With a custom template, you can create professional-looking videos that reflect your brand's style and aesthetic. By following the steps outlined in this article, you can create a custom CapCut template in just a few minutes.
CapCut Template Image Gallery


We hope this article has inspired you to create your own custom CapCut template. Share your template creations with us in the comments below!