
Graphs and charts are essential tools for visualizing data and communicating insights effectively. In today's data-driven world, creating graphs is a crucial skill for anyone working with numbers. In this article, we will walk you through the process of creating a graph in Excel on a Mac.
Why Create Graphs in Excel?
Before we dive into the step-by-step guide, let's quickly discuss why creating graphs in Excel is so important. Graphs help to:
- Visualize complex data
- Identify trends and patterns
- Compare data sets
- Communicate insights effectively
- Enhance presentations and reports
Preparing Your Data

Before creating a graph, you need to prepare your data. This involves:
- Entering data: Enter your data into a table format in Excel. Make sure to include headers in the first row.
- Organizing data: Organize your data in a logical order. For example, if you're creating a graph to show sales by region, group your data by region.
- Cleaning data: Clean your data by removing any errors or inconsistencies.
- Formatting data: Format your data to ensure it's in the correct format for graphing.
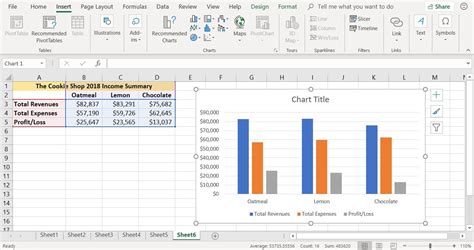
Step 1: Select Your Data
To create a graph, you need to select the data you want to graph. This involves:
- Selecting the data range: Select the entire data range, including headers.
- Using the Ctrl+A shortcut: Use the Ctrl+A shortcut to select the entire data range.
Creating a Graph in Excel
Now that your data is prepared, it's time to create a graph!
- Go to the "Insert" tab: Go to the "Insert" tab in the ribbon.
- Click on "Chart": Click on the "Chart" button in the "Illustrations" group.
- Select a chart type: Select a chart type that suits your data. For example, if you're graphing sales by region, a column chart may be suitable.
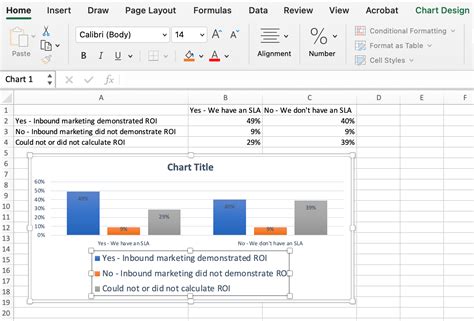
- Customize your chart: Customize your chart by adding a title, labels, and legends.
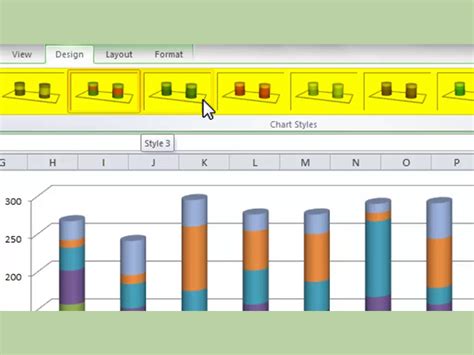
Step 2: Customizing Your Graph
Once you've created your graph, you can customize it to suit your needs. This involves:
- Adding a title: Add a title to your graph to provide context.
- Adding labels: Add labels to your graph to provide more information.
- Adding legends: Add legends to your graph to explain the different data series.
- Changing colors and fonts: Change the colors and fonts to match your brand or personal style.
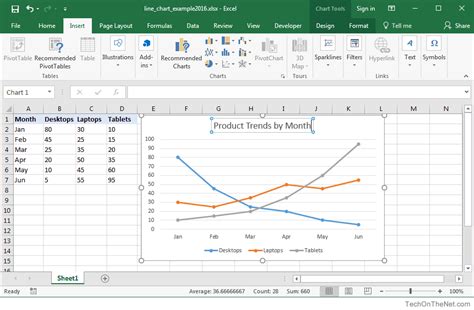
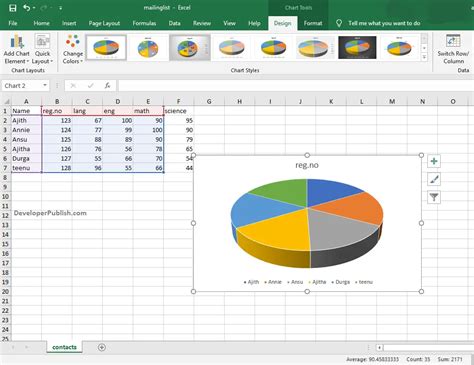
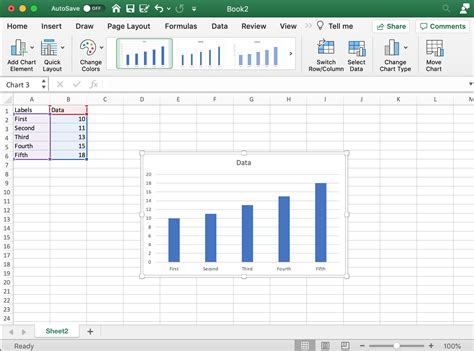
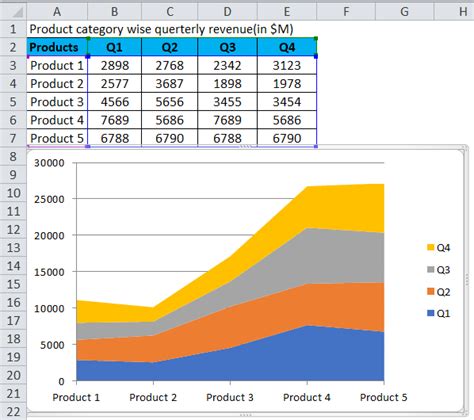
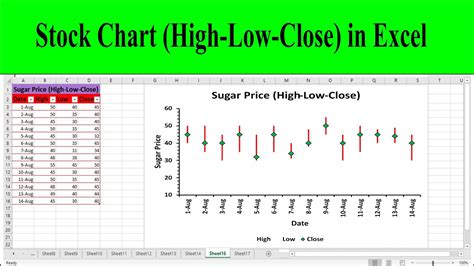
Types of Graphs in Excel
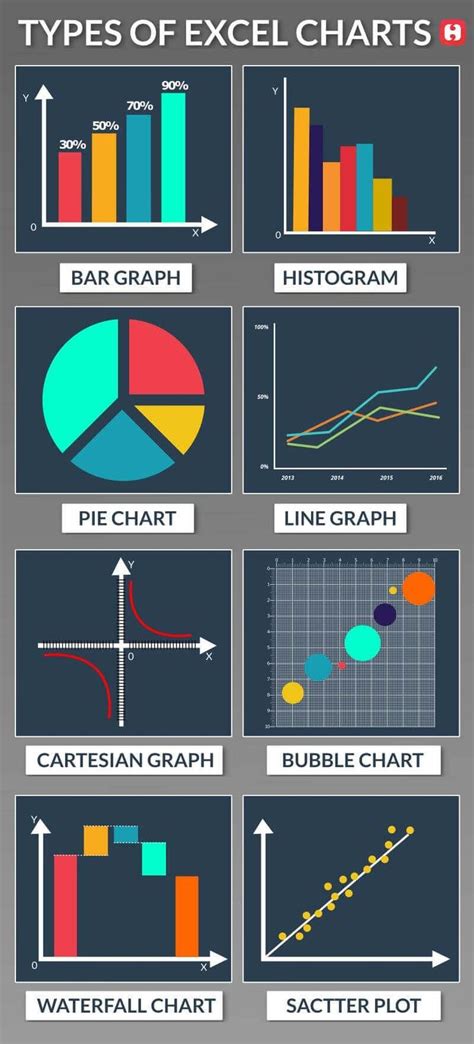
Excel offers a variety of graph types to suit different data sets. Some of the most common graph types include:
- Column charts: Used to compare data sets.
- Line charts: Used to show trends over time.
- Pie charts: Used to show proportions of a whole.
- Bar charts: Used to compare categorical data.
Step 3: Saving and Sharing Your Graph
Once you've created and customized your graph, it's time to save and share it!
- Saving your graph: Save your graph as a separate file or as part of a larger workbook.
- Sharing your graph: Share your graph with others via email, presentation, or report.
Gallery of Graphs in Excel
Graphs in Excel Image Gallery

Frequently Asked Questions
Q: What type of graph should I use for my data? A: The type of graph you should use depends on the type of data you have and the insights you want to communicate.
Q: Can I customize the colors and fonts of my graph? A: Yes, you can customize the colors and fonts of your graph to match your brand or personal style.
Q: Can I save my graph as a separate file? A: Yes, you can save your graph as a separate file or as part of a larger workbook.
Conclusion
Creating a graph in Excel is a powerful way to visualize and communicate data insights. By following the steps outlined in this article, you can create a graph that effectively communicates your message. Remember to prepare your data, select the right graph type, and customize your graph to suit your needs. Happy graphing!
What's your experience with creating graphs in Excel? Share your tips and tricks in the comments below!