
Intro
Unlock productivity with custom Notion templates. Discover 5 easy steps to create a tailored template, streamlining workflows and boosting organization. Learn how to harness Notions flexibility, create custom databases, and integrate pages for seamless note-taking and project management. Simplify your digital life with a bespoke template, tailored to your unique needs.
Creating a Notion template can be a game-changer for individuals and teams looking to streamline their workflows, boost productivity, and stay organized. Notion, an all-in-one workspace app, offers a flexible and customizable platform for creating templates that cater to various needs and use cases. In this article, we will walk you through the 5 easy steps to create a Notion template, empowering you to unlock the full potential of this powerful tool.
Step 1: Define Your Template's Purpose and Scope
Before diving into the creation process, it's essential to define the purpose and scope of your template. Ask yourself:
- What problem does my template aim to solve?
- What type of content or workflow will it support?
- Who is the target audience for this template?
- What features and functionalities should it include?
Clearly outlining the template's objectives will help you create a focused and effective template that meets the needs of its users.
Identifying Your Target Audience
Understanding your target audience is crucial in creating a template that resonates with them. Consider their:
- Level of expertise with Notion
- Familiarity with the subject matter
- Specific pain points or challenges
- Desired outcomes and goals
By keeping your target audience in mind, you can design a template that is intuitive, user-friendly, and addresses their specific needs.
Step 2: Choose a Template Type
Notion offers a wide range of template types to suit various use cases. Common template types include:
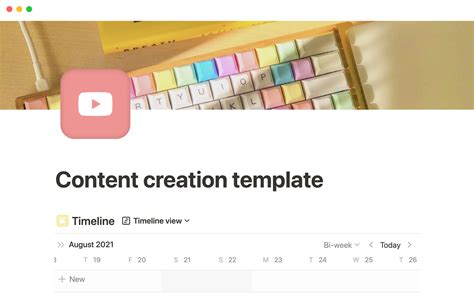
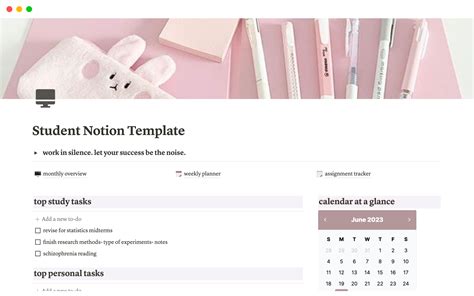
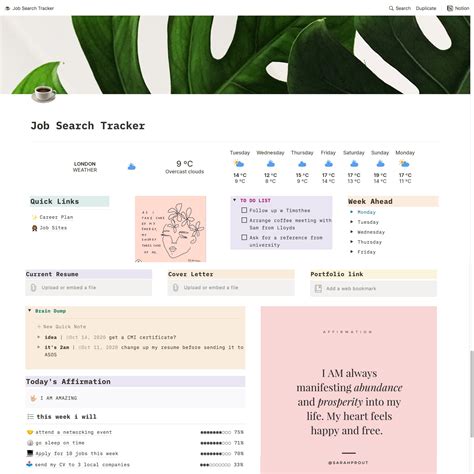
- Page templates: Used for creating custom page layouts and designs
- Database templates: Designed for organizing and managing data
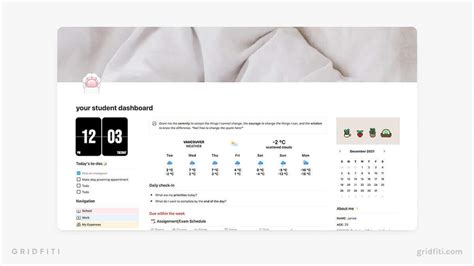
- Dashboard templates: Used for visualizing key metrics and KPIs
- Workspace templates: Employed for setting up entire workspaces and workflows
Select a template type that aligns with your defined purpose and scope.
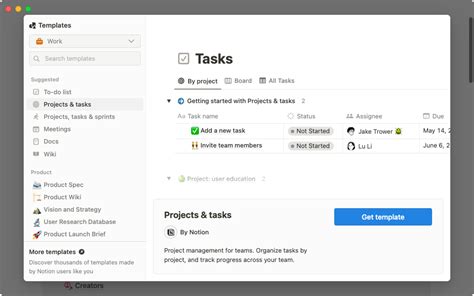
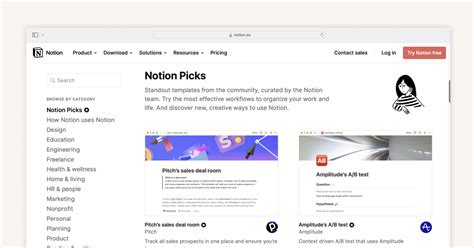
Exploring Notion's Template Gallery
Notion's template gallery offers a vast collection of pre-built templates that can serve as a starting point for your creation. Browse the gallery to:
- Discover inspiration for your template
- Identify existing templates that can be modified to suit your needs
- Learn from others and gain insights into best practices
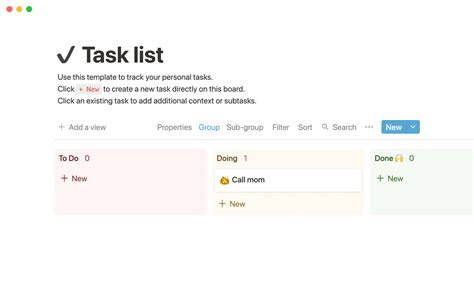
Step 3: Design Your Template's Structure and Layout
With your template type selected, it's time to design the structure and layout. Consider the following:
- Page hierarchy: Organize your template's pages in a logical and intuitive manner
- Sectioning and grouping: Use sections and groups to categorize and visualize content
- Block layout: Arrange blocks to create a clear and concise layout
- Typography and styling: Apply consistent typography and styling to maintain a professional look
Use Notion's drag-and-drop interface to experiment with different layouts and structures until you find one that works best for your template.
Utilizing Notion's Block Types
Notion offers a wide range of block types to help you create a visually appealing and functional template. Explore the different block types, including:
- Text blocks: For adding headers, paragraphs, and other text-based content
- Image blocks: For inserting images and graphics
- Embed blocks: For embedding external content, such as videos or maps
- Database blocks: For creating custom databases and tables
Step 4: Add Content and Customize Your Template
With your template's structure and layout in place, it's time to add content and customize your template. Consider the following:
- Placeholder content: Add placeholder content to demonstrate the template's capabilities
- Custom properties: Create custom properties to enhance the template's functionality
- Conditional logic: Apply conditional logic to create dynamic and interactive elements
- Integrations: Integrate with external services and tools to expand the template's capabilities
Use Notion's powerful features to create a template that is both functional and engaging.
Testing and Refining Your Template
Test your template thoroughly to ensure it meets your defined purpose and scope. Refine and iterate on your template based on feedback and user testing.
Step 5: Share and Distribute Your Template
Your template is now complete and ready to be shared with the world. Consider the following:
- Template sharing: Share your template publicly or privately with others
- Template duplication: Duplicate your template to create multiple instances
- Template collaboration: Collaborate with others to improve and refine your template
- Template documentation: Create documentation to help users understand and use your template effectively
Use Notion's sharing and collaboration features to distribute your template and empower others to achieve their goals.
Creating a Template Community
Create a community around your template by:
- Providing support and resources
- Encouraging user feedback and contributions
- Sharing success stories and use cases
- Fostering a sense of belonging and collaboration
By creating a community around your template, you can ensure its continued growth and success.
Notion Template Gallery


By following these 5 easy steps, you can create a Notion template that streamlines your workflows, boosts productivity, and empowers others to achieve their goals. Share your template with the world and join the Notion community to learn from others and refine your creation.