
Creating your own CapCut template in minutes is a great way to customize your video editing experience and make your content stand out. With CapCut, a popular video editing app, you can create stunning videos with ease. Here's a step-by-step guide on how to create your own CapCut template in just a few minutes.
Why Create a Custom Template?
Creating a custom template in CapCut can save you time and effort in the long run. With a template, you can apply a consistent style and design to all your videos, making them look professional and cohesive. Additionally, a custom template allows you to experiment with different layouts, colors, and effects, giving you the freedom to express your creativity.
Step 1: Plan Your Template
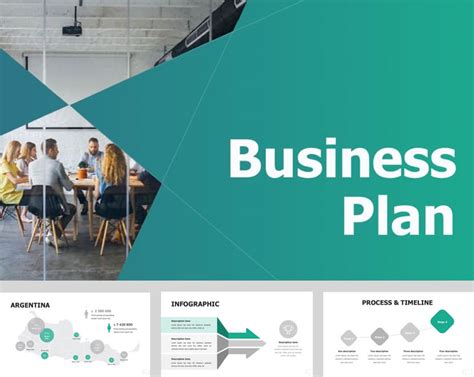
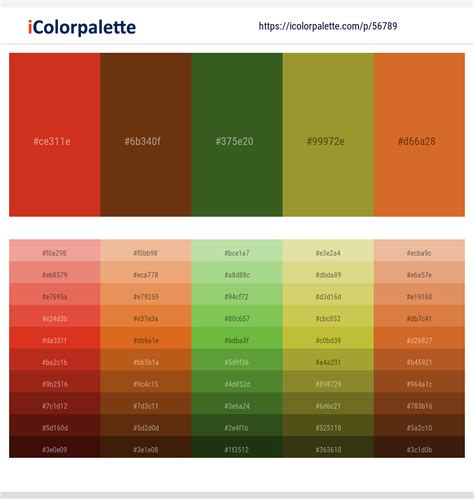
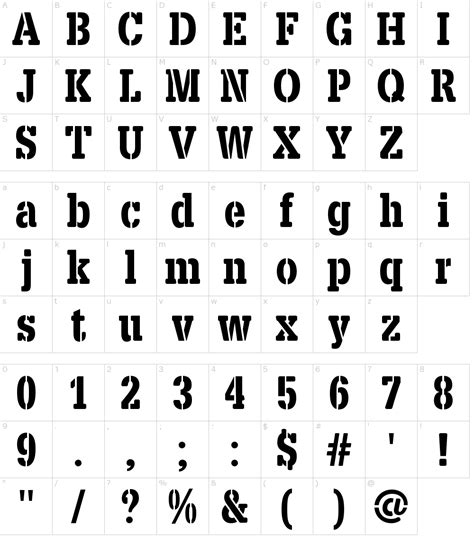
Before you start creating your template, take a moment to plan out what you want to achieve. Think about the style and tone you want to convey in your videos. Consider the color scheme, font, and layout that will best represent your brand or personal style. You can also look for inspiration online or browse through CapCut's template gallery to get ideas.
Step 2: Choose a Template or Start from Scratch
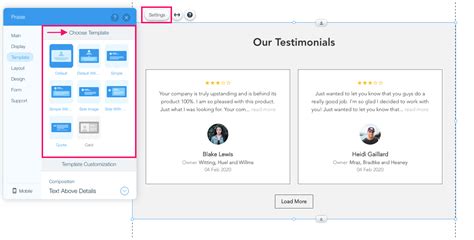
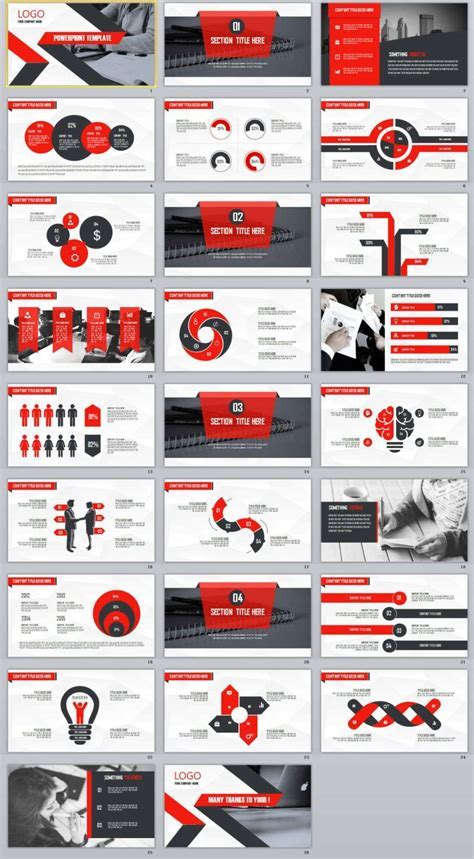
Once you have a clear idea of what you want to create, it's time to choose a template or start from scratch. CapCut offers a wide range of pre-made templates that you can customize to fit your needs. If you prefer to start from scratch, you can select a blank template and begin building your design from the ground up.
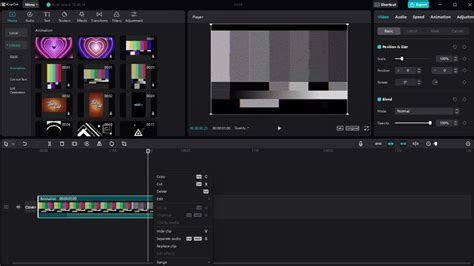
Step 3: Customize Your Template
Now it's time to customize your template. Use the drag-and-drop editor to add text, images, and videos to your design. Experiment with different fonts, colors, and effects to create a unique look. Don't forget to add a background image or video to give your template depth and visual interest.
Step 4: Add Animations and Transitions
To take your template to the next level, add animations and transitions to make it more engaging. CapCut offers a wide range of animation options, from simple fades to complex 3D effects. Experiment with different animation styles to find the one that best suits your template.
Step 5: Save and Share Your Template
Once you're happy with your template, save it to your CapCut account. You can also share your template with friends or family members who use CapCut. To share, simply click on the share button and select the template you want to share.
Tips and Tricks
- Use a consistent color scheme and font to create a cohesive look.
- Experiment with different animation styles to find the one that best suits your template.
- Don't be afraid to try new things and make mistakes – it's all part of the creative process!
- Use high-quality images and videos to make your template look professional.
CapCut Template Gallery


Now that you've created your own CapCut template in minutes, it's time to share it with the world. Don't be afraid to experiment and try new things – the possibilities are endless!