
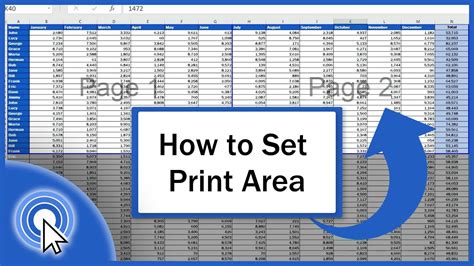
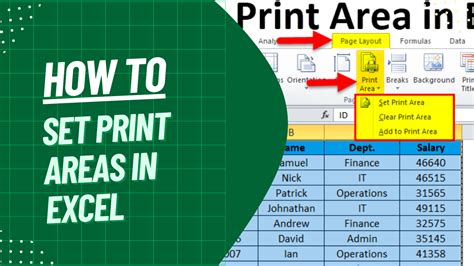
Setting a printable area in Excel is a useful skill to have, especially when you need to print out specific parts of your spreadsheet. Whether you're working with a large dataset or want to highlight key information, defining a printable area can help you achieve your goals. In this article, we'll explore five ways to set a printable area in Excel, along with tips and tricks to help you master this essential skill.
Why Set a Printable Area in Excel?

Setting a printable area in Excel can save you time and effort in the long run. By defining a specific area to print, you can avoid printing unnecessary pages or sections of your spreadsheet. This feature is particularly useful when working with large datasets or complex spreadsheets.
Benefits of Setting a Printable Area
- Saves paper and ink by only printing the necessary sections
- Reduces printing time by avoiding unnecessary pages
- Enhances the overall appearance of your printed documents
- Allows for easier sharing and collaboration with others
Method 1: Using the "Print Area" Option

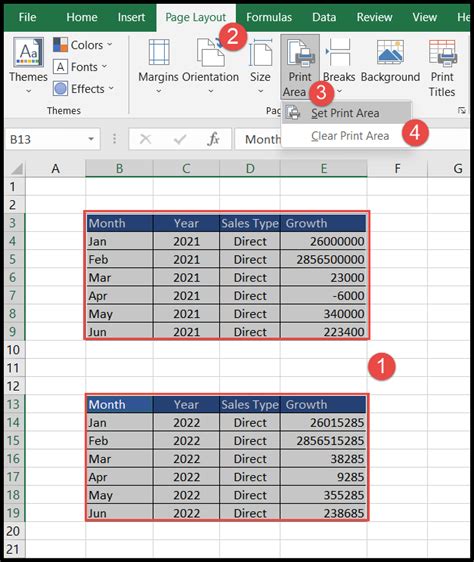
The "Print Area" option is a straightforward way to set a printable area in Excel. To access this feature, follow these steps:
- Select the range of cells you want to print.
- Go to the "Page Layout" tab in the ribbon.
- Click on the "Print Area" dropdown menu.
- Select "Set Print Area" from the list.
- Click "OK" to confirm.
This method allows you to quickly define a printable area without having to navigate through multiple menus.
Method 2: Using the "Page Break Preview" Feature
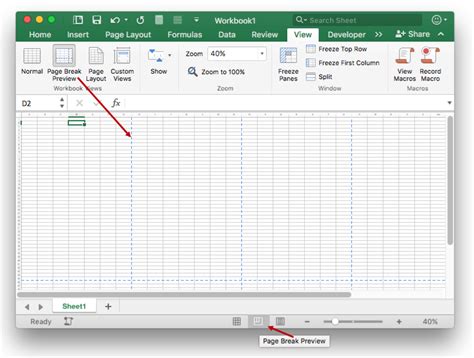
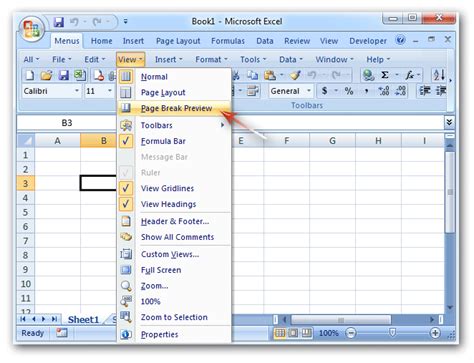
The "Page Break Preview" feature is another way to set a printable area in Excel. To access this feature, follow these steps:
- Go to the "View" tab in the ribbon.
- Click on the "Page Break Preview" button.
- Adjust the page breaks to define the printable area.
- Click "OK" to confirm.
This method allows you to visualize the page breaks and adjust them accordingly.
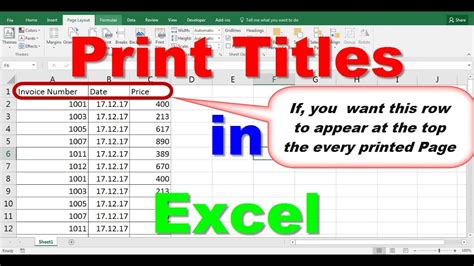
Method 3: Using the "Print Titles" Feature
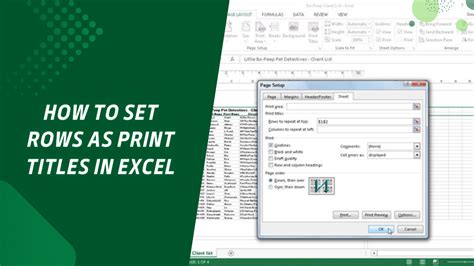
The "Print Titles" feature allows you to specify rows or columns to repeat on each printed page. To access this feature, follow these steps:
- Go to the "Page Layout" tab in the ribbon.
- Click on the "Print Titles" button.
- Select the rows or columns to repeat.
- Click "OK" to confirm.
This method is useful when working with large datasets or complex spreadsheets.
Method 4: Using VBA Macros
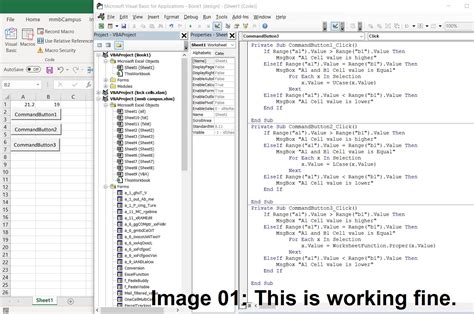
VBA macros can be used to set a printable area in Excel. To create a macro, follow these steps:
- Press "Alt + F11" to open the VBA editor.
- Create a new module.
- Write the code to set the printable area.
- Save the macro.
This method requires programming knowledge but offers flexibility and customization.
Method 5: Using Excel Add-ins
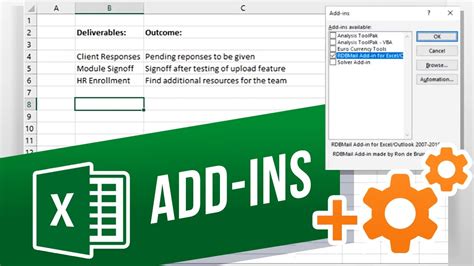
Excel add-ins can be used to set a printable area in Excel. To use an add-in, follow these steps:
- Install the add-in.
- Activate the add-in.
- Follow the instructions to set the printable area.
This method requires installation and activation of the add-in.
Printable Area in Excel Image Gallery

Now that you've learned five ways to set a printable area in Excel, it's time to put your skills to the test. Practice using each method to see which one works best for you. Don't forget to share your experiences and tips in the comments below. Happy printing!