
Superimposing graphs in Excel is a powerful way to visualize and compare data from different sources. By layering multiple graphs on top of each other, you can create a single chart that tells a more comprehensive story about your data. In this article, we'll take you through a step-by-step guide on how to superimpose graphs in Excel.
The Importance of Superimposing Graphs
Superimposing graphs is a useful technique for data analysis, as it allows you to:
- Compare data from different sources
- Identify trends and patterns
- Visualize relationships between different data sets
- Create a more comprehensive and informative chart
Benefits of Superimposing Graphs in Excel
Excel is a popular choice for data analysis, and superimposing graphs is a powerful feature that can help you get the most out of your data. By using Excel to superimpose graphs, you can:
- Easily combine data from different sources
- Use Excel's built-in charting tools to create professional-looking charts
- Customize your chart to suit your needs
- Share your chart with others easily
How to Superimpose Graphs in Excel
Now that we've covered the importance and benefits of superimposing graphs, let's dive into the step-by-step guide.
Step 1: Prepare Your Data
Before you can superimpose graphs, you need to prepare your data. Make sure that:
- Your data is organized in a table format
- Each data series has a unique header row
- Your data is free of errors and inconsistencies
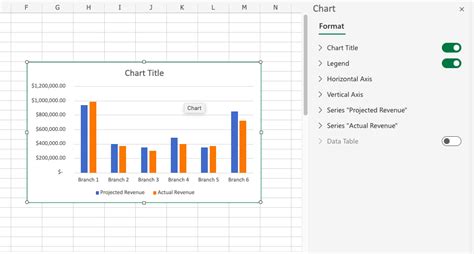
Step 2: Create a New Chart
To create a new chart, follow these steps:
- Go to the "Insert" tab in the ribbon
- Click on the "Chart" button
- Select the type of chart you want to create (e.g., column, line, bar)
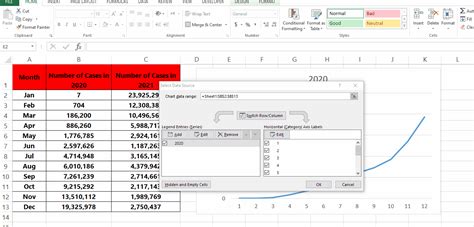
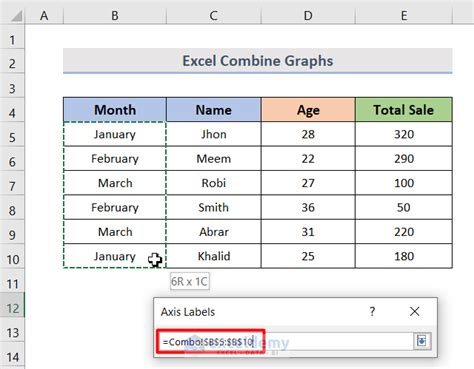
Step 3: Add Data Series
To add data series to your chart, follow these steps:
- Click on the "Chart" button in the "Insert" tab
- Select the data series you want to add
- Click "OK" to add the data series to your chart
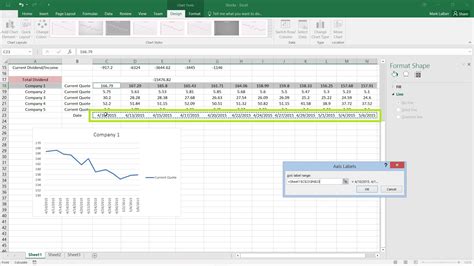
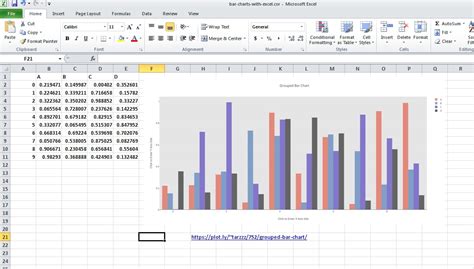
Step 4: Superimpose Graphs
To superimpose graphs, follow these steps:

- Select the chart you want to superimpose
- Go to the "Chart" tab in the ribbon
- Click on the "Combine" button
- Select the data series you want to superimpose
Step 5: Customize Your Chart
Once you've superimposed your graphs, you can customize your chart to suit your needs. You can:
- Change the chart title and axis labels
- Add data labels and annotations
- Use different colors and fonts
Tips and Tricks
Here are some tips and tricks to help you get the most out of superimposing graphs in Excel:
- Use the "Layer" feature to control the order of your data series
- Use the "Transparency" feature to adjust the opacity of your data series
- Use the "Legend" feature to customize the legend of your chart
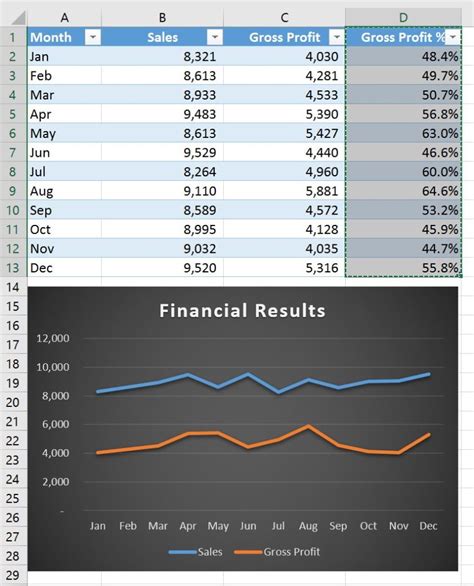
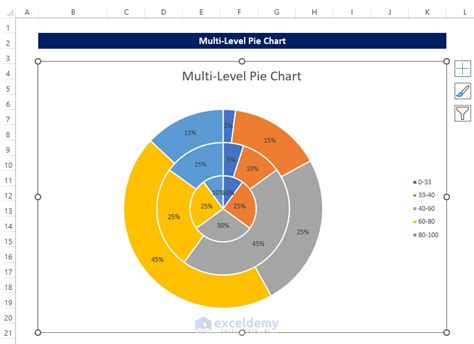
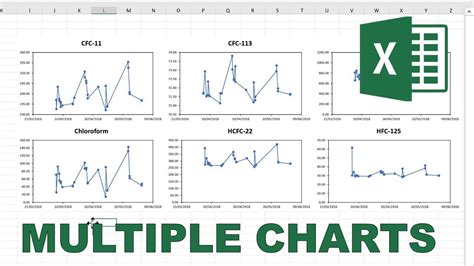
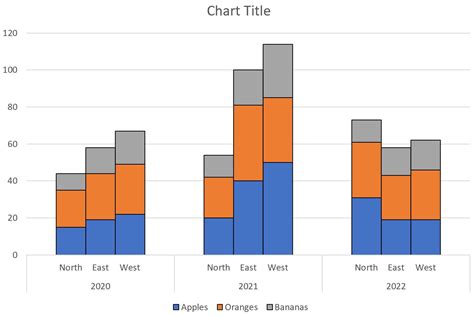
Gallery of Superimposed Graphs in Excel
Superimposed Graphs in Excel


Conclusion
Superimposing graphs in Excel is a powerful way to visualize and compare data from different sources. By following the steps outlined in this article, you can create a single chart that tells a more comprehensive story about your data. Remember to customize your chart to suit your needs and use the tips and tricks outlined in this article to get the most out of superimposing graphs in Excel.
We hope this article has been helpful in teaching you how to superimpose graphs in Excel. If you have any questions or need further assistance, please don't hesitate to ask. Share this article with your friends and colleagues who may find it useful, and don't forget to explore our other articles on Excel and data analysis.