
Learn how to safely disassemble a Mini 14 rifle with our 7-step guide. Discover the proper techniques for stripping and reassembling your firearm, including removing the stock, action, and bolt carrier group. Perfect for gun enthusiasts and owners, this tutorial covers essential Ruger Mini 14 maintenance and repair procedures.
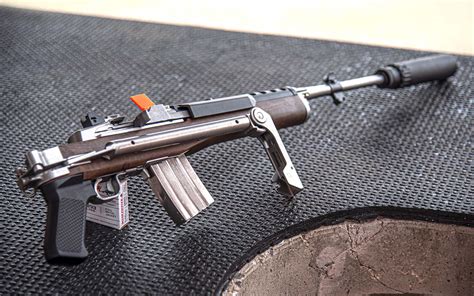
Disassembling a Mini-14 rifle can seem intimidating, but with the right guidance, it can be a straightforward process. The Mini-14 is a popular semi-automatic rifle known for its reliability and accuracy, and regular maintenance is essential to ensure it continues to function smoothly. In this article, we will walk you through the 7 steps to disassemble a Mini-14 rifle.
Understanding the Mini-14 Rifle
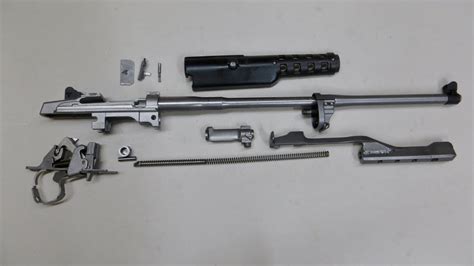
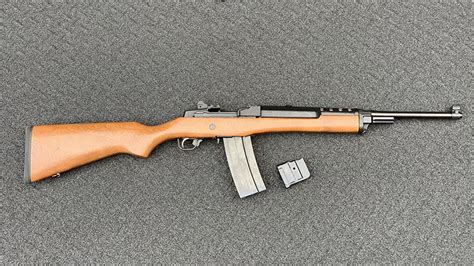
Before we dive into the disassembly process, it's essential to understand the basic components of the Mini-14 rifle. The Mini-14 is a gas-operated, semi-automatic rifle that uses a piston-driven system to cycle the action. It features a stainless steel or chromed barrel, a hardwood or synthetic stock, and a 20-round magazine capacity.
Step 1: Remove the Magazine and Clear the Chamber
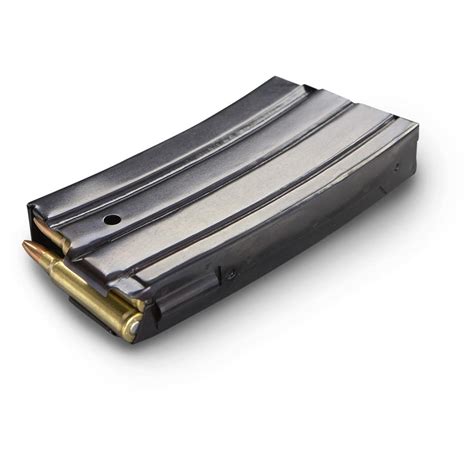
The first step in disassembling the Mini-14 rifle is to remove the magazine and clear the chamber. This ensures that the rifle is safe to work on and prevents any accidental discharges. To remove the magazine, simply press the magazine release button and pull the magazine out of the rifle. Next, visually inspect the chamber to ensure it is empty.
Step 2: Remove the Stock
The next step is to remove the stock from the rifle. To do this, you will need to remove the action screws that hold the stock in place. Use a screwdriver to remove the screws, and then gently pull the stock away from the action.

Step 3: Remove the Handguard
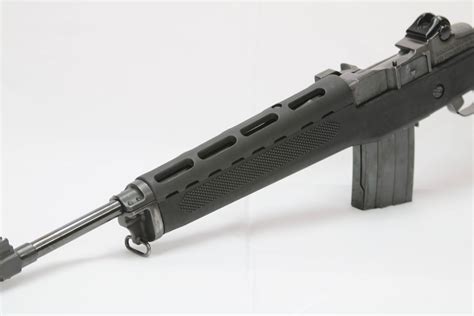
The handguard is the plastic or metal cover that surrounds the barrel. To remove the handguard, you will need to remove the handguard retaining ring. Use a wrench or pliers to loosen the ring, and then pull the handguard away from the barrel.
Step 4: Remove the Gas System
The gas system is the heart of the Mini-14 rifle's operating system. To remove the gas system, you will need to remove the gas block and the gas piston. Use a wrench or pliers to loosen the gas block, and then pull the gas piston out of the gas block.

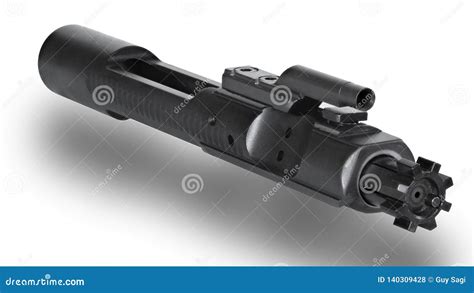
Step 5: Remove the Bolt Carrier Group
The bolt carrier group is the component that cycles the action of the rifle. To remove the bolt carrier group, you will need to pull it out of the receiver. Use a wrench or pliers to loosen the bolt carrier group, and then pull it out of the receiver.
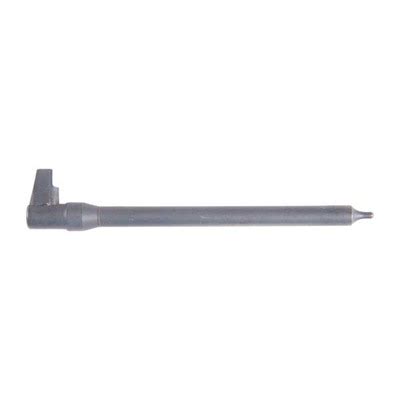
Step 6: Remove the Bolt and Firing Pin
The bolt and firing pin are the components that ignite the cartridge. To remove the bolt and firing pin, you will need to pull them out of the bolt carrier group. Use a wrench or pliers to loosen the bolt and firing pin, and then pull them out of the bolt carrier group.

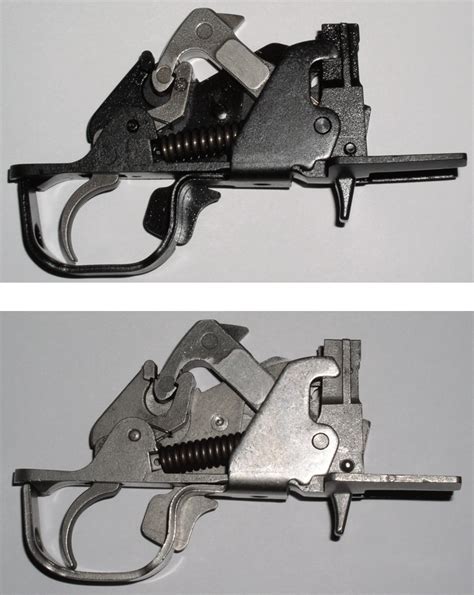
Step 7: Remove the Receiver Components
The final step is to remove the receiver components, including the trigger group and the magazine well. Use a wrench or pliers to loosen the receiver components, and then pull them out of the receiver.

Gallery of Mini-14 Rifle Components
Mini-14 Rifle Components


Conclusion and Final Thoughts
Disassembling a Mini-14 rifle can seem intimidating, but by following these 7 steps, you can ensure that your rifle is properly maintained and functioning smoothly. Remember to always follow safety protocols when working with firearms, and consider seeking the guidance of a professional gunsmith if you are unsure about any part of the process. By taking the time to properly disassemble and maintain your Mini-14 rifle, you can ensure that it continues to provide you with years of reliable service.