
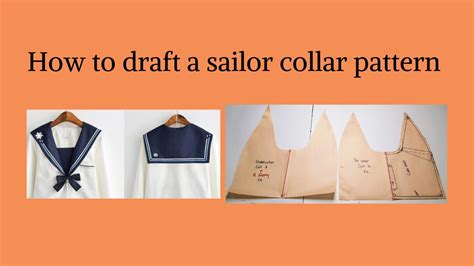
A sailor collar is a classic and timeless element in fashion design, adding a touch of sophistication and elegance to any garment. Creating a perfect sailor collar pattern can seem intimidating, but with the right guidance, you can achieve professional-looking results. In this article, we will walk you through 5 easy steps to create a perfect sailor collar pattern.

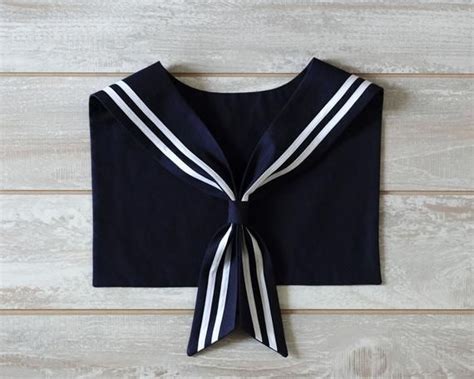
The sailor collar has been a staple in fashion for centuries, and its enduring popularity can be attributed to its versatility and classic appeal. From sailor suits to casual blouses, the sailor collar adds a touch of sophistication and whimsy to any garment. Whether you're a seasoned fashion designer or a DIY enthusiast, creating a perfect sailor collar pattern is within your reach.
Understanding the Sailor Collar Pattern
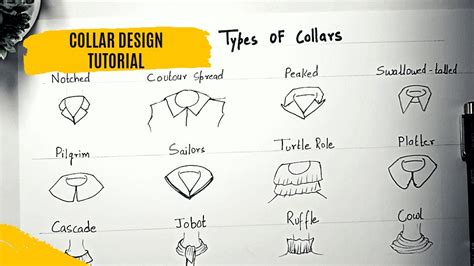
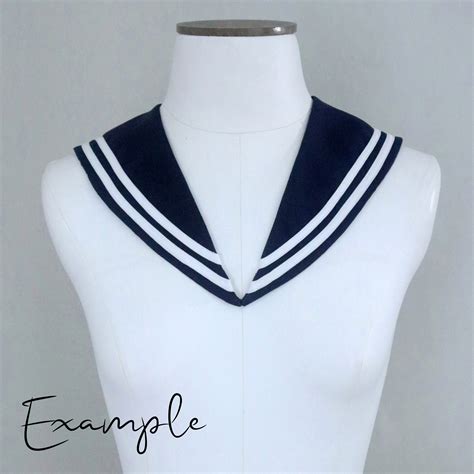
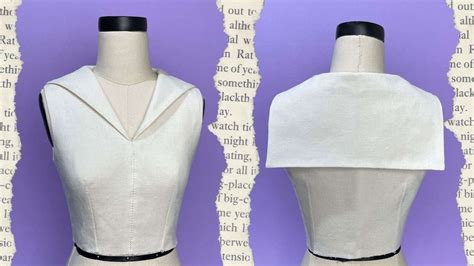
Before we dive into the steps, it's essential to understand the basic components of a sailor collar pattern. A typical sailor collar consists of a rectangular or square shape with a curved or angled edge, forming a "V" shape at the front. The collar is usually symmetrical, with the left and right sides mirroring each other.

Key Components of a Sailor Collar Pattern
To create a perfect sailor collar pattern, you'll need to consider the following key components:
- Collar width: The width of the collar, measured from the center back to the front edge.
- Collar depth: The depth of the collar, measured from the neckline to the bottom edge.
- Curved edge: The curved or angled edge that forms the "V" shape at the front.
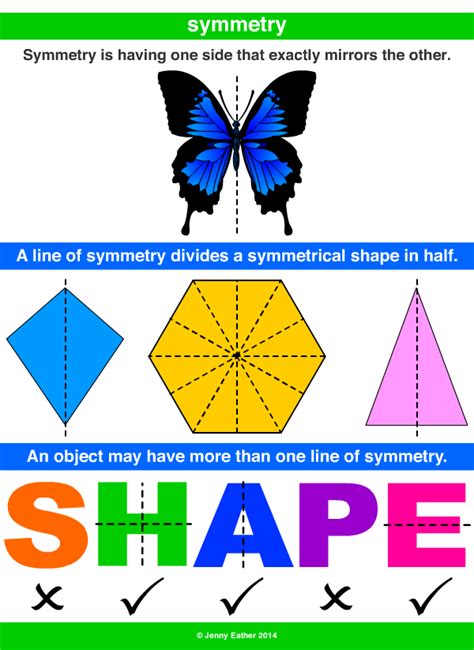
- Symmetry: The left and right sides of the collar should be symmetrical.
Step 1: Measure and Mark the Collar Width
The first step in creating a perfect sailor collar pattern is to measure and mark the collar width. To do this, you'll need to determine the desired width of your collar.
- Measure around the neckline: Measure around the neckline of your garment, using a flexible measuring tape or a piece of string.
- Determine the collar width: Decide on the desired width of your collar, taking into account the measurement you took in step 1.
- Mark the collar width: Mark the collar width on your pattern paper or template, using a ruler or a measuring gauge.
Step 2: Draw the Collar Depth
The second step is to draw the collar depth. This will determine how high or low the collar sits on the neckline.
- Measure the collar depth: Measure the desired depth of your collar, from the neckline to the bottom edge.
- Draw the collar depth: Draw a line on your pattern paper or template, using a ruler or a measuring gauge, to indicate the collar depth.
Step 3: Create the Curved Edge
The third step is to create the curved edge that forms the "V" shape at the front of the collar.
- Use a curved ruler or a French curve: Use a curved ruler or a French curve to draw a smooth, curved line that forms the "V" shape.
- Adjust the curve: Adjust the curve to achieve the desired shape and symmetry.
Step 4: Add Symmetry and Shape
The fourth step is to add symmetry and shape to your sailor collar pattern.
- Mirror the left and right sides: Mirror the left and right sides of the collar, ensuring that they are symmetrical.
- Refine the shape: Refine the shape of the collar, adjusting the curve and the edges as needed.
Step 5: Finalize and Refine the Pattern
The final step is to finalize and refine your sailor collar pattern.
- Check for accuracy: Check your pattern for accuracy, ensuring that the measurements and shape are correct.
- Refine the edges: Refine the edges of the pattern, smoothing out any rough or uneven edges.
- Test the pattern: Test your pattern by cutting out a prototype and adjusting as needed.
Conclusion
Creating a perfect sailor collar pattern requires attention to detail, precision, and patience. By following these 5 easy steps, you can achieve professional-looking results and add a touch of sophistication to your garments. Remember to take your time, measure carefully, and refine your pattern as needed.
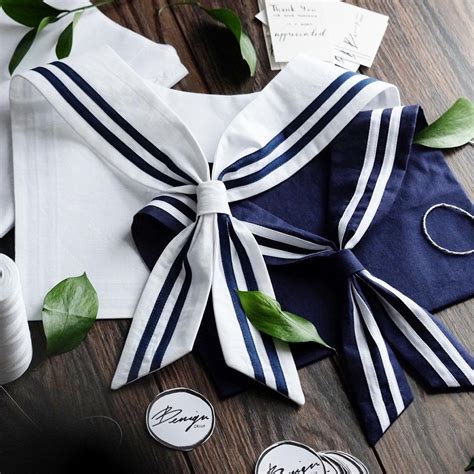
Sailor Collar Pattern Gallery


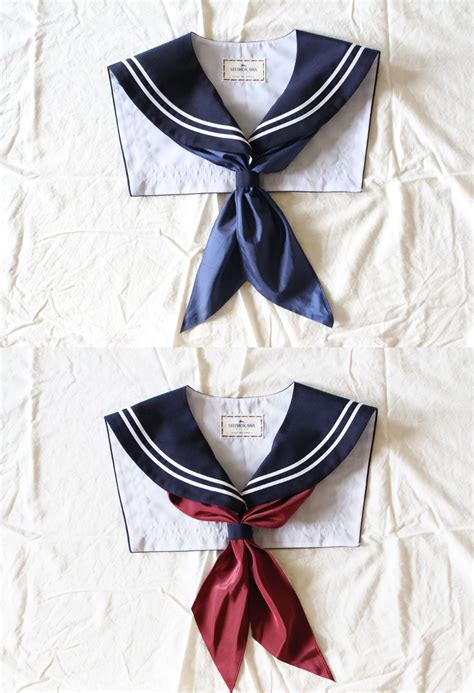


Now that you've learned the 5 easy steps to create a perfect sailor collar pattern, we encourage you to share your experiences, tips, and creations with us. What's your favorite way to incorporate sailor collars into your garments? Do you have any questions or need further guidance? Let us know in the comments below!