
Creating a process template for PowerPoint can help streamline your workflow, improve consistency, and save time. In this article, we'll guide you through a 10-step process to create a comprehensive and effective process template for PowerPoint.
Understanding the Importance of Process Templates
Before we dive into the steps, let's understand why process templates are essential. A process template provides a standardized framework for creating presentations, ensuring that all necessary elements are included, and the design is consistent throughout. This consistency is crucial for maintaining a professional brand image and communicating effectively with your audience.
Step 1: Define Your Objective
The first step is to define the purpose of your process template. What type of presentations will you be creating with this template? Who is your target audience? What are the key elements that need to be included? Answering these questions will help you create a template that meets your specific needs.
Types of Presentations
Consider the types of presentations you'll be creating:
- Sales pitches
- Training sessions
- Company updates
- Marketing materials
Step 2: Identify the Key Elements
Determine the essential elements that need to be included in your process template. These may include:
- Company logo and branding
- Title slide
- Agenda
- Content slides
- Images and graphics
- Charts and graphs
- Conclusion slide
- References or appendices

Step 3: Choose a Layout
Select a layout that suits your needs. You can choose from various pre-designed templates in PowerPoint or create your own from scratch. Consider the following:
- Standard 4:3 or widescreen 16:9 aspect ratio
- Number of columns and rows
- White space and padding
- Font styles and sizes
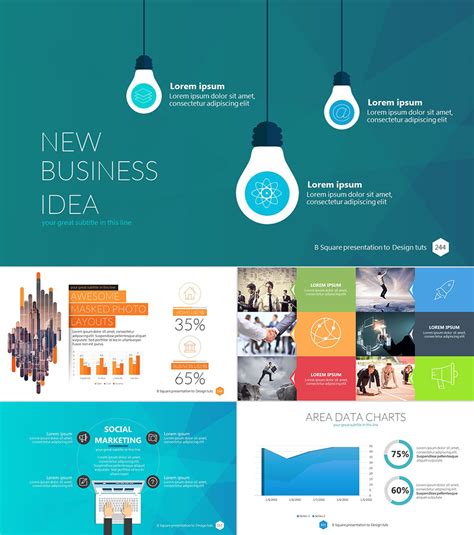
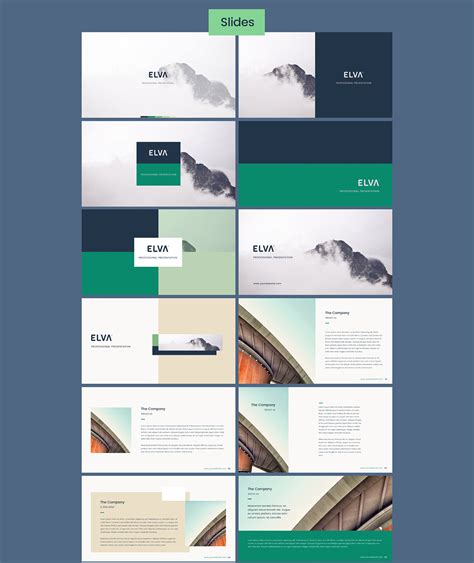
Layout Examples
- Simple and clean layout for training sessions
- Professional and formal layout for sales pitches
- Creative and modern layout for marketing materials
Step 4: Design Your Template
Using your chosen layout, design your template. Keep it simple, yet effective. Use:
- Consistent color scheme and typography
- High-quality images and graphics
- Clear headings and subheadings
- White space to create a clean and uncluttered design
Step 5: Add Content Placeholders
Insert content placeholders for the key elements you identified earlier. Use placeholder text and images to help users understand where to insert their content.
Placeholder Examples
- Title slide: "Insert title here"
- Content slide: "Insert image or graph here"
- Conclusion slide: "Insert summary or call-to-action here"
Step 6: Set Up Master Slides
Create master slides for each layout element. Master slides help maintain consistency throughout the presentation. Use the "Master Slide" feature in PowerPoint to create:
- Title master slide
- Content master slide
- Conclusion master slide
- Image master slide

Step 7: Add Interactivity
Add interactive elements to enhance user engagement. Use:
- Links to external resources
- Embedded videos or audio
- Animations and transitions (sparingly)
- Interactive charts and graphs
Interactive Examples
- Link to a company website or social media page
- Embedded video demonstrating a product or service
- Interactive chart showing sales data or trends
Step 8: Test and Refine
Test your process template with different types of presentations. Refine the template as needed to ensure it meets your requirements.
Testing Scenarios
- Create a sales pitch using the template
- Develop a training session using the template
- Design a marketing material using the template
Step 9: Save and Share
Save your process template as a PowerPoint template file (.potx). Share the template with your team or organization.
Sharing Options
- Upload the template to a shared drive or cloud storage
- Send the template via email or instant messaging
- Create a centralized template repository
Step 10: Review and Update
Regularly review and update your process template to ensure it remains effective and relevant. Solicit feedback from users and make adjustments as needed.
Review Schedule
- Review the template every 6-12 months
- Gather feedback from users and stakeholders
- Update the template to reflect changes in branding, design, or content requirements
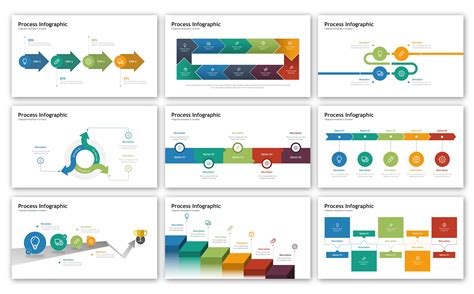
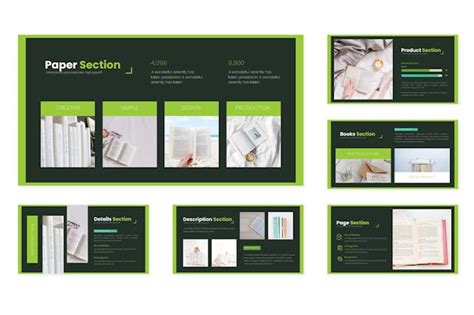
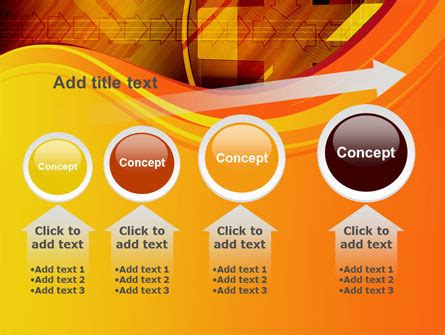
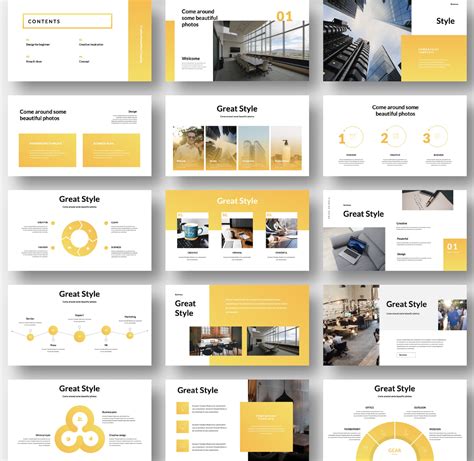
PowerPoint Template Gallery


By following these 10 steps, you can create a comprehensive and effective process template for PowerPoint that streamlines your workflow, improves consistency, and saves time.