
Creating a 4x6 recipe card template in Microsoft Word is a straightforward process that can be accomplished in just a few easy steps. With a little creativity and some basic Word skills, you can design a template that is both functional and visually appealing. Here's a step-by-step guide to help you get started:
Step 1: Set Up Your Page Layout
To create a 4x6 recipe card template, you'll need to adjust your page layout settings in Word. To do this, follow these steps:
- Go to the "Layout" tab in the ribbon
- Click on the "Size" button in the "Page Setup" group
- Select "More Paper Sizes" from the drop-down menu
- In the "Page Setup" dialog box, enter the following settings:
- Width: 6 inches
- Height: 4 inches
- Orientation: Portrait
- Click "OK" to apply the changes
Using a Custom Paper Size
If you don't see the 4x6 paper size option in the list, you can create a custom paper size by following these steps:
- Go to the "Layout" tab in the ribbon
- Click on the "Size" button in the "Page Setup" group
- Select "More Paper Sizes" from the drop-down menu
- In the "Page Setup" dialog box, click on the "Custom" tab
- Enter the following settings:
- Width: 6 inches
- Height: 4 inches
- Orientation: Portrait
- Click "OK" to apply the changes
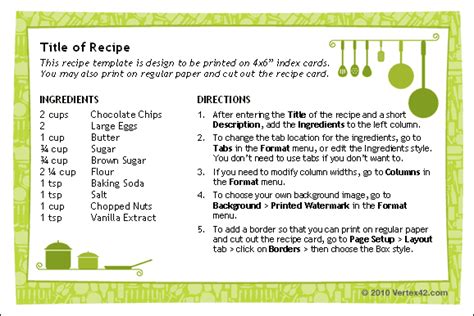
Step 2: Add a Table to Your Template
A table is a great way to organize your recipe card template and make it easy to read. To add a table to your template, follow these steps:
- Go to the "Insert" tab in the ribbon
- Click on the "Table" button in the "Tables" group
- Select "Insert Table" from the drop-down menu
- In the "Insert Table" dialog box, enter the following settings:
- Number of rows: 6-8 (depending on how much information you want to include)
- Number of columns: 2-3 (depending on how much information you want to include)
- AutoFit behavior: "Fixed column width"
- Click "OK" to apply the changes
Customizing Your Table
Once you've added a table to your template, you can customize it to fit your needs. Here are a few tips:
- Use the "Table Tools" tab in the ribbon to adjust the table layout, borders, and shading.
- Use the "Merge Cells" button to combine cells and create a header row.
- Use the "Split Cells" button to divide cells and create separate columns.
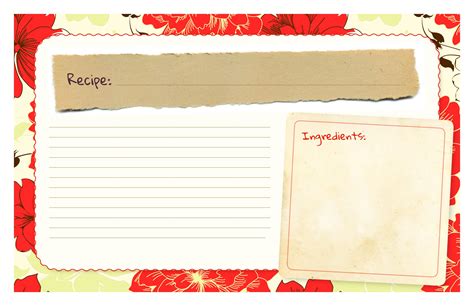
Step 3: Add a Recipe Card Design
Now that you have a table in your template, it's time to add a recipe card design. Here are a few ideas:
- Use a recipe card template from Microsoft Word's built-in templates.
- Create your own design using shapes, icons, and graphics.
- Use a pre-made template from a website like Etsy or Creative Market.
Customizing Your Design
Once you've added a recipe card design to your template, you can customize it to fit your needs. Here are a few tips:
- Use the "Picture Tools" tab in the ribbon to adjust the image size, brightness, and contrast.
- Use the "Text" tab in the ribbon to adjust the font, size, and color.
- Use the "Shape" tab in the ribbon to adjust the shape, size, and color.
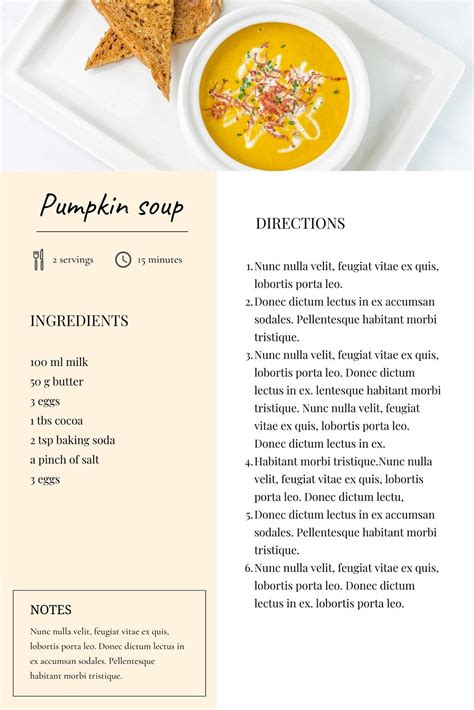
Step 4: Add Recipe Card Content
Now that you have a table and a recipe card design, it's time to add some content. Here are a few ideas:
- Use a recipe from a cookbook or website.
- Create your own recipe using a recipe card template.
- Use a recipe card template with a pre-made recipe.
Customizing Your Content
Once you've added recipe card content to your template, you can customize it to fit your needs. Here are a few tips:
- Use the "Text" tab in the ribbon to adjust the font, size, and color.
- Use the "Picture" tab in the ribbon to adjust the image size, brightness, and contrast.
- Use the "Table" tab in the ribbon to adjust the table layout, borders, and shading.
Step 5: Save and Print Your Template
Now that you've created a 4x6 recipe card template in Word, it's time to save and print it. Here are a few tips:
- Save your template as a Word document (.docx) or a PDF file.
- Print your template on cardstock or paper.
- Use a paper cutter or scissors to trim the edges.
Sharing Your Template
Once you've saved and printed your template, you can share it with others. Here are a few ideas:
- Share your template on social media.
- Email your template to friends and family.
- Use your template to create a recipe book or cookbook.
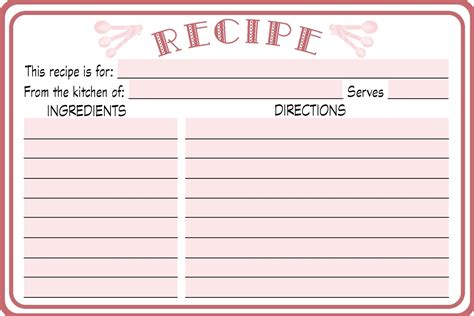
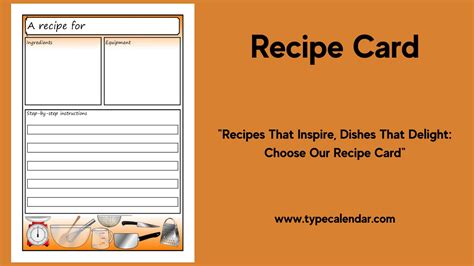
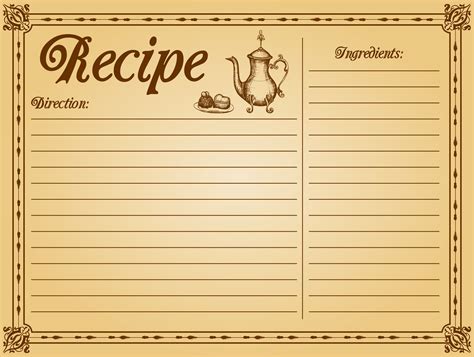
Recipe Card Template Image Gallery


We hope this article has helped you create a 4x6 recipe card template in Word. With these easy steps, you can create a template that is both functional and visually appealing. Don't forget to share your template with others and get creative with your recipe card design!