
Upgrade your Glocks performance with our step-by-step guide on how to replace a Glock trigger. Learn the essential 7 steps to swap out your factory trigger for a customized one, improving accuracy and responsiveness. Master the process with our expert advice on trigger replacement, including safety precautions and troubleshooting common issues.
The Glock trigger system is a crucial component of the Glock pistol, and replacing it can be a bit of a challenge. However, with the right tools and a bit of patience, you can replace your Glock trigger with a new one. In this article, we will guide you through the 7 steps to replace a Glock trigger.
Understanding the Glock Trigger System
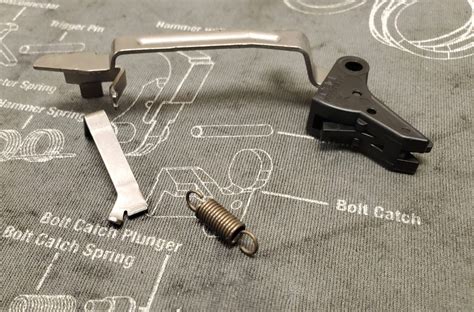
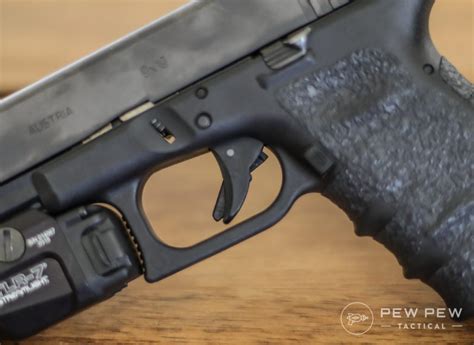
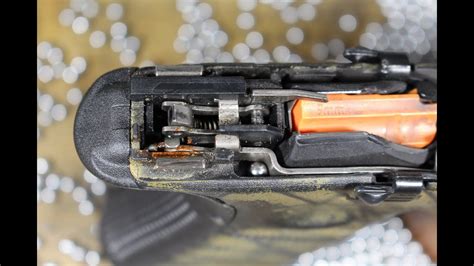
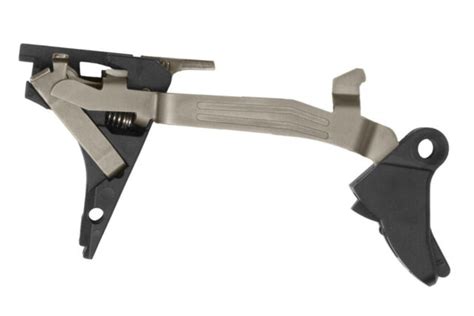
Before we dive into the replacement process, it's essential to understand how the Glock trigger system works. The Glock trigger system consists of several components, including the trigger bar, trigger connector, and safety lever. The trigger bar is the long, curved piece of metal that connects the trigger to the firing pin. The trigger connector is the small piece of metal that connects the trigger bar to the safety lever. The safety lever is the small metal piece that blocks the trigger bar from moving forward when the safety is engaged.
The Benefits of Replacing Your Glock Trigger
Replacing your Glock trigger can have several benefits, including:
- Improved trigger pull: A new trigger can provide a smoother, more consistent trigger pull, making it easier to shoot accurately.
- Increased safety: A new trigger can also provide an additional layer of safety, as it can help prevent accidental discharges.
- Customization: Replacing your Glock trigger allows you to customize your pistol to your liking, with various trigger options available.
Step 1: Prepare Your Glock Pistol
Before you start replacing your Glock trigger, you'll need to prepare your pistol. This involves removing the magazine, clearing the chamber, and removing the slide. To remove the slide, you'll need to pull the slide back and lift it off the frame. This will give you access to the trigger system.
Step 2: Remove the Trigger Pin
The trigger pin is the small metal pin that holds the trigger in place. To remove the trigger pin, you'll need to use a punch or a small hammer. Gently tap the pin out of the frame, being careful not to damage the surrounding metal.
Step 3: Remove the Trigger Connector
The trigger connector is the small piece of metal that connects the trigger bar to the safety lever. To remove the trigger connector, you'll need to use a small screwdriver or a trigger connector removal tool. Gently pry the connector out of the frame, being careful not to damage the surrounding metal.
Step 4: Remove the Trigger Bar
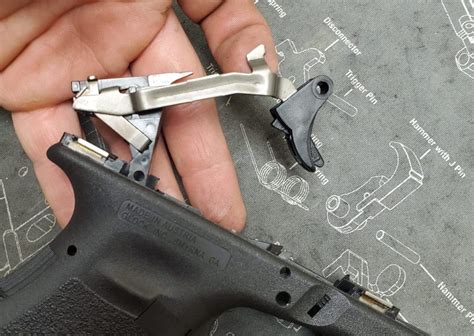
The trigger bar is the long, curved piece of metal that connects the trigger to the firing pin. To remove the trigger bar, you'll need to use a small screwdriver or a trigger bar removal tool. Gently pry the bar out of the frame, being careful not to damage the surrounding metal.
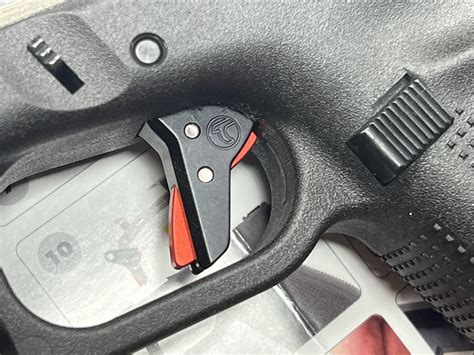
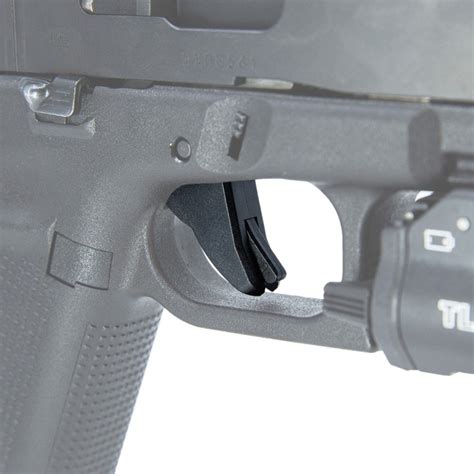
Step 5: Install the New Trigger
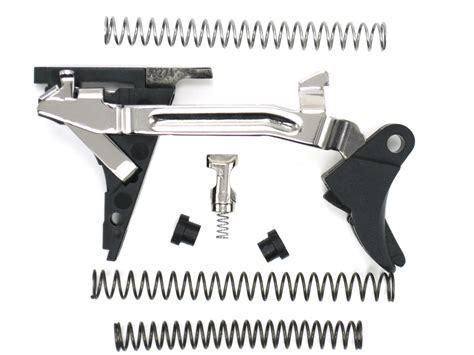
Now that you've removed the old trigger, it's time to install the new one. Start by inserting the new trigger bar into the frame, making sure it's properly seated. Next, install the new trigger connector, making sure it's properly aligned with the trigger bar. Finally, install the new trigger, making sure it's properly seated and aligned with the trigger connector.
Step 6: Reassemble the Glock Pistol
Now that you've installed the new trigger, it's time to reassemble the Glock pistol. Start by reinstalling the slide, making sure it's properly seated on the frame. Next, reinstall the magazine, making sure it's properly seated in the magazine well.
Step 7: Test the New Trigger
Finally, it's time to test the new trigger. Start by loading a magazine and chambering a round. Next, pull the trigger, making sure it's smooth and consistent. If the trigger feels gritty or rough, you may need to adjust it or seek the help of a professional gunsmith.
Gallery of Glock Trigger Images
Glock Trigger Image Gallery

In conclusion, replacing your Glock trigger can be a bit of a challenge, but with the right tools and a bit of patience, you can do it yourself. Remember to always follow proper safety procedures and to test the new trigger before using it. If you're not comfortable replacing the trigger yourself, it's always best to seek the help of a professional gunsmith.