
Creating round sticker templates in Word can be a fun and creative way to design and produce your own stickers. Whether you're making labels for your business, decorations for an event, or just for personal use, a round sticker template can be a great starting point. In this article, we'll explore five different ways to create a round sticker template in Word.

Method 1: Using the Shape Tool
One of the easiest ways to create a round sticker template in Word is to use the Shape Tool. This tool allows you to create a variety of shapes, including circles.
Step-by-Step Instructions:
- Open a new Word document and go to the "Insert" tab.
- Click on the "Shapes" button and select the "Oval" shape.
- Draw a circle on the page by clicking and dragging the mouse.
- To make the circle perfect, hold down the Shift key while drawing.
- Once you have your circle, you can resize it to the desired size.
Method 2: Using a Circle Border
Another way to create a round sticker template in Word is to use a circle border.
Step-by-Step Instructions:
- Open a new Word document and go to the "Page Layout" tab.
- Click on the "Page Borders" button and select the "Borders and Shading" option.
- In the "Borders and Shading" dialog box, select the "Custom" option and then click on the "Border" button.
- In the "Border" dialog box, select the "Circle" shape and adjust the size and color to your liking.
- Click "OK" to apply the border to your page.
Method 3: Using a Sticker Template
If you're looking for a more convenient way to create a round sticker template in Word, you can use a pre-made sticker template.
Step-by-Step Instructions:
- Open a new Word document and go to the "File" tab.
- Click on the "New" button and select the "Templates" option.
- In the "Templates" dialog box, search for "sticker template" and select a template that suits your needs.
- Customize the template by adding your own text and images.
Method 4: Using a Circle Shape in the Text Box
You can also create a round sticker template in Word by using a circle shape in the text box.
Step-by-Step Instructions:
- Open a new Word document and go to the "Insert" tab.
- Click on the "Text Box" button and select the "Simple Text Box" option.
- Draw a text box on the page and then click on the "Format" tab.
- In the "Format" tab, click on the "Shape Fill" button and select the "Circle" shape.
- Adjust the size and color of the circle to your liking.

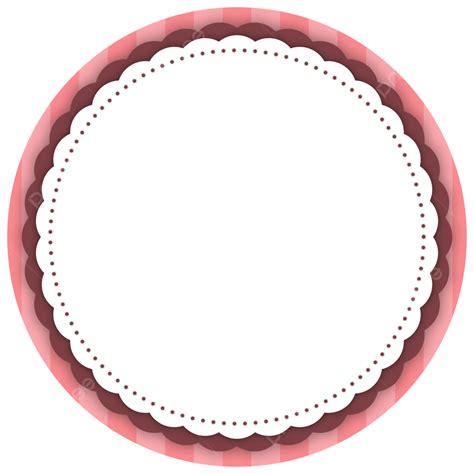
Method 5: Using a Round Image
Finally, you can create a round sticker template in Word by using a round image.
Step-by-Step Instructions:
- Open a new Word document and go to the "Insert" tab.
- Click on the "Picture" button and select a round image from your computer.
- Resize the image to the desired size and adjust the wrap text to "Behind Text".
- Use the "Format" tab to adjust the image's shape and color to your liking.
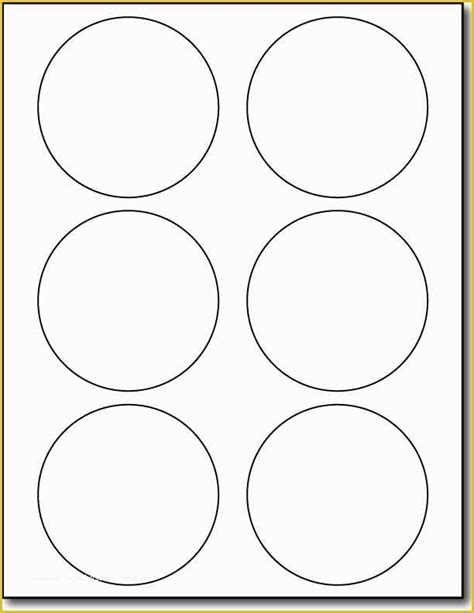
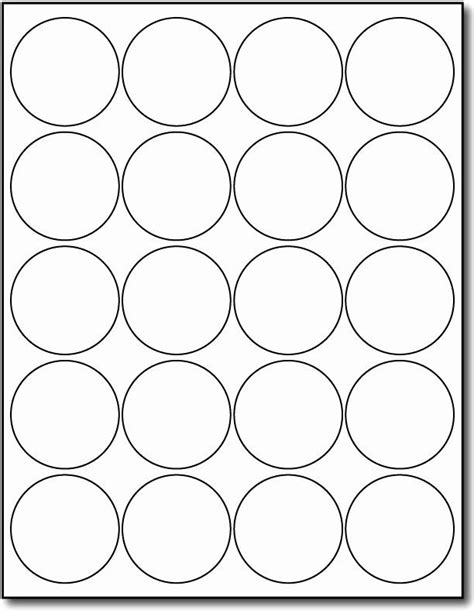
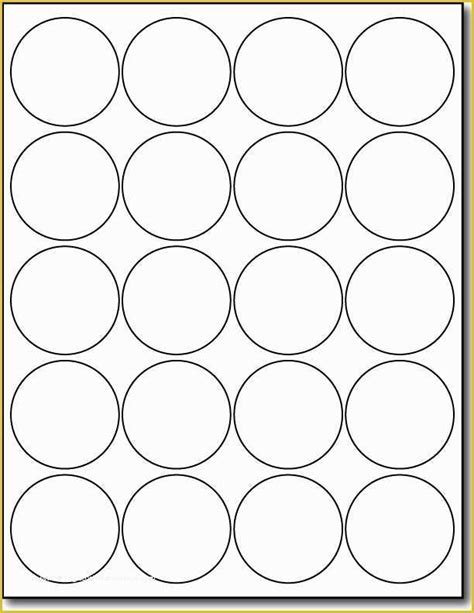
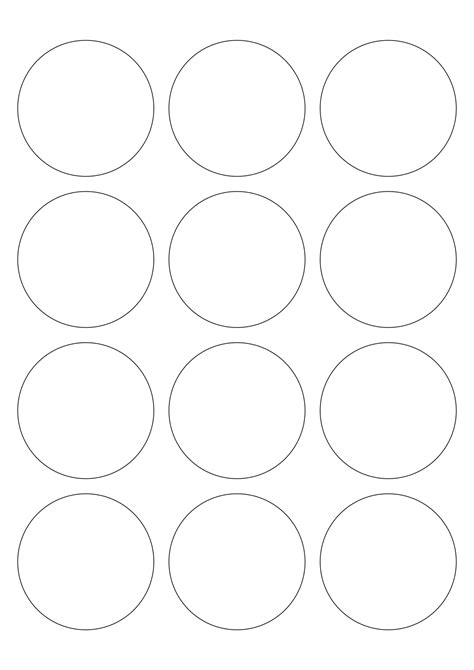
Gallery of Round Sticker Templates in Word
Round Sticker Template in Word


By following these five methods, you can create a round sticker template in Word that suits your needs. Whether you're a business owner, event planner, or just a crafty individual, a round sticker template can be a great starting point for your sticker-making projects.