
Installing a Samsung microwave is a relatively straightforward process that can be completed with a few tools and some basic knowledge. However, to ensure a safe and proper installation, it's essential to follow the manufacturer's instructions and take the necessary precautions. In this article, we will guide you through the 7 steps to perfect Samsung microwave installation.
Why Proper Installation Matters
Before we dive into the installation process, it's essential to understand why proper installation is crucial. A poorly installed microwave can lead to safety hazards, reduced performance, and even void the warranty. Moreover, a well-installed microwave can ensure optimal performance, energy efficiency, and a longer lifespan.
Step 1: Prepare the Installation Site
Before starting the installation, ensure the site is clear of any debris, dust, or obstacles. Choose a location that is level, dry, and well-ventilated. The microwave should be installed at least 24 inches away from any combustible materials, such as wood or fabric.
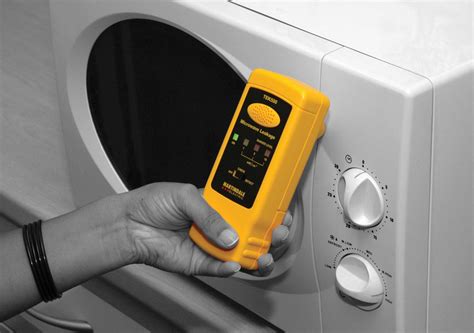
Step 2: Unpack and Inspect the Microwave
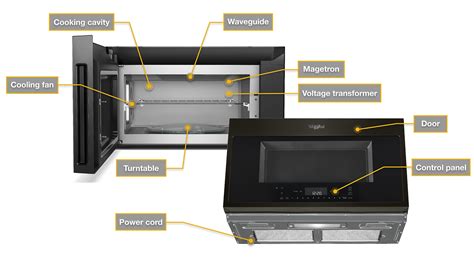
Carefully unpack the microwave and inspect it for any damage or defects. Check the power cord, turntable, and other accessories for any signs of wear or tear. If you notice any damage, contact the manufacturer or retailer for assistance.
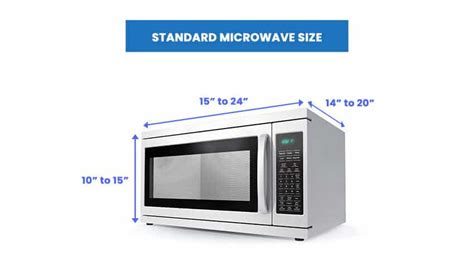
Step 3: Measure and Mark the Installation Area
Measure the width and height of the microwave to determine the correct installation area. Mark the area with a pencil, taking into account the ventilation requirements and any obstructions.
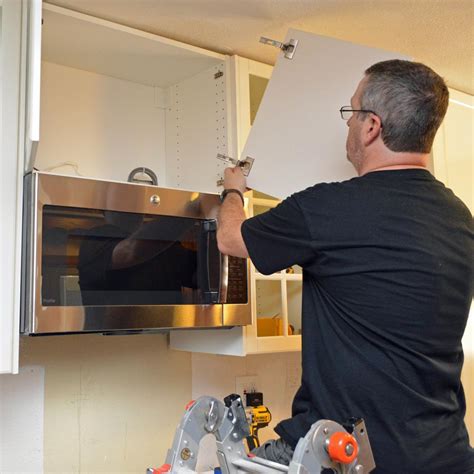
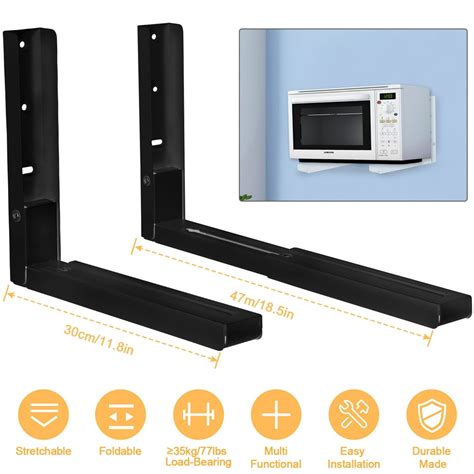
Step 4: Install the Mounting Bracket
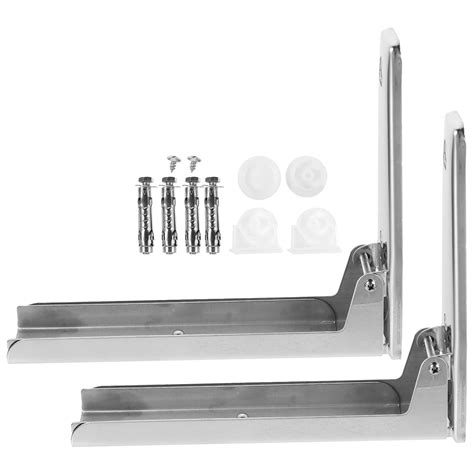
Install the mounting bracket, which usually comes with the microwave, to the wall or cabinet. Ensure the bracket is level and securely fastened to support the weight of the microwave.
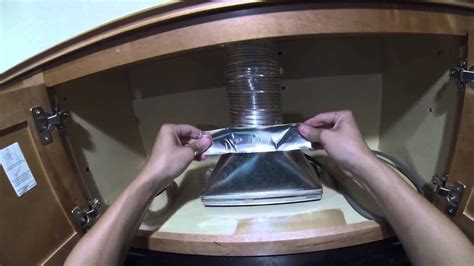
Step 5: Connect the Power Cord and Other Accessories
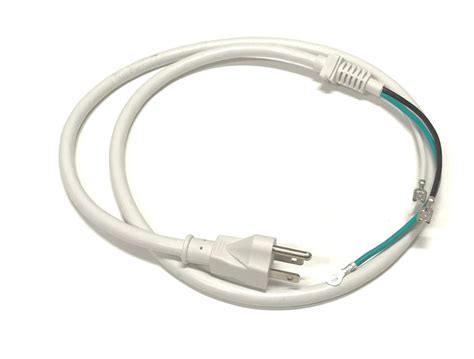
Connect the power cord to a nearby outlet, ensuring it is securely plugged in and meets the manufacturer's specifications. Connect any other accessories, such as the turntable or exhaust fan, according to the manufacturer's instructions.
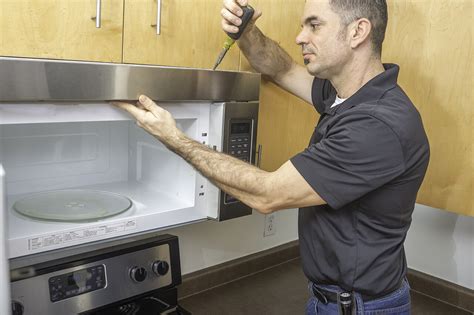
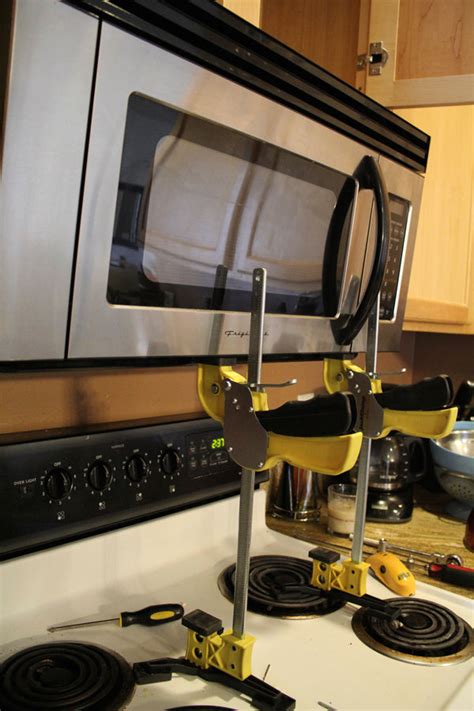
Step 6: Install the Microwave

Carefully lift the microwave and place it onto the mounting bracket. Ensure it is level and securely fastened to the bracket. Connect any remaining accessories, such as the door or handles.
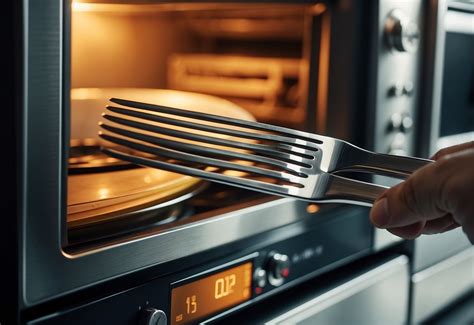
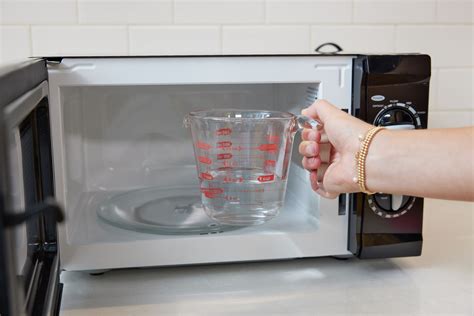
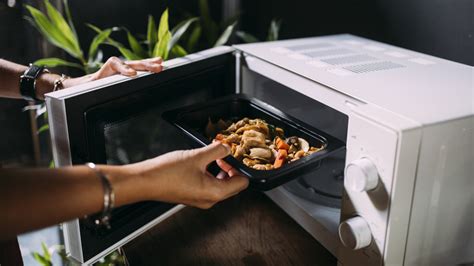
Step 7: Test the Microwave
Test the microwave to ensure it is working correctly. Check the power, turntable, and other features to ensure they are functioning as expected.
Gallery of Microwave Installation
Microwave Installation Image Gallery


By following these 7 steps, you can ensure a safe and proper installation of your Samsung microwave. Remember to always follow the manufacturer's instructions and take the necessary precautions to avoid any accidents or injuries. If you are unsure about any part of the installation process, consider consulting a professional for assistance.
We hope this article has been helpful in guiding you through the Samsung microwave installation process. If you have any questions or comments, please feel free to share them with us.