Intro
Master Excel VBA with 5 expert techniques to set a range in VBA. Learn how to define, manipulate, and work with cell ranges using VBA code. Discover methods for setting ranges using variables, worksheet functions, and error handling. Improve your VBA skills and automate tasks with these range-setting strategies for Excel automation.
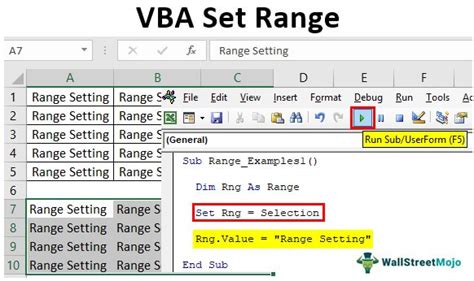
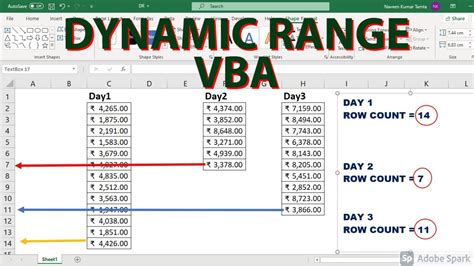
Setting a range in VBA (Visual Basic for Applications) is a fundamental skill for anyone working with Excel or other Microsoft Office applications that support VBA. A range in VBA refers to a group of cells that can be referenced as a single unit. This can be as simple as a single cell or as complex as a large array of cells spanning multiple rows and columns. Here are five common ways to set a range in VBA, each serving different purposes and offering varying degrees of flexibility.
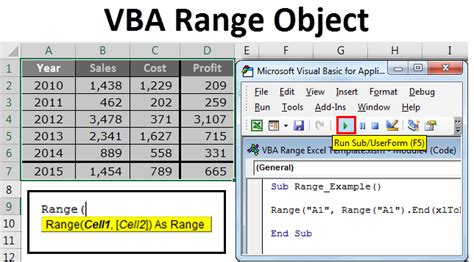
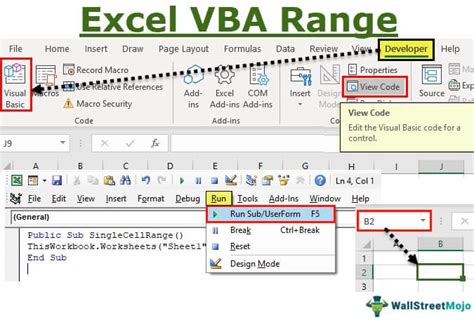
1. Using the Range Object Directly
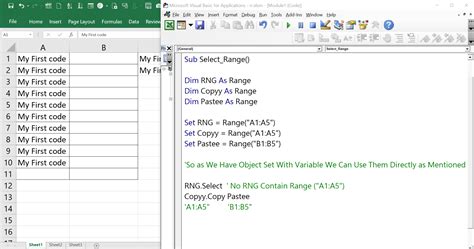
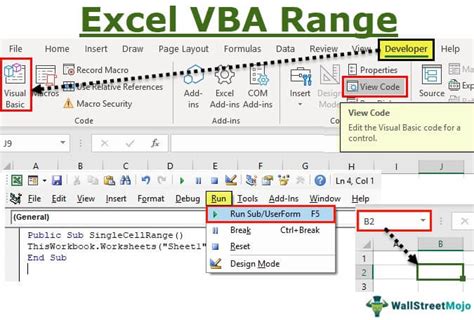
One of the simplest ways to set a range is by directly specifying the cell or cells you want to reference using the Range object. This method involves using the cell addresses in the format of "A1" for a single cell or "A1:B2" for a range of cells.
Dim myRange As Range
Set myRange = Range("A1:B2")
This method is straightforward and easy to understand but becomes less practical when working with large or dynamic ranges.
2. Using the Cells Property
The Cells property offers another way to set a range by specifying the row and column numbers of the cells. This method is particularly useful when you need to dynamically determine the range based on variables.
Dim startRow As Long, startCol As Long, endRow As Long, endCol As Long
startRow = 1
startCol = 1
endRow = 2
endCol = 2
Dim myRange As Range
Set myRange = Range(Cells(startRow, startCol), Cells(endRow, endCol))
This approach provides more flexibility than the direct Range method, especially in scenarios where the range boundaries are determined by the code's logic.
3. Using the Offset Property
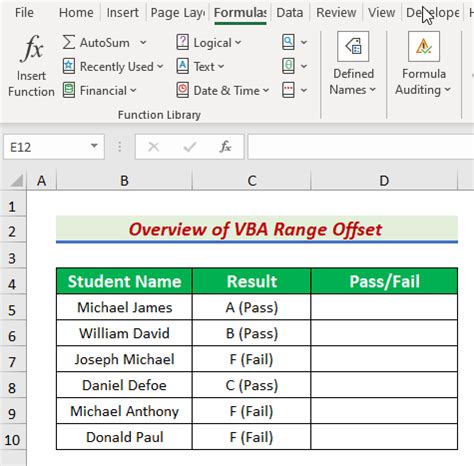
The Offset property is useful for setting a range relative to another range or cell. It allows you to specify how many rows and columns to move from the starting point.
Dim myRange As Range
Set myRange = Range("A1").Offset(1, 1).Resize(2, 2)
This method is beneficial when you need to create a range that is dynamically positioned relative to a fixed point.
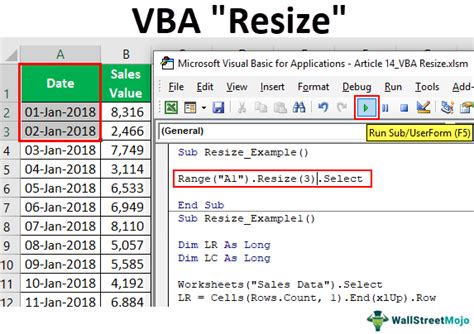
4. Using the Resize Property
Similar to Offset, the Resize property can be used to adjust the size of a range starting from a single cell. This is particularly useful for creating ranges of variable sizes.
Dim myRange As Range
Set myRange = Range("A1").Resize(2, 2)
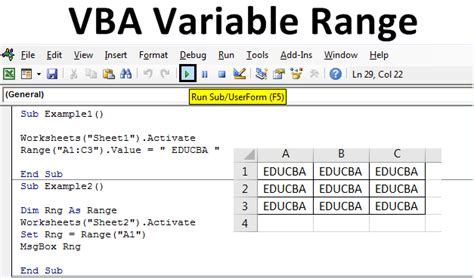
5. Using Variables with the Range Object
When the range boundaries are determined by variables, you can construct the range string by concatenating the variable values.
Dim startCell As String, endCell As String
startCell = "A1"
endCell = "B2"
Dim myRange As Range
Set myRange = Range(startCell & ":" & endCell)
This approach is useful for creating ranges based on dynamic inputs or calculations.
Range Setting in VBA Image Gallery
Conclusion and Next Steps
Mastering how to set a range in VBA is a crucial step in automating tasks and working efficiently with Excel. Whether you're using the Range object directly, leveraging properties like Offset and Resize, or incorporating variables into your range definitions, each method has its applications and benefits. By understanding and applying these techniques, you can significantly enhance your VBA skills and tackle more complex projects. Always keep practicing and exploring VBA's vast capabilities to become proficient in automating tasks and solving real-world problems.
