
Intro
Master SFM 3D printing with 5 essential steps, covering modeling, slicing, and post-processing techniques for precise prints, including resin and FDM printing methods.
The world of 3D printing has experienced significant growth in recent years, with various techniques and technologies emerging to cater to different needs and applications. One such technique is Stereolithography (SLA), but another method that has gained popularity due to its cost-effectiveness and ease of use is Stereolithography's cousin, Stereolithography-like method, or more commonly referred to as SFM (Stereolithography-like method) but in this context, it refers to a type of 3D printing that utilizes a similar layer-by-layer approach. However, the term SFM in 3D printing is not widely recognized and might be confused with other terms like FDM (Fused Deposition Modeling) or SLA (Stereolithography). For the sake of clarity, we will refer to a generic process of creating 3D prints, focusing on a method akin to FDM, given the broad interpretation of SFM. Understanding the steps involved in creating a 3D print using a method akin to FDM can help individuals and businesses leverage this technology for their benefit.
The process of creating a 3D print involves several key steps, from designing the model to the final printed product. Each step is crucial and requires attention to detail to ensure that the final product meets the desired specifications and quality. Whether you are a hobbyist looking to create simple objects or a professional aiming to produce complex prototypes, understanding these steps can significantly improve your outcomes.
The first step in any 3D printing process is designing the model. This involves using computer-aided design (CAD) software or other 3D modeling tools to create a digital representation of the object you wish to print. The design phase is critical as it determines the overall structure, functionality, and aesthetics of the final product. It's essential to consider the capabilities and limitations of your 3D printer during this phase, including the build volume, resolution, and the type of material you will be using.
Introduction to SFM 3D Printing
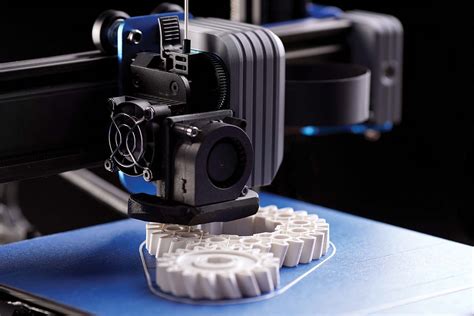
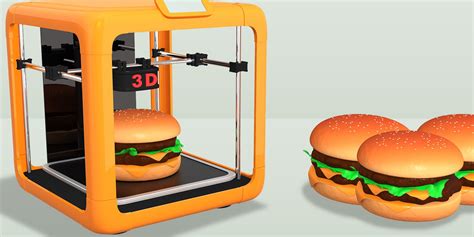
Given the context, let's delve into the specifics of a method akin to FDM, which is more recognized and utilized in the 3D printing community. FDM stands for Fused Deposition Modeling, a technique where melted plastic is deposited layer by layer to create a three-dimensional object. This method is widely used due to its affordability, ease of use, and the variety of materials available.
Step 1: Designing Your Model

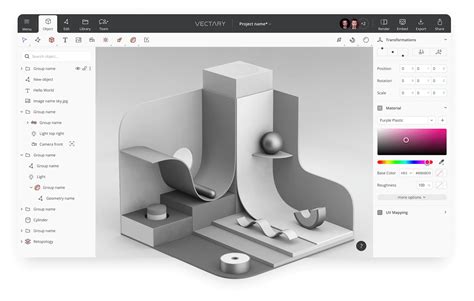
Designing your model is the first and arguably the most creative step in the 3D printing process. It requires a good understanding of the CAD software and the principles of 3D modeling. There are numerous CAD programs available, ranging from beginner-friendly options like Tinkercad to more advanced software like Autodesk Inventor or SolidWorks. The choice of software often depends on the complexity of the design and the user's familiarity with the program.
Choosing the Right CAD Software
When selecting a CAD program, consider the following factors:
- Ease of use: If you're a beginner, look for software with a user-friendly interface and tutorials.
- Features: Depending on your project's complexity, you may need advanced features like parametric modeling or simulation tools.
- Compatibility: Ensure the software can export files in formats compatible with your 3D printer's slicing software, such as STL or OBJ.
Step 2: Preparing Your Model for Printing
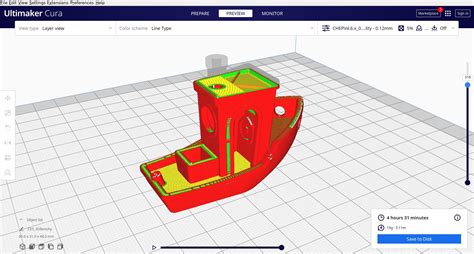
After designing your model, the next step is preparing it for printing. This involves slicing the model into layers and generating a G-code file that the 3D printer can understand. Slicing software, such as Cura or Slic3r, takes your 3D model and converts it into a set of 2D layers, determining how the printer will deposit the material.
Understanding Slicing Parameters
Slicing parameters can significantly affect the print quality and speed. Key parameters include:
- Layer height: Affects the detail and smoothness of the print.
- Infill density: Determines the solidity of the print, with higher densities providing more strength but using more material.
- Support material: May be necessary for prints with overhangs or complex geometries.
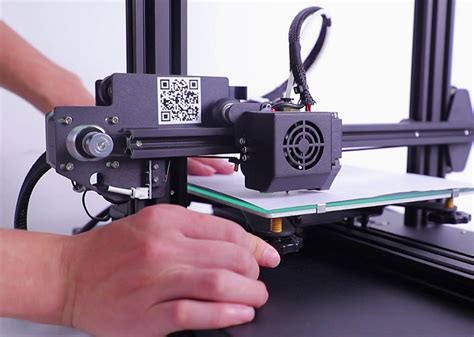
Step 3: Setting Up Your 3D Printer
Before starting the print job, it's crucial to set up your 3D printer correctly. This includes calibrating the printer, ensuring the build plate is level, and loading the filament. Calibration is essential for achieving accurate prints, as it ensures that the printer's axes are properly aligned and the extruder is at the correct height.
Calibration Steps
Calibration typically involves the following steps:
- Bed leveling: Ensures the build plate is perfectly level to prevent prints from being skewed.
- Axis alignment: Checks that the X, Y, and Z axes are properly aligned.
- Extruder calibration: Adjusts the extruder to ensure it's depositing the correct amount of material.
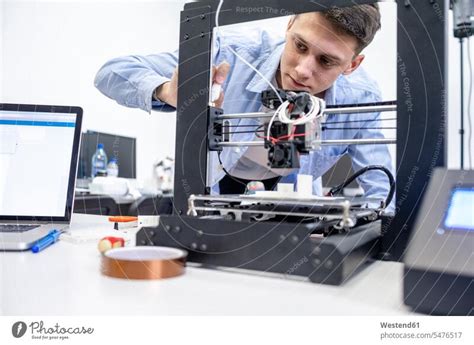
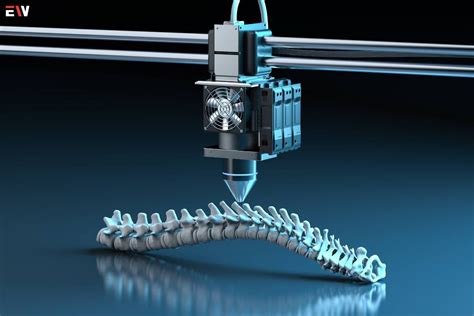
Step 4: Starting the Print Job
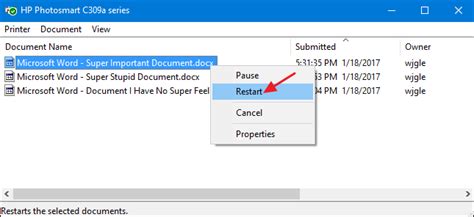
With your model prepared and your printer set up, you're ready to start the print job. This involves loading the G-code file into the printer's control software and initiating the print. It's essential to monitor the print, especially during the initial layers, to ensure that everything is proceeding as expected.
Monitoring the Print
Key things to watch for during the print include:
- Adhesion: Ensure the first layer adheres well to the build plate.
- Layer alignment: Check that each layer is properly aligned with the one below it.
- Material flow: Monitor the extruder to prevent jams or under/over-extrusion.
Step 5: Post-Printing Processing
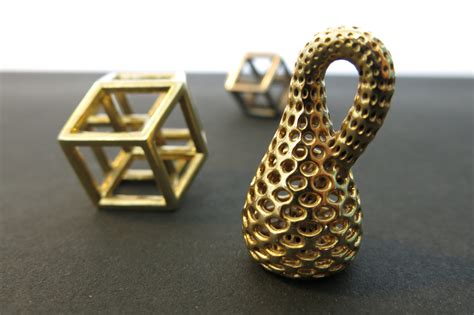
After the print is complete, it may require some post-processing to achieve the desired finish. This can include removing support material, sanding, painting, or applying a coat of varnish. The specific steps depend on the intended use of the print and the desired aesthetic.
Post-Processing Techniques
Common post-processing techniques include:
- Support removal: Carefully removing any support material without damaging the print.
- Sanding: Smoothing out the layer lines to achieve a more uniform surface.
- Painting or coating: Applying paint or a protective coating to enhance the appearance and durability of the print.
3D Printing Image Gallery


As you've journeyed through the steps of creating a 3D print, it's clear that this technology offers vast opportunities for innovation and creativity. Whether you're looking to create prototypes, functional parts, or artistic pieces, understanding the process from design to post-processing is key to unlocking the full potential of 3D printing. We invite you to share your experiences, ask questions, or explore further the possibilities that 3D printing has to offer. Join the conversation, and together, let's push the boundaries of what's possible with this exciting technology.