
Creating an organized binder can be a daunting task, but with the right tools and techniques, it can be a breeze. One of the most important aspects of binder organization is the spine template, which provides a clear and concise label for the binder's contents. In this article, we will explore the importance of spine templates for 3-inch binder organization and provide tips and tricks for creating your own custom templates.
Why Use a Spine Template for Your 3-Inch Binder?
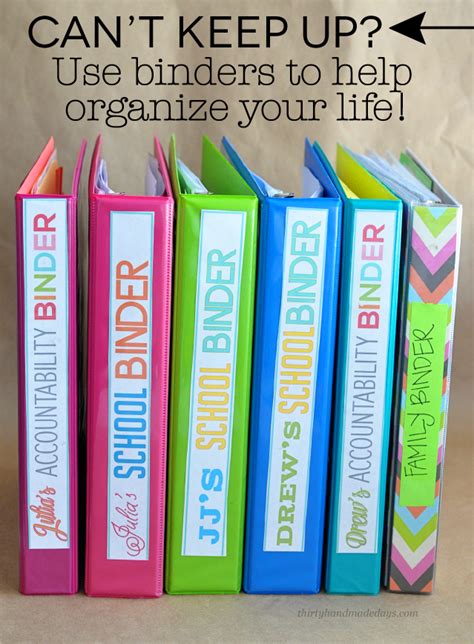
Using a spine template for your 3-inch binder can greatly improve the overall organization and aesthetic of your binder. A spine template provides a clear and concise label for the binder's contents, making it easy to identify the binder's purpose and contents at a glance. This is especially important for students, professionals, and individuals who use binders to store important documents and information.
Benefits of Using a Spine Template
- Easy identification of binder contents
- Improved organization and categorization
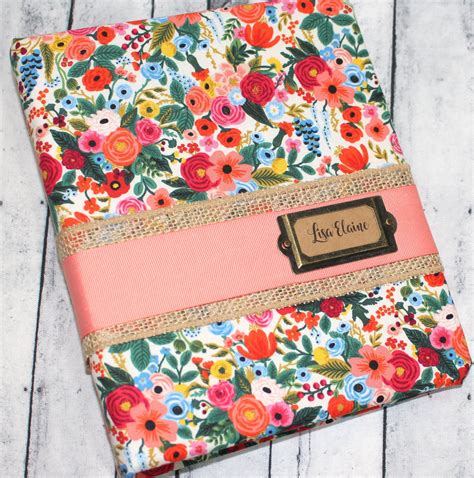
- Enhanced visual appeal
- Increased productivity and efficiency
- Reduced stress and anxiety
Creating Your Own Custom Spine Template
Creating your own custom spine template is a simple and straightforward process. Here are the steps to follow:
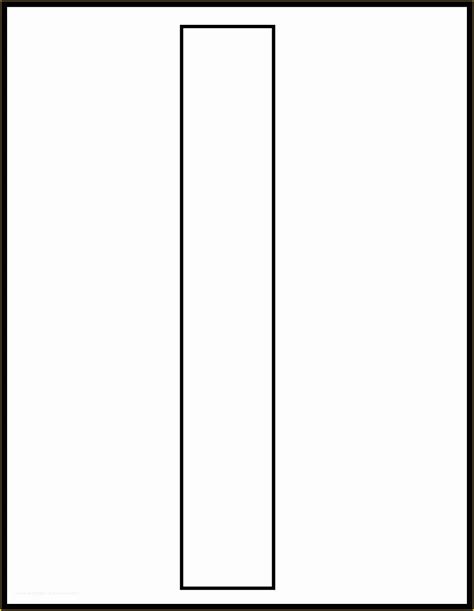
- Determine the size of your binder: Before creating your spine template, you need to determine the size of your binder. Measure the width and height of your binder to ensure that your template fits perfectly.
- Choose a design software: You can use a variety of design software to create your spine template, including Microsoft Word, Adobe Illustrator, and Canva.
- Select a font and color scheme: Choose a font and color scheme that is clear and easy to read. Avoid using too many colors or fonts, as this can make the template look cluttered and confusing.
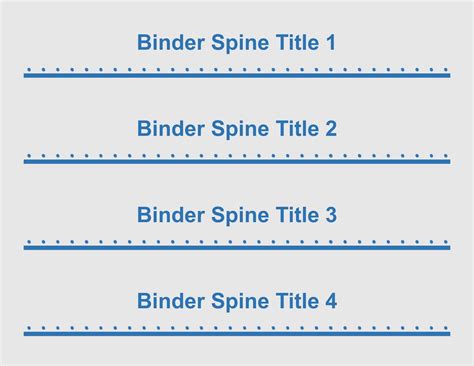
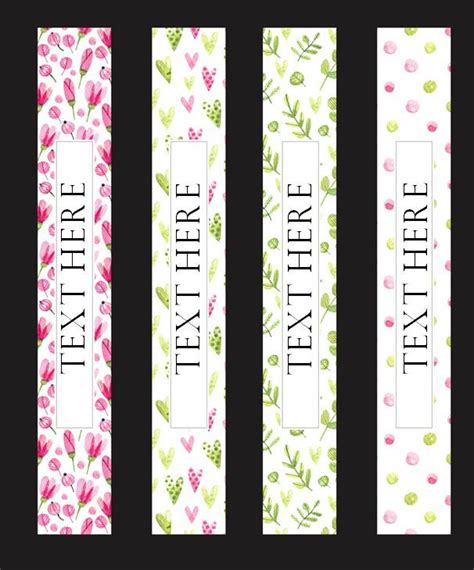
- Add a title and contents list: Include a title and contents list on your spine template to provide a clear and concise overview of the binder's contents.
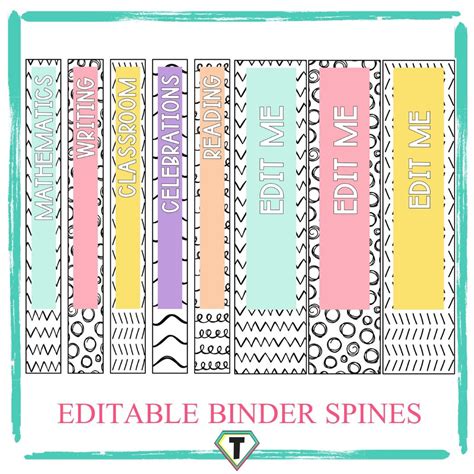
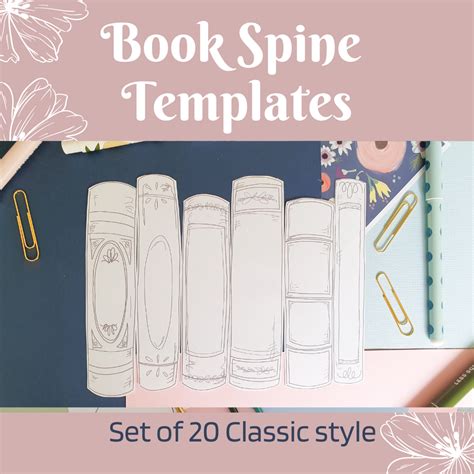
- Add images and graphics: You can add images and graphics to your spine template to make it more visually appealing.
Spine Template Design Tips
- Use a clear and easy-to-read font
- Choose a color scheme that is consistent with your brand or personal style
- Avoid using too many images or graphics
- Keep the design simple and concise
- Use a standard font size and style throughout the template
Best Practices for Using a Spine Template
Here are some best practices for using a spine template:
- Use a consistent design throughout your binders: Using a consistent design throughout your binders can help to create a sense of cohesion and organization.
- Keep the spine template up-to-date: Make sure to update your spine template whenever you add or remove contents from your binder.
- Use a spine template for all your binders: Using a spine template for all your binders can help to create a sense of consistency and organization.
- Experiment with different designs: Don't be afraid to experiment with different designs and templates until you find one that works for you.
Common Mistakes to Avoid When Using a Spine Template
- Not updating the spine template regularly
- Using a template that is too cluttered or confusing
- Not using a consistent design throughout your binders
- Not including a title and contents list on the spine template
Spine Template Design Ideas


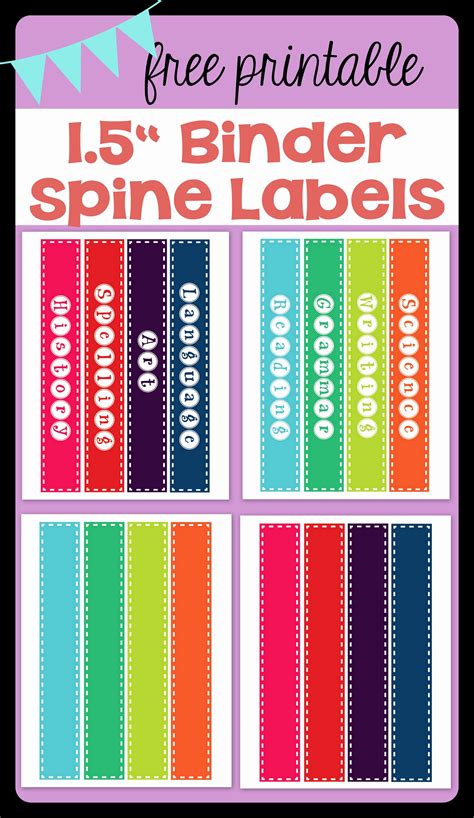
By following these tips and best practices, you can create a spine template that is both functional and visually appealing. Remember to keep your design simple and concise, and to use a consistent font and color scheme throughout your template. With a little creativity and experimentation, you can create a spine template that helps to take your binder organization to the next level.