
The thrill of crafting and building something with your own hands is unmatched. For enthusiasts of 3D printing and medieval-inspired creations, building a 3D printable crossbow can be an exciting project. Not only does it challenge your technical skills, but it also gives you a unique piece of history that you can proudly call your own. In this article, we'll guide you through the process of building your own 3D printable crossbow in 7 steps.
From the basic understanding of crossbow mechanics to the final assembly, we'll break down each step into manageable tasks. Whether you're a seasoned 3D printing expert or a beginner looking to try something new, this guide is perfect for anyone looking to build a 3D printable crossbow.
Understanding Crossbow Mechanics
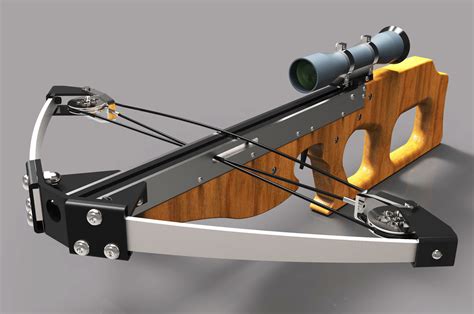
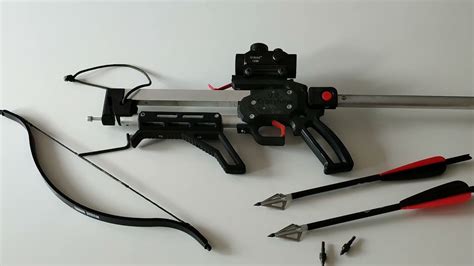
Before you start building, it's essential to understand the basic mechanics of a crossbow. A crossbow is essentially a horizontal bow mounted on a stock, with a mechanism to hold and release the string. The key components of a crossbow include the bow, stock, trigger, and limbs.

To build a 3D printable crossbow, you'll need to understand how these components interact with each other. You can find many resources online that explain the mechanics of a crossbow in detail.
Step 1: Design Your Crossbow
The first step in building your 3D printable crossbow is to design the individual components. You can use computer-aided design (CAD) software like Tinkercad, Fusion 360, or Blender to create your design. If you're not comfortable designing from scratch, you can find many pre-made designs online.
When designing your crossbow, keep in mind the following factors:
- Size: Consider the size of your crossbow and the space you have available for printing.
- Material: Choose a material that is strong and durable enough to support the tension of the bowstring.
- Safety: Ensure that your design includes safety features, such as a trigger guard and a secure way to hold the bowstring.
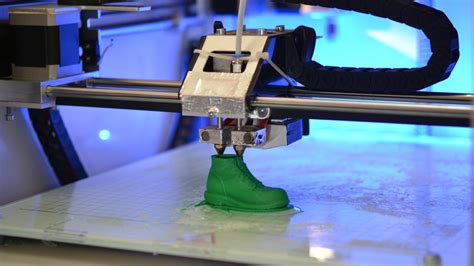
Preparing Your 3D Printer
Once you have your design ready, it's time to prepare your 3D printer. Make sure you have the following:
- A 3D printer with a build volume large enough to accommodate your crossbow design
- A spool of 3D printing filament (preferably a strong and durable material like PLA or ABS)
- A 3D printing software (such as Slic3r or Cura) to slice your design and generate G-code
Step 2: Print Your Crossbow Components
With your 3D printer prepared, it's time to start printing your crossbow components. Depending on the complexity of your design, this may take several hours or even days.
Make sure to follow these best practices when printing your crossbow components:
- Use a high infill density to ensure strength and durability
- Use a slow print speed to ensure accuracy and reduce the risk of errors
- Monitor your print job closely to catch any errors or issues
Assembling Your Crossbow
Once all your components are printed, it's time to start assembling your crossbow. This may require some sanding, gluing, and adjusting to ensure a smooth and secure fit.
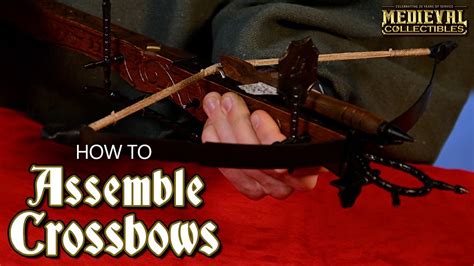
Follow these steps to assemble your crossbow:
- Start by attaching the bow to the stock using a strong adhesive (such as super glue or epoxy)
- Attach the limbs to the bow and stock using a combination of adhesives and mechanical fasteners
- Install the trigger mechanism and ensure it's secure and functioning properly
Step 3: Installing the Bowstring
With your crossbow assembled, it's time to install the bowstring. This requires careful attention to ensure the string is properly seated and tensioned.
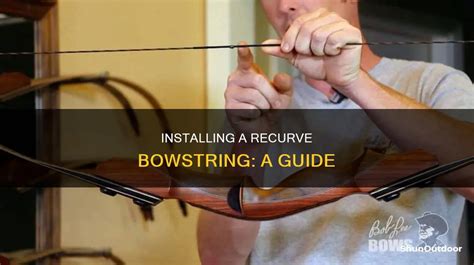
Follow these steps to install the bowstring:
- Start by attaching the bowstring to the bow using a secure knot or mechanical fastener
- Gradually tension the bowstring using a combination of manual adjustment and mechanical aids (such as a bowstring winder)
Testing and Tuning Your Crossbow
With your crossbow assembled and the bowstring installed, it's time to test and tune your creation. This requires careful attention to ensure the crossbow is functioning properly and safely.
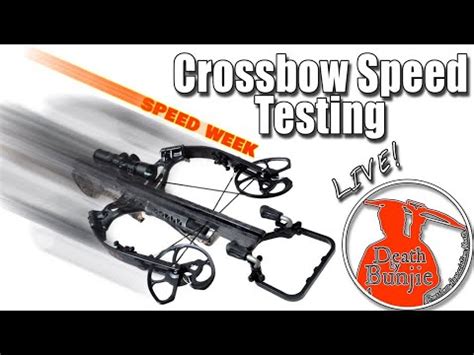
Follow these steps to test and tune your crossbow:
- Start by testing the trigger mechanism to ensure it's functioning properly and safely
- Gradually increase the tension of the bowstring and test the crossbow's accuracy and performance
- Make adjustments as necessary to ensure the crossbow is functioning properly and safely
Step 4: Adding Finishing Touches
With your crossbow tested and tuned, it's time to add the finishing touches. This may include adding a finish (such as varnish or paint) and installing any decorative components.

Follow these steps to add finishing touches to your crossbow:
- Start by applying a finish (such as varnish or paint) to protect the crossbow and enhance its appearance
- Install any decorative components (such as engravings or etchings) to enhance the crossbow's appearance
Final Assembly and Inspection
With your crossbow complete, it's time to perform a final assembly and inspection. This ensures that all components are properly installed and functioning safely and correctly.
Follow these steps to perform a final assembly and inspection:
- Start by inspecting the crossbow to ensure all components are properly installed and functioning correctly
- Test the crossbow to ensure it's functioning safely and correctly
Step 5: Maintenance and Upkeep
To ensure your crossbow continues to function properly and safely, regular maintenance and upkeep are essential.
Follow these steps to maintain and upkeep your crossbow:
- Regularly inspect the crossbow to ensure all components are properly installed and functioning correctly
- Perform routine maintenance tasks (such as lubricating moving parts and cleaning the crossbow) to ensure optimal performance
Troubleshooting Common Issues
As with any complex device, issues may arise with your crossbow. In this section, we'll cover common issues and provide troubleshooting tips.

Follow these steps to troubleshoot common issues:
- Identify the issue and consult the user manual or online resources for troubleshooting tips
- Perform routine maintenance tasks to ensure optimal performance
Step 6: Upgrading and Customizing Your Crossbow
To enhance the performance and appearance of your crossbow, consider upgrading and customizing your creation.
Follow these steps to upgrade and customize your crossbow:
- Research and identify upgrade and customization options (such as new materials or components)
- Consult online resources and experts to ensure safe and proper installation
Conclusion
Building a 3D printable crossbow is a challenging and rewarding project that requires patience, skill, and attention to detail. By following these steps and tips, you can create a unique and functional piece of history that you can proudly call your own.
We hope this guide has inspired you to try your hand at building a 3D printable crossbow. Whether you're a seasoned 3D printing expert or a beginner looking to try something new, this project is sure to challenge and reward you.
Step 7: Share Your Creation
Finally, don't forget to share your creation with the world! Whether you post photos online or display your crossbow in a local exhibition, be proud of your achievement and share it with others.

By sharing your creation, you'll inspire others to try their hand at building a 3D printable crossbow. Who knows? You may just start a new trend!
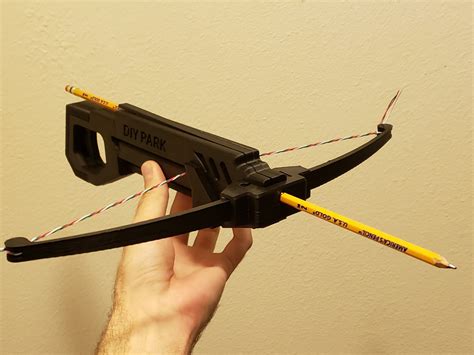
3D Printable Crossbow Image Gallery

FAQ:
Q: What materials can I use to build a 3D printable crossbow? A: You can use a variety of materials, including PLA, ABS, and wood.
Q: How long does it take to build a 3D printable crossbow? A: The build time will depend on the complexity of your design and the capabilities of your 3D printer. On average, it can take several hours or even days to build a 3D printable crossbow.
Q: Is building a 3D printable crossbow safe? A: Yes, building a 3D printable crossbow can be safe if you follow proper safety protocols and precautions. Make sure to research and understand the mechanics of a crossbow and follow proper assembly and maintenance procedures.
Q: Can I customize my 3D printable crossbow? A: Yes, you can customize your 3D printable crossbow to suit your needs and preferences. Consider upgrading and customizing your creation to enhance its performance and appearance.