
Creating a professional document with a binder cover page template can make a significant difference in the way your work is perceived by others. A well-designed cover page can convey a sense of expertise, attention to detail, and a high level of professionalism. In this article, we will explore the importance of a binder cover page template, its benefits, and provide a step-by-step guide on how to create one.

Importance of a Binder Cover Page Template
A binder cover page template is a crucial element in creating a professional document. It serves as the first impression of your work, and it can make or break the reader's interest in your content. A well-designed cover page can:
- Grab the reader's attention
- Provide essential information about the document
- Set the tone for the rest of the content
- Create a sense of professionalism and expertise
Benefits of Using a Binder Cover Page Template
Using a binder cover page template offers several benefits, including:
- Consistency: A template ensures that all your documents have a consistent look and feel, which can help to establish your brand identity.
- Time-saving: A template saves you time and effort in designing a cover page from scratch.
- Professionalism: A well-designed template can make your document look more professional and polished.
- Customization: A template can be easily customized to fit your specific needs and preferences.
Creating a Binder Cover Page Template
Creating a binder cover page template is a straightforward process that can be done using a word processing software such as Microsoft Word or Google Docs. Here's a step-by-step guide to help you get started:

Step 1: Choose a Template
You can either use a pre-designed template or create one from scratch. If you choose to use a pre-designed template, select one that is clean, simple, and professional.
Step 2: Customize the Template
Customize the template to fit your specific needs and preferences. You can change the font, color scheme, and layout to match your brand identity.
Step 3: Add Essential Information
Add essential information such as the title of the document, your name, and the date. You can also include a brief summary or abstract of the document.
Step 4: Add Visual Elements
Add visual elements such as images, charts, or graphs to make the cover page more engaging and interesting.
Step 5: Save the Template
Save the template as a separate file so that you can use it for future documents.
Best Practices for Creating a Binder Cover Page Template
Here are some best practices to keep in mind when creating a binder cover page template:
- Keep it simple and clean
- Use a standard font and font size
- Use a consistent color scheme
- Include essential information such as the title and date
- Use visual elements to make it more engaging
- Save the template as a separate file
Common Mistakes to Avoid
Here are some common mistakes to avoid when creating a binder cover page template:
- Using too much text or too many images
- Using a font that is too small or too large
- Using a color scheme that is not consistent with your brand identity
- Not including essential information such as the title and date
- Not saving the template as a separate file
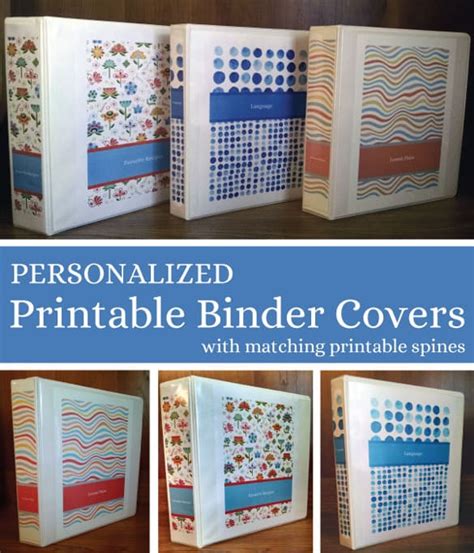
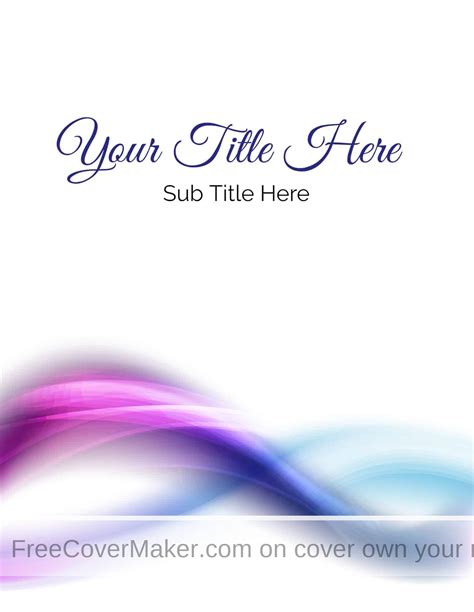
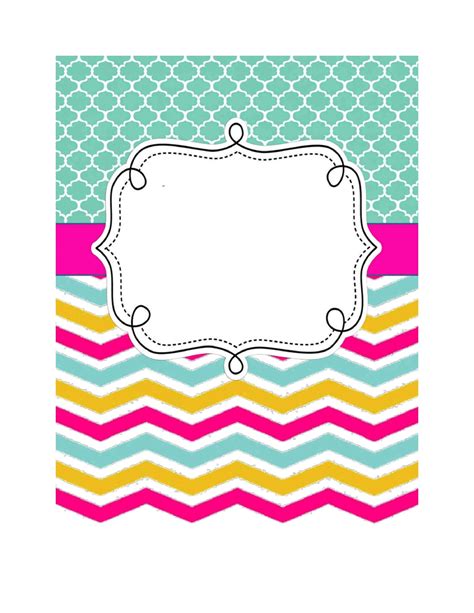
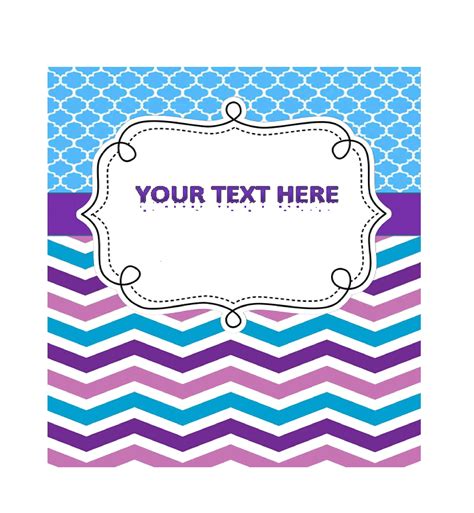
Gallery of Binder Cover Page Templates
Binder Cover Page Template Image Gallery


Conclusion
In conclusion, creating a professional document with a binder cover page template can make a significant difference in the way your work is perceived by others. By following the steps outlined in this article and avoiding common mistakes, you can create a binder cover page template that is both professional and effective. Remember to keep it simple, use a standard font and font size, and include essential information such as the title and date. With a little practice, you can create a binder cover page template that will help you stand out from the crowd.
We hope this article has been helpful in providing you with the information you need to create a professional binder cover page template. If you have any questions or comments, please don't hesitate to reach out. We would love to hear from you!