
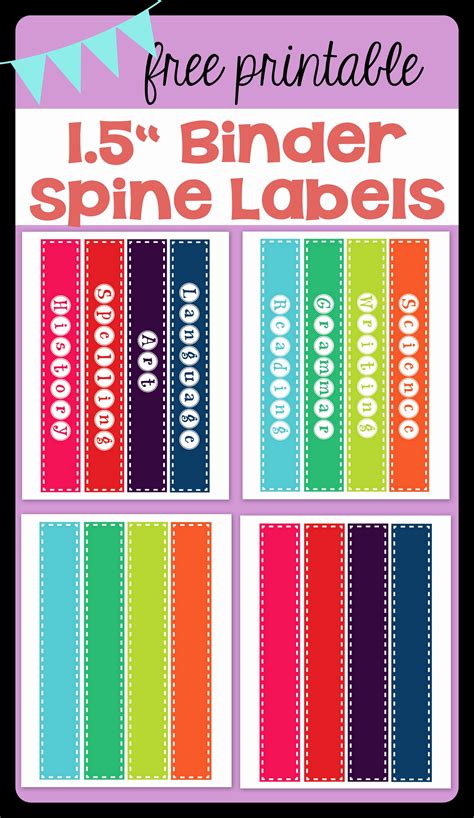
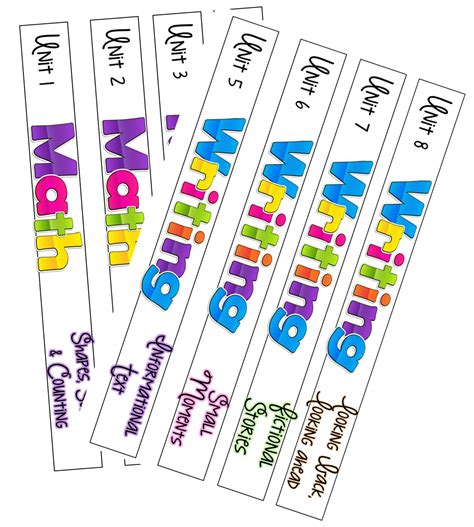
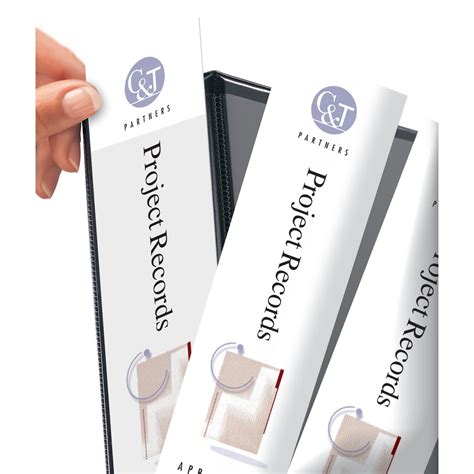
Binder spine labels are a great way to keep your files organized and easily identifiable. Whether you're a student, professional, or simply someone who likes to stay organized, a binder spine label template can be a valuable tool in your productivity arsenal.
In today's digital age, it's easy to get caught up in the idea that physical files are a thing of the past. However, for many of us, there's still no substitute for a well-organized binder full of printed documents. Not only can binders be more secure than digital files, but they can also be more accessible and easier to share with others.
A binder spine label template can help you create professional-looking labels for your binders, making it easier to identify the contents at a glance. In this article, we'll explore the benefits of using a binder spine label template, provide tips for creating your own template, and discuss how to use a template in Word documents.
Benefits of Using a Binder Spine Label Template
There are several benefits to using a binder spine label template:
- Easy identification: With a clear and concise label, you can quickly identify the contents of your binder without having to open it.
- Professional appearance: A well-designed label can give your binders a professional and polished look, making them more suitable for presentations or meetings.
- Organization: Using a template can help you create a consistent labeling system, making it easier to organize and categorize your files.
- Time-saving: By using a template, you can quickly create labels without having to start from scratch each time.
Creating a Binder Spine Label Template in Word
To create a binder spine label template in Word, follow these steps:
- Open a new Word document: Start by opening a new Word document and setting the page layout to landscape orientation.
- Set the label size: Determine the size of your labels and set the page size accordingly. A standard label size is 2.5 x 1 inches.
- Create a table: Use the table tool to create a table with two columns and one row. This will give you a basic layout for your label.
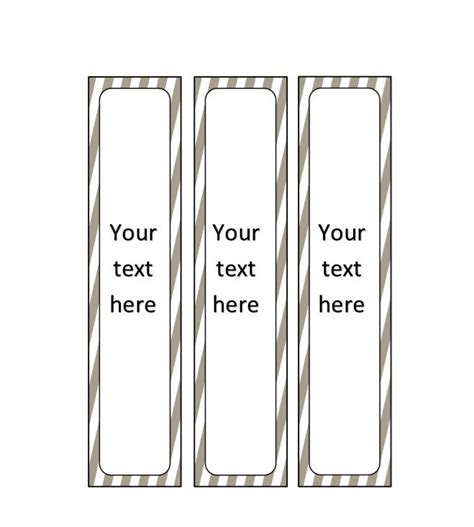
- Add text and formatting: Add your text and formatting to the table, using a clear and concise font.
- Save as a template: Save your document as a template by clicking on "File" > "Save As" and selecting "Word Template" from the file type dropdown.
Using a Binder Spine Label Template in Word
To use a binder spine label template in Word, follow these steps:
- Open the template: Open the template you created earlier by clicking on "File" > "New" and selecting "My Templates" from the file type dropdown.
- Enter your text: Enter your text into the template, using the table layout to guide you.
- Print your labels: Print your labels on label paper or cardstock, using a standard printer.
- Apply your labels: Apply your labels to your binder, making sure to center them on the spine.
Tips for Creating a Effective Binder Spine Label Template

Here are some tips for creating an effective binder spine label template:
- Keep it simple: Use a clear and concise font and avoid cluttering your label with too much text.
- Use a consistent layout: Use a consistent layout for all of your labels, making it easier to scan and identify the contents of your binders.
- Choose a standard label size: Choose a standard label size to ensure that your labels fit on your binders.
- Use a template: Use a template to save time and ensure consistency across all of your labels.
Gallery of Binder Spine Label Templates


We hope this article has provided you with the information you need to create a effective binder spine label template. By following the tips and steps outlined in this article, you can create professional-looking labels that will help you stay organized and productive. Don't forget to share your own binder spine label template creations with us in the comments below!