
As a project manager, team leader, or individual contributor, you know how crucial it is to stay organized and on track. One effective way to achieve this is by using a checklist template. ClickUp, a popular project management tool, offers a range of features to help you create and manage your checklists. In this article, we'll walk you through the 7 steps to create a ClickUp checklist template.
Why Use a Checklist Template?
Before we dive into the steps, let's quickly discuss the benefits of using a checklist template. A well-designed checklist template helps you:
- Streamline tasks and workflows
- Improve productivity and efficiency
- Reduce errors and mistakes
- Enhance collaboration and communication
- Increase accountability and transparency
Step 1: Define Your Checklist Purpose and Scope
The first step in creating a ClickUp checklist template is to define its purpose and scope. Identify the specific tasks, projects, or workflows you want to manage with your checklist. Consider the following:
- What are the primary objectives of your checklist?
- Who will be using the checklist?
- What are the key tasks and subtasks involved?
Take some time to brainstorm and jot down your ideas. This will help you create a clear and focused checklist template.
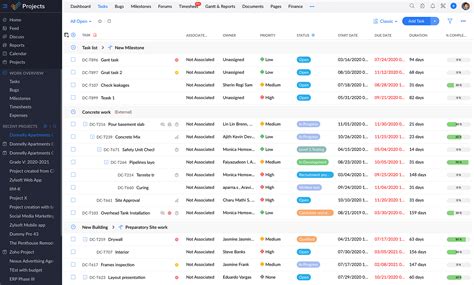
Step 2: Choose a ClickUp Checklist Template Type
ClickUp offers various checklist template types, including:
- Task checklist
- Project checklist
- Workflow checklist
- Custom checklist
Select the template type that best suits your needs. If you're unsure, you can always start with a basic task checklist and customize it later.
Step 3: Set Up Your Checklist Template Structure
Once you've chosen your template type, it's time to set up the structure. Consider the following:
- What are the main sections or categories of your checklist?
- How will you organize your tasks and subtasks?
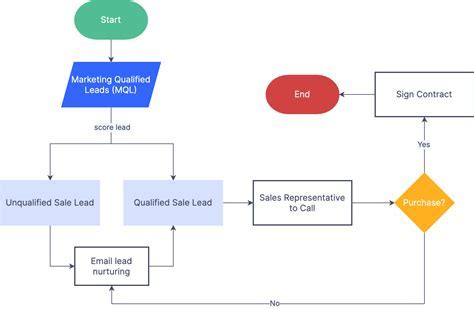
- Do you need to include any conditional logic or dependencies?
Use ClickUp's drag-and-drop interface to create and arrange your checklist sections and tasks.
Step 4: Add Tasks and Subtasks
Now it's time to populate your checklist with tasks and subtasks. Remember to:
- Use clear and concise task names
- Include relevant task descriptions and instructions
- Assign tasks to team members or stakeholders
- Set due dates and deadlines
Use ClickUp's task management features to add, edit, and manage your tasks.
Step 5: Customize Your Checklist Template
Make your checklist template your own by customizing it to fit your specific needs. Consider the following:
- Add custom fields and tags
- Use conditional logic to create dynamic checklists
- Include images, videos, or other multimedia files
- Set up notifications and reminders
Use ClickUp's customization features to make your checklist template truly unique.
Step 6: Test and Refine Your Checklist Template
Before sharing your checklist template with others, test it thoroughly to ensure it works as intended. Consider the following:
- Run through your checklist to identify any errors or issues
- Test conditional logic and dependencies
- Make sure all tasks and subtasks are properly assigned and due dates are set
Refine your checklist template as needed to ensure it's effective and efficient.
Step 7: Share and Implement Your Checklist Template
The final step is to share and implement your checklist template with your team or stakeholders. Consider the following:
- Share your checklist template via email or link
- Assign tasks and due dates to team members
- Set up recurring checklists for regular tasks
- Monitor and track progress using ClickUp's analytics and reporting features
By following these 7 steps, you can create a powerful ClickUp checklist template that helps you stay organized, focused, and productive.
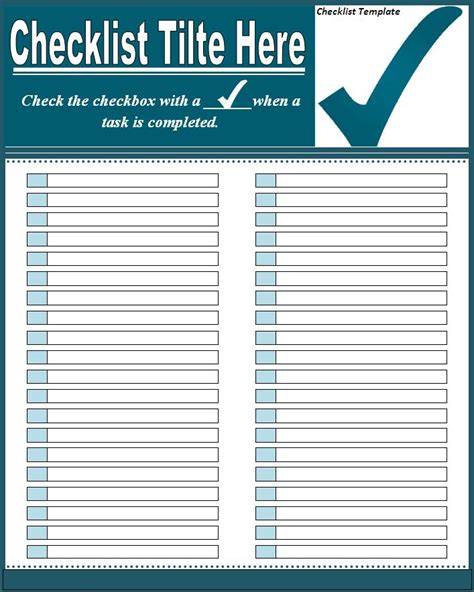
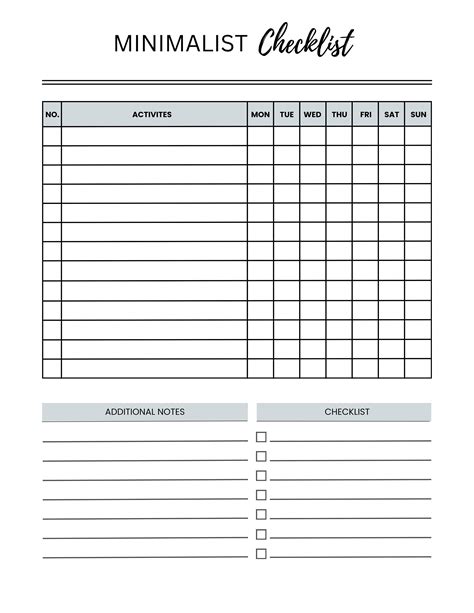
Gallery of ClickUp Checklist Templates
ClickUp Checklist Template Examples


We hope this article has helped you create a powerful ClickUp checklist template. Share your experiences and tips in the comments below!