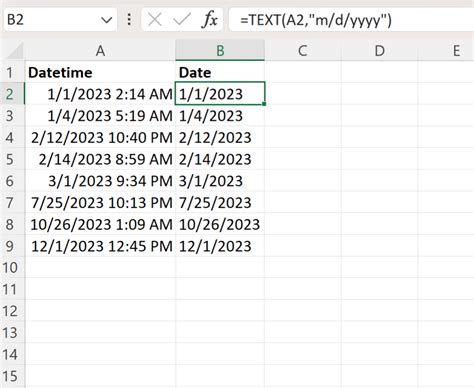
When working with dates and times in Excel, it's not uncommon to encounter datetime values that include both the date and time. However, there are situations where you might want to extract just the date portion from these datetime values. Fortunately, Excel provides several ways to achieve this. Here, we'll explore five methods to convert datetime to date in Excel.
Understanding DateTime Formats in Excel
Before diving into the methods, it's essential to understand how Excel handles datetime formats. Excel stores dates and times as serial numbers, with January 1, 1900, being the starting point (serial number 1). Times are stored as decimal fractions of a day. For example, 12:00 PM (noon) is stored as 0.5, and 6:00 AM is stored as 0.25.
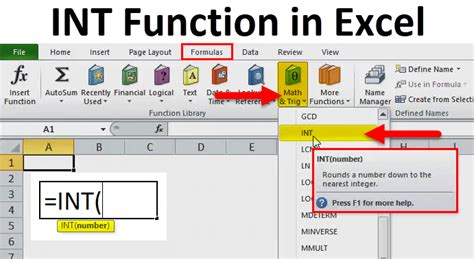
Method 1: Using the INT Function
The INT function is the simplest way to convert datetime to date in Excel. This function truncates the decimal part of the datetime value, effectively removing the time component.
Formula: =INT(A1)
Assuming your datetime value is in cell A1, the formula will return just the date part.
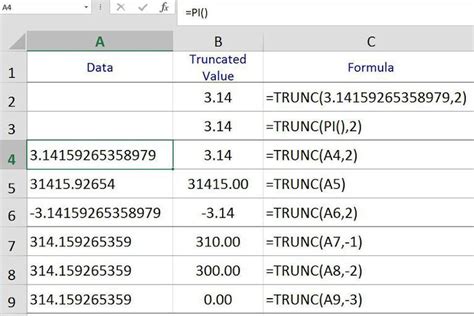
Method 2: Using the TRUNC Function
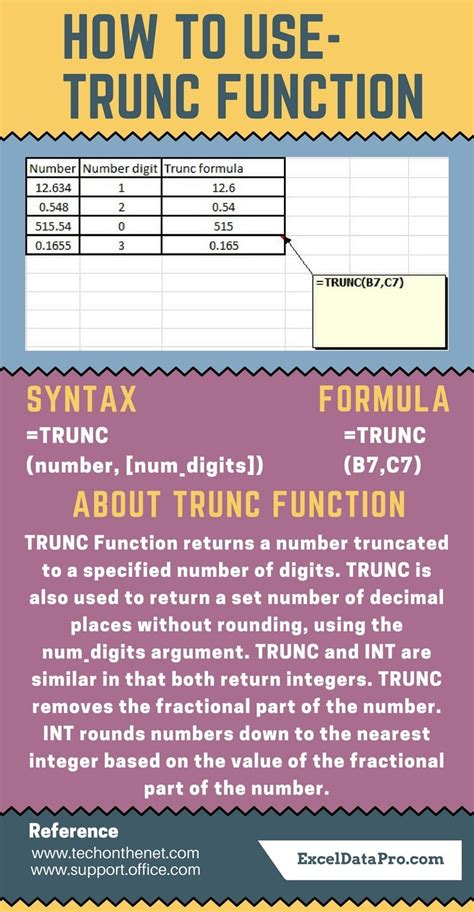
The TRUNC function works similarly to the INT function but allows you to specify the number of digits to truncate.
Formula: =TRUNC(A1,0)
This formula will also remove the time component, leaving you with just the date.
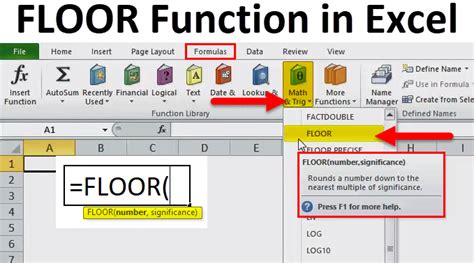
Method 3: Using the FLOOR Function
The FLOOR function rounds a number down to the nearest multiple of a specified number.
Formula: =FLOOR(A1,1)
This formula will round the datetime value down to the nearest whole number, effectively removing the time component.
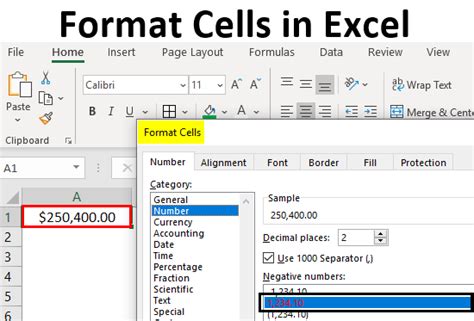
Method 4: Formatting Cells
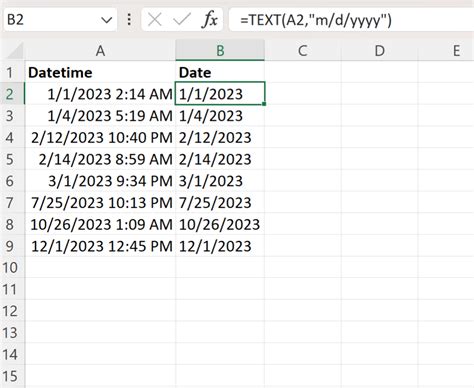
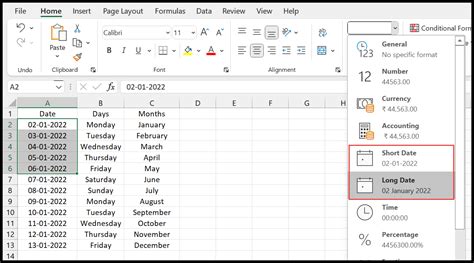
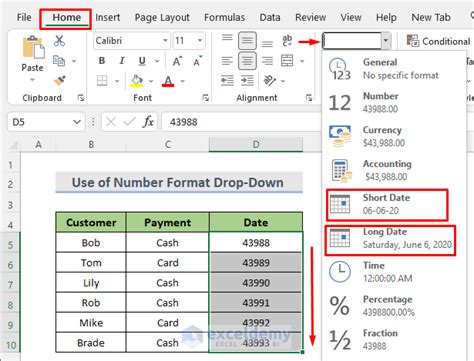
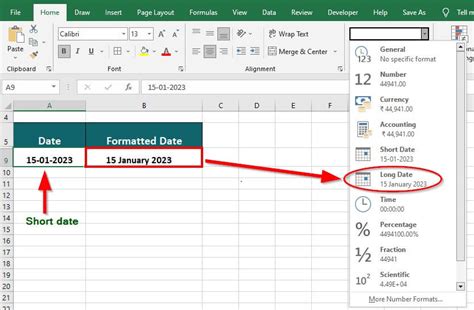
Another method to display only the date part from a datetime value is by adjusting the cell format. You can do this by selecting the cells containing datetime values, right-clicking, and choosing "Format Cells."
In the Format Cells dialog box, navigate to the Number tab, select "Custom" from the Category list, and enter "mm/dd/yyyy" (or your preferred date format) in the Type field.
Method 5: Using VBA
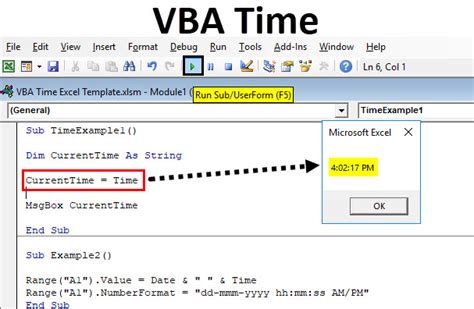
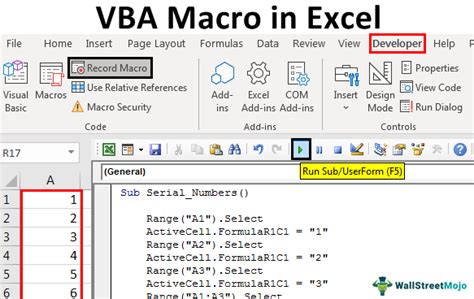
If you prefer using VBA (Visual Basic for Applications), you can write a simple macro to achieve the conversion.
Sub DateTimeToDate()
    Dim rng As Range
    Set rng = Selection

    For Each cell In rng
        cell.Value = Int(cell.Value)
    Next cell
End Sub
To use this macro, select the cells containing datetime values, open the Visual Basic Editor (VBE), insert a new module, paste the code, and run the macro.
Choosing the Right Method
The choice of method depends on your specific needs and preferences. If you need a quick, non-VBA solution, the INT, TRUNC, or FLOOR functions might be the best choice. If you're working with a large dataset and want to avoid formulas, formatting cells or using a VBA macro might be more efficient.
Gallery of Excel DateTime to Date Conversions
Excel DateTime to Date Conversion Gallery
Final Thoughts
Converting datetime to date in Excel can be achieved through various methods, each with its own advantages. By understanding the different approaches and choosing the one that best fits your needs, you can efficiently manage and analyze your datetime data in Excel. Whether you're working with simple formulas or more complex VBA macros, Excel provides the tools you need to extract just the date part from datetime values.
