
Printable vinyl has become a popular medium for crafters, sign makers, and DIY enthusiasts. One of the most important tools for working with printable vinyl is a reliable printer. Epson printers are widely used for printing on vinyl, but to get the best results, you need to configure the printer settings correctly. In this article, we will explore the six essential Epson printer settings for printable vinyl.
Understanding Printable Vinyl
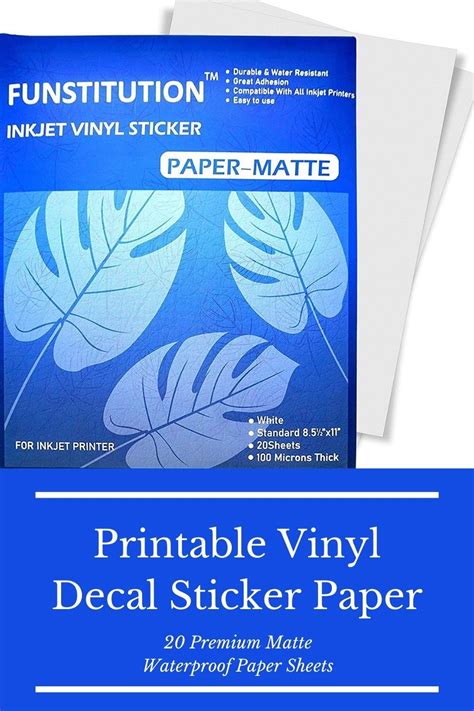
Before we dive into the printer settings, it's essential to understand the characteristics of printable vinyl. Printable vinyl is a type of vinyl sheet that is specifically designed for printing with inkjet printers. It has a special coating that allows the ink to adhere to the surface, creating a durable and long-lasting image. Printable vinyl is commonly used for making signs, decals, stickers, and other types of vinyl graphics.
Types of Printable Vinyl
There are several types of printable vinyl available, including:
- Glossy vinyl: This type of vinyl has a glossy finish and is ideal for making signs and decals that need to be visible from a distance.
- Matte vinyl: This type of vinyl has a matte finish and is ideal for making signs and decals that need to be viewed from a close distance.
- Laminated vinyl: This type of vinyl has a clear laminate coating that protects the image from fading and wear.
Epson Printer Settings for Printable Vinyl
To get the best results when printing on printable vinyl, you need to configure your Epson printer settings correctly. Here are the six essential settings to adjust:
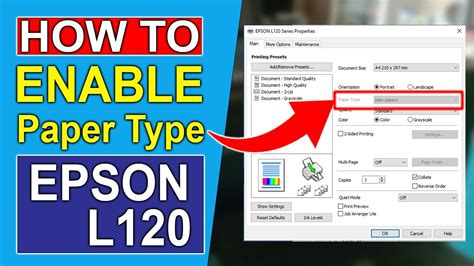
1. Paper Type
The paper type setting is crucial when printing on printable vinyl. You need to select the correct paper type to ensure that the printer uses the right amount of ink and prints at the correct resolution. For printable vinyl, select the "Specialty Paper" or "Vinyl" option.
2. Print Quality
The print quality setting determines the resolution and quality of the printed image. For printable vinyl, select the "High" or "Photo" quality setting to ensure that the image is printed at a high resolution.
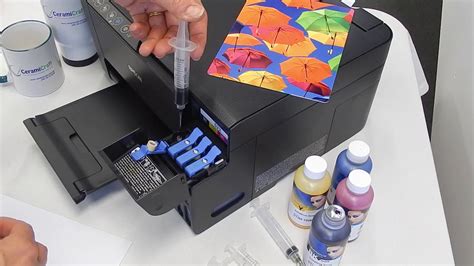
3. Ink Settings
The ink settings determine the amount of ink used during printing. For printable vinyl, select the "Vivid" or "Deep" ink setting to ensure that the colors are vibrant and intense.
4. Color Management
The color management setting determines how the printer handles color conversion. For printable vinyl, select the "Epson Color Management" or "Adobe RGB" option to ensure that the colors are accurately converted.
5. Print Orientation
The print orientation setting determines the direction of the printed image. For printable vinyl, select the "Portrait" or "Landscape" option depending on the orientation of your design.

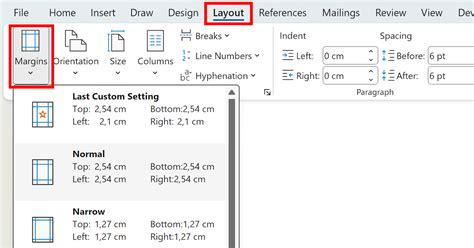
6. Margin Settings
The margin settings determine the amount of blank space around the printed image. For printable vinyl, select the "Minimum" or "Zero" margin setting to ensure that the image is printed to the edge of the vinyl.
Tips and Tricks
Here are some additional tips and tricks to keep in mind when printing on printable vinyl:
- Always use a high-quality printable vinyl that is specifically designed for inkjet printing.
- Make sure to clean and dust the printer regularly to prevent clogs and ensure optimal print quality.
- Use a cutting mat or other protective surface when cutting the vinyl to prevent damage to the printer or surrounding surfaces.
- Experiment with different print settings and techniques to achieve the desired results.
Printable Vinyl Image Gallery


Final Thoughts
Printing on printable vinyl can be a fun and rewarding experience, but it requires the right printer settings. By following the six essential Epson printer settings outlined in this article, you can achieve high-quality prints that are vibrant, durable, and long-lasting. Remember to experiment with different print settings and techniques to achieve the desired results, and don't hesitate to reach out if you have any questions or need further assistance.
We hope you found this article helpful and informative. If you have any comments or questions, please feel free to share them in the comments section below. Happy printing!