
In today's fast-paced world, managing and tracking progress is crucial in various aspects of life, including work and personal projects. Excel, being a powerful tool, offers numerous features to help users monitor progress efficiently. One such feature is the progress bar, which can be controlled using checkboxes. In this article, we will explore five ways to control an Excel progress bar with checkboxes, making it easier for you to track and manage your projects.
Understanding the Basics of Excel Progress Bars

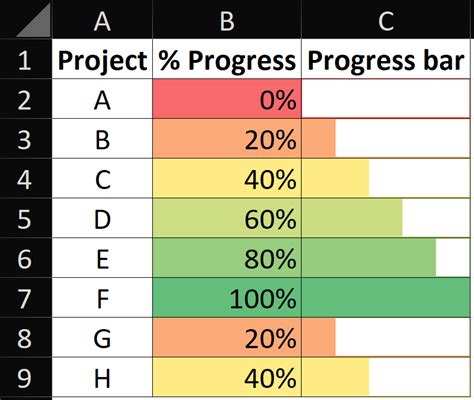
Before we dive into the methods, let's understand the basics of Excel progress bars. A progress bar is a visual representation of the progress made towards a goal or target. It can be used to track various metrics, such as project completion, sales targets, or even personal goals. In Excel, progress bars can be created using formulas, conditional formatting, or even add-ins.
Method 1: Using Conditional Formatting with Checkboxes
One of the simplest ways to control a progress bar with checkboxes is by using conditional formatting. Here's how:
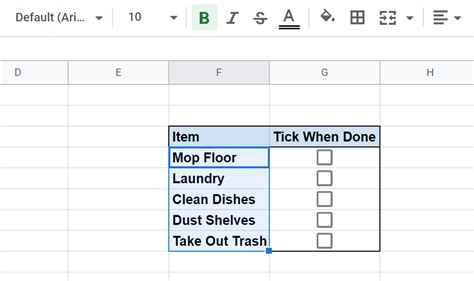
- Select the cell range where you want to display the progress bar.
- Go to the "Home" tab and click on "Conditional Formatting."
- Select "New Rule" and choose "Use a formula to determine which cells to format."
- Enter the formula
=A1=TRUE, where A1 is the checkbox cell. - Click on "Format" and select the desired formatting options.
- Click "OK" to apply the rule.
Repeat the process for each checkbox, adjusting the formula accordingly. As you check or uncheck the boxes, the progress bar will update automatically.
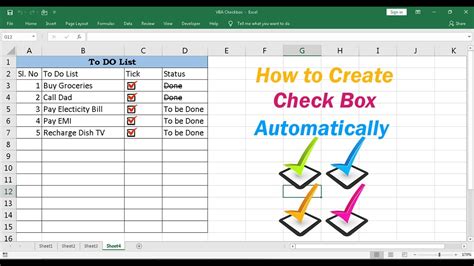
Step-by-Step Example
- Create a table with checkboxes in column A and a progress bar in column B.
- Select cell B1 and go to the "Home" tab.
- Click on "Conditional Formatting" and select "New Rule."
- Enter the formula
=A1=TRUEand click "Format." - Select the desired formatting options and click "OK."
- Repeat the process for each checkbox, adjusting the formula accordingly.
Method 2: Using Formulas with Checkboxes
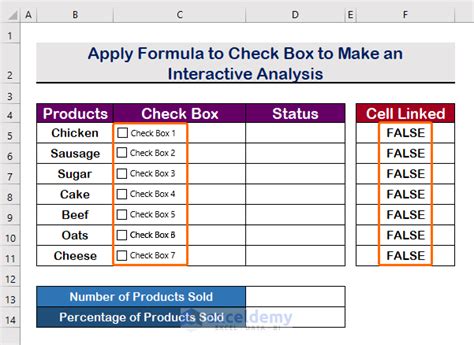
Another way to control a progress bar with checkboxes is by using formulas. Here's how:
- Select the cell where you want to display the progress bar.
- Enter the formula
=IF(A1=TRUE,1,0), where A1 is the checkbox cell. - Copy the formula down to the other cells in the range.
- Adjust the formula accordingly for each checkbox.
As you check or uncheck the boxes, the progress bar will update automatically.
Step-by-Step Example
- Create a table with checkboxes in column A and a progress bar in column B.
- Select cell B1 and enter the formula
=IF(A1=TRUE,1,0). - Copy the formula down to the other cells in the range.
- Adjust the formula accordingly for each checkbox.
Method 3: Using Add-ins with Checkboxes
If you prefer to use add-ins, you can control a progress bar with checkboxes using tools like Excel Template or Progress Bar Add-in. Here's how:
- Install the add-in and select the cell range where you want to display the progress bar.
- Configure the add-in settings to link the progress bar to the checkboxes.
- Adjust the settings as needed to customize the progress bar.
As you check or uncheck the boxes, the progress bar will update automatically.
Step-by-Step Example
- Install the Excel Template add-in and select the cell range where you want to display the progress bar.
- Configure the add-in settings to link the progress bar to the checkboxes.
- Adjust the settings as needed to customize the progress bar.
Method 4: Using VBA Macros with Checkboxes
If you're comfortable with VBA macros, you can control a progress bar with checkboxes using code. Here's how:
- Open the Visual Basic Editor and create a new module.
- Enter the code
Private Sub Worksheet_Change(ByVal Target As Range)and configure the macro to link the progress bar to the checkboxes. - Save the macro and adjust the code as needed to customize the progress bar.
As you check or uncheck the boxes, the progress bar will update automatically.
Step-by-Step Example
- Open the Visual Basic Editor and create a new module.
- Enter the code
Private Sub Worksheet_Change(ByVal Target As Range)and configure the macro to link the progress bar to the checkboxes. - Save the macro and adjust the code as needed to customize the progress bar.
Method 5: Using Power Query with Checkboxes
Finally, you can control a progress bar with checkboxes using Power Query. Here's how:
- Select the cell range where you want to display the progress bar.
- Go to the "Data" tab and click on "New Query."
- Configure the query to link the progress bar to the checkboxes.
- Load the query and adjust the settings as needed to customize the progress bar.
As you check or uncheck the boxes, the progress bar will update automatically.
Step-by-Step Example
- Select the cell range where you want to display the progress bar.
- Go to the "Data" tab and click on "New Query."
- Configure the query to link the progress bar to the checkboxes.
- Load the query and adjust the settings as needed to customize the progress bar.
Gallery of Excel Progress Bar Examples
Excel Progress Bar Image Gallery


We hope this article has helped you understand how to control an Excel progress bar with checkboxes. Whether you're a beginner or an advanced user, these methods can help you create interactive and dynamic progress bars to track your projects and goals. Remember to experiment with different techniques and customize the progress bars to suit your needs.
What's your favorite method for controlling an Excel progress bar with checkboxes? Share your thoughts and experiences in the comments below!