Intro
Learn how to save Excel charts as images with ease. Discover 3 simple methods to export charts as pictures, including using the Save as Picture option, copying and pasting into image editors, and leveraging VBA macros. Improve your data visualization workflow and enhance your reports with high-quality chart images.
In today's fast-paced business world, effective communication of data insights is crucial for informed decision-making. One of the most powerful tools for data visualization is Microsoft Excel, which offers a wide range of chart types to help present complex data in a clear and concise manner. However, there are situations where you might need to save an Excel chart as an image to share with others, include in a presentation, or use in a report. In this article, we will explore three ways to save an Excel chart as an image.
The Importance of Saving Excel Charts as Images
Saving an Excel chart as an image can be useful in various scenarios. For instance, you might want to share a chart with someone who doesn't have Excel installed on their computer. By saving the chart as an image, you can easily attach it to an email or include it in a presentation. Additionally, saving a chart as an image can help preserve the chart's layout and formatting, ensuring that it looks the same on different devices and platforms.
Method 1: Using the "Save as Picture" Option
The most straightforward way to save an Excel chart as an image is by using the "Save as Picture" option. To do this, follow these steps:
- Select the chart you want to save as an image.
- Right-click on the chart and select "Save as Picture" from the context menu.
- In the "Save as Picture" dialog box, choose the file format you want to use (e.g., PNG, JPEG, GIF, etc.).
- Choose a location to save the image file and enter a file name.
- Click "Save" to save the chart as an image.
Method 2: Using the "Copy" and "Paste" Options
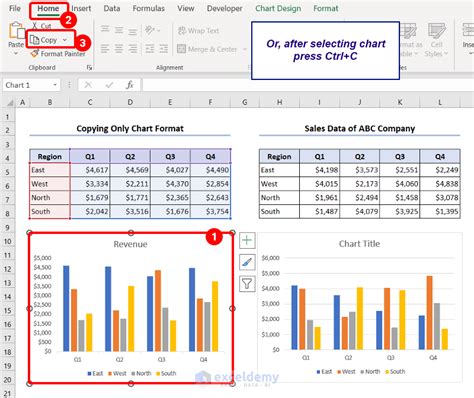
Another way to save an Excel chart as an image is by using the "Copy" and "Paste" options. To do this, follow these steps:
- Select the chart you want to save as an image.
- Press "Ctrl+C" to copy the chart.
- Open a graphics editing program, such as Microsoft Paint or Adobe Photoshop.
- Press "Ctrl+V" to paste the chart into the graphics editing program.
- Save the chart as an image file using the program's "Save As" option.
Method 3: Using VBA Macros
If you need to save multiple Excel charts as images, you can use VBA macros to automate the process. To do this, follow these steps:
- Open the Visual Basic Editor by pressing "Alt+F11" or by navigating to "Developer" > "Visual Basic" in the Excel ribbon.
- In the Visual Basic Editor, create a new module by clicking "Insert" > "Module" in the menu.
- Paste the following VBA code into the module:
Sub SaveChartAsImage()
    Dim chart As Chart
    Set chart = ActiveSheet.ChartObjects(1).Chart
    chart.Export "C:\chart.png", "PNG"
End Sub
- Modify the file path and name to match your desired location and file name.
- Run the macro by clicking "Run" > "Run Sub/UserForm" in the menu or by pressing "F5".
Gallery of Excel Chart Images
Excel Chart Image Gallery
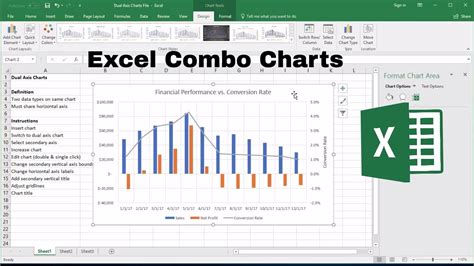
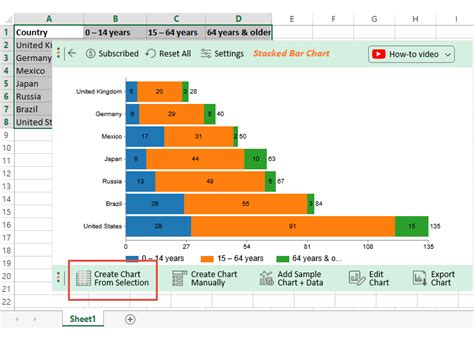
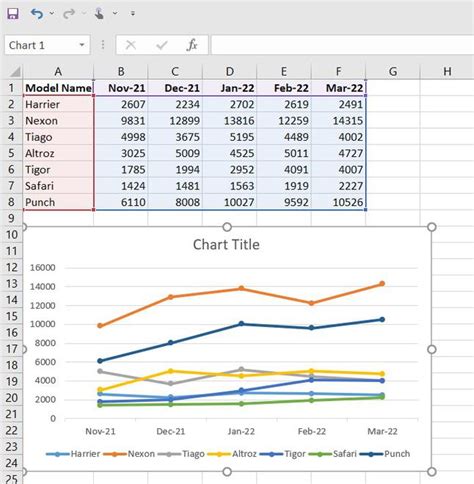
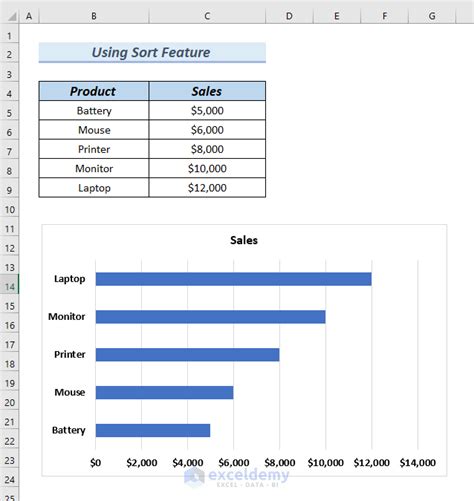
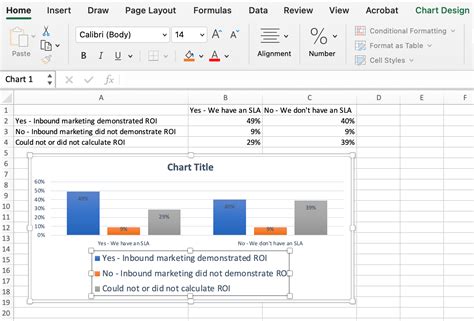
In conclusion, saving an Excel chart as an image can be a useful skill to have, especially when sharing data insights with others. By using one of the three methods outlined in this article, you can easily save an Excel chart as an image and use it in a variety of contexts. Whether you're a business professional, student, or simply someone who loves working with data, mastering the art of saving Excel charts as images can help you communicate more effectively and efficiently.
