
Intro
Master the art of paper folding with our step-by-step guide on how to fold an F-22 paper airplane. Learn the 5 essential steps to create a realistic replica of the US Air Forces iconic fighter jet. Improve your origami skills and discover the intricacies of paper plane design, folding techniques, and aerodynamics.
The thrill of folding a paper airplane that can soar through the skies! The F-22, with its sleek design and agile flight capabilities, is a popular choice among paper airplane enthusiasts. While it may seem daunting, folding an F-22 paper airplane can be a fun and rewarding experience with the right steps. In this article, we'll break down the process into 5 easy-to-follow steps, complete with images and tips to help you get flying in no time!
Step 1: Gather Your Materials
To start, you'll need a square piece of paper, preferably with a weight of 80-100 gsm. You can use any type of paper you like, but a lighter weight paper will make it easier to fold and fly. You'll also need a pencil or a ruler to help you create a straight edge.
Step 2: Create the Foundation Fold
Understanding the Foundation Fold
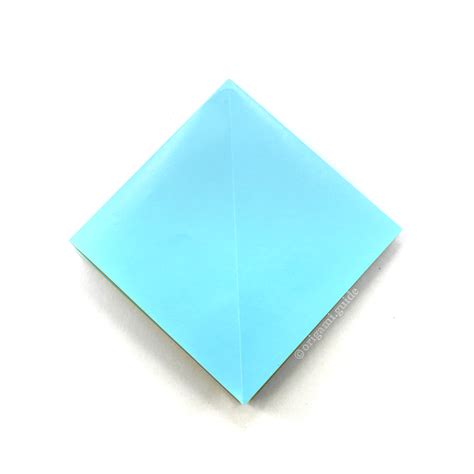
The foundation fold is the base of your paper airplane, and it's essential to get it right. To create the foundation fold, fold the top left and right corners of the paper down so that they meet the middle crease. Make sure the edges are symmetrical and the corners are crisp.
Step 3: Add the Wing Folds
Folding the Wings
The wing folds will give your paper airplane its lift and stability. To create the wing folds, fold the left and right edges of the paper inwards towards the middle crease. Make sure the edges are symmetrical and the corners are crisp.
Step 4: Add the Tail and Nose Folds
Completing the Tail and Nose
The tail and nose folds will give your paper airplane its direction and control. To create the tail fold, fold the bottom edge of the paper upwards towards the middle crease. To create the nose fold, fold the top edge of the paper downwards towards the middle crease.
Step 5: Final Assembly and Flight
Assembling and Flying Your F-22
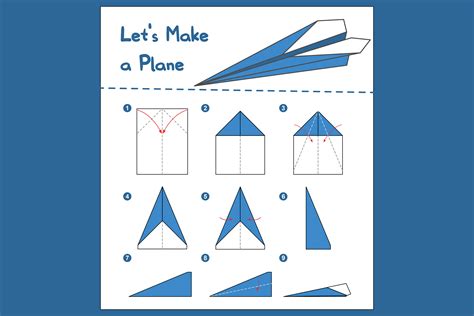
Once you've completed the previous steps, your F-22 paper airplane is ready to fly! Gently pull on the wings to make sure they're even and symmetrical. Give your airplane a gentle toss, and watch it soar through the skies!
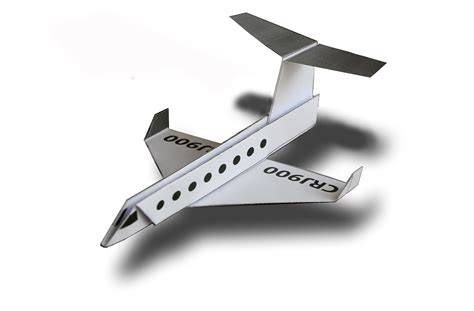
Gallery of F-22 Paper Airplane Designs
F-22 Paper Airplane Designs


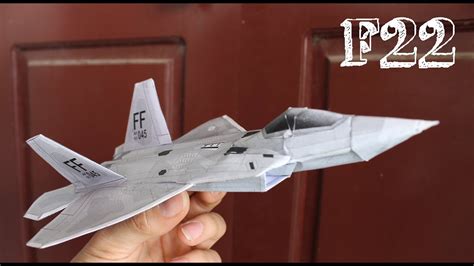
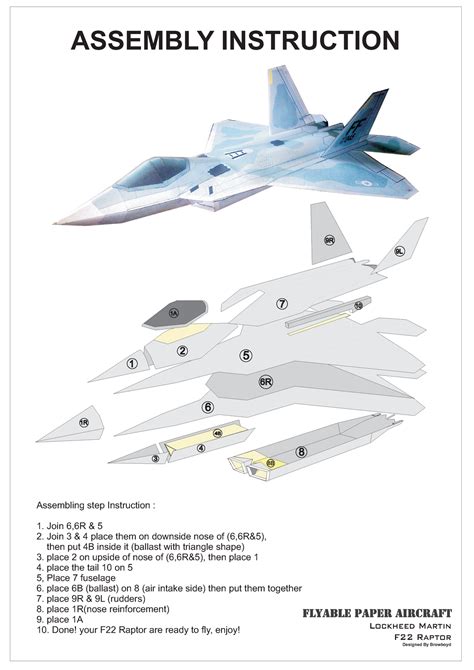


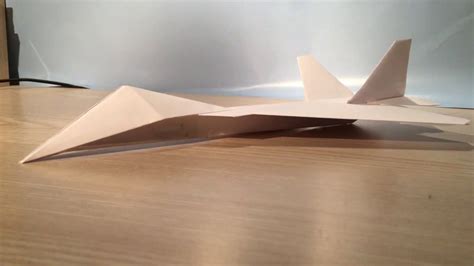

We hope this article has inspired you to create your own F-22 paper airplane! With these 5 easy steps, you'll be flying in no time. Don't forget to share your designs and experiences with us in the comments below. Happy folding and flying!