
Designing a Shirt Template in Photoshop: A Beginner's Guide
Designing a shirt template in Photoshop can seem daunting, especially for those new to graphic design. However, with the right techniques and tools, creating a professional-looking shirt template is achievable. In this article, we will explore five ways to create a shirt template in Photoshop, covering the basics, and advanced techniques.
Creating a shirt template in Photoshop is essential for businesses, entrepreneurs, and designers who want to showcase their designs on apparel. A well-designed template can make a huge difference in the final product, ensuring that the design looks great on the shirt. Whether you're designing for a fashion brand, a sports team, or a personal project, learning how to create a shirt template in Photoshop is a valuable skill.
Method 1: Using a Pre-Made Template
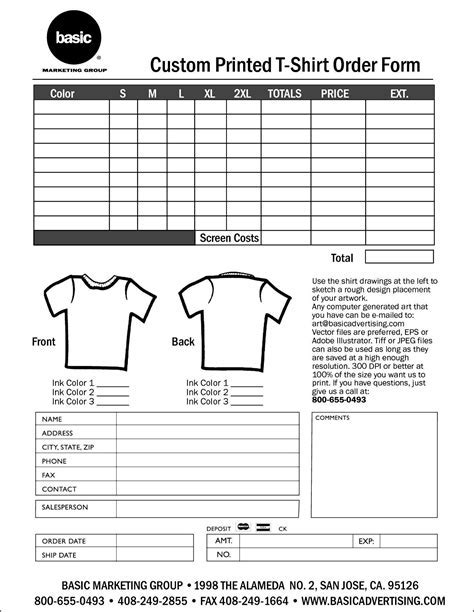
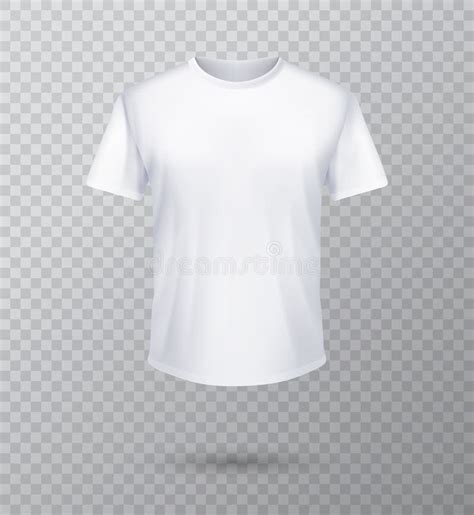
One of the easiest ways to create a shirt template in Photoshop is to use a pre-made template. There are many free and paid templates available online that cater to different types of shirts, such as t-shirts, hoodies, and tank tops. To use a pre-made template, follow these steps:
- Download a pre-made template from a reputable website.
- Open the template in Photoshop.
- Customize the template by adding your design, logo, or text.
- Adjust the layers, colors, and layout to suit your needs.
Advantages of Using a Pre-Made Template
- Saves time and effort.
- Provides a professional-looking template.
- Easy to customize.
Disadvantages of Using a Pre-Made Template
- Limited flexibility.
- May not match your exact requirements.
- May require additional editing.
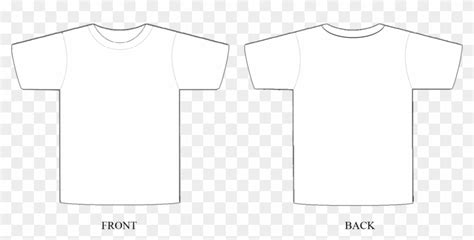
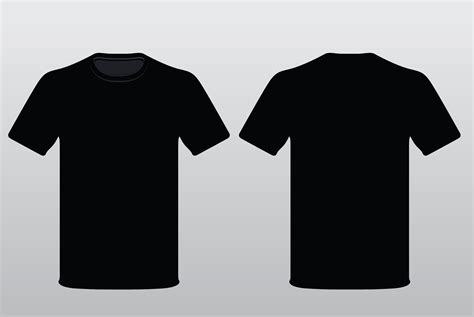
Method 2: Creating a Template from Scratch
Creating a shirt template from scratch gives you complete control over the design and layout. To create a template from scratch, follow these steps:
- Open Photoshop and create a new document.
- Set the dimensions to the desired size of your shirt template.
- Create a new layer for the shirt, and use the Rectangle Tool to draw the shape of the shirt.
- Add additional layers for the design, logo, or text.
- Use the Pen Tool or Shape Tools to create custom shapes and designs.
Advantages of Creating a Template from Scratch
- Complete control over the design and layout.
- Can create custom shapes and designs.
- No limitations on creativity.
Disadvantages of Creating a Template from Scratch
- Time-consuming.
- Requires graphic design skills.
- May require additional editing.
Method 3: Using the "Place Embedded" Feature
Photoshop's "Place Embedded" feature allows you to place a design or image onto a shirt template without having to create a new layer. To use this feature, follow these steps:
- Open Photoshop and create a new document.
- Set the dimensions to the desired size of your shirt template.
- Create a new layer for the shirt, and use the Rectangle Tool to draw the shape of the shirt.
- Go to File > Place Embedded, and select the design or image you want to place onto the shirt.
- Adjust the design or image to fit the shirt template.
Advantages of Using the "Place Embedded" Feature
- Easy to use.
- No need to create a new layer.
- Preserves the original design or image.
Disadvantages of Using the "Place Embedded" Feature
- Limited flexibility.
- May not work well with complex designs.
Method 4: Using Smart Objects
Smart Objects in Photoshop allow you to create a template that can be easily edited and updated. To use Smart Objects, follow these steps:
- Open Photoshop and create a new document.
- Set the dimensions to the desired size of your shirt template.
- Create a new layer for the shirt, and use the Rectangle Tool to draw the shape of the shirt.
- Convert the layer to a Smart Object by going to Layer > Smart Objects > Convert to Smart Object.
- Add additional layers for the design, logo, or text.
Advantages of Using Smart Objects
- Easy to edit and update.
- Preserves the original design or image.
- Allows for non-destructive editing.
Disadvantages of Using Smart Objects
- May require additional editing.
- Limited flexibility.
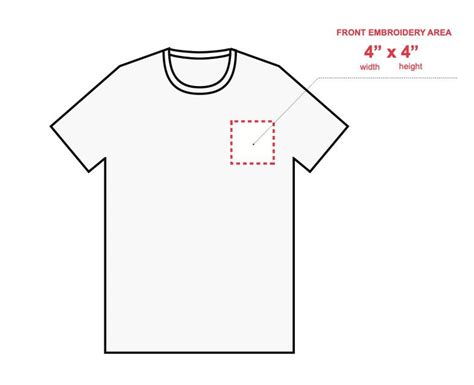
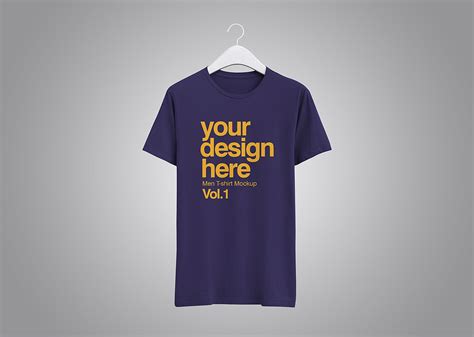
Method 5: Using a Mockup Template
A mockup template is a pre-designed template that allows you to showcase your design on a shirt. To use a mockup template, follow these steps:
- Download a mockup template from a reputable website.
- Open the template in Photoshop.
- Customize the template by adding your design, logo, or text.
- Adjust the layers, colors, and layout to suit your needs.
Advantages of Using a Mockup Template
- Easy to use.
- Provides a realistic preview of the design on a shirt.
- Saves time and effort.
Disadvantages of Using a Mockup Template
- Limited flexibility.
- May not match your exact requirements.
- May require additional editing.
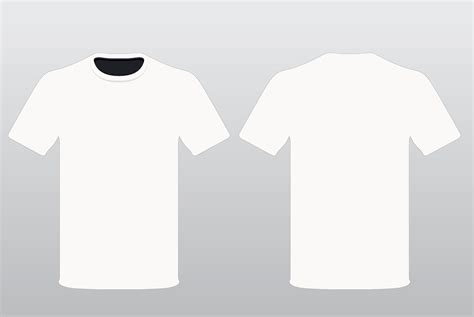
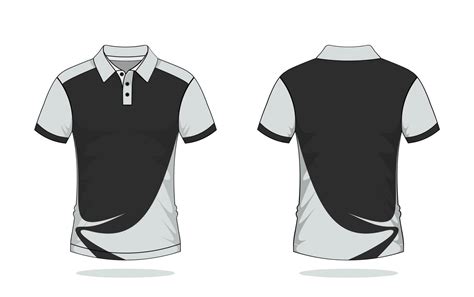
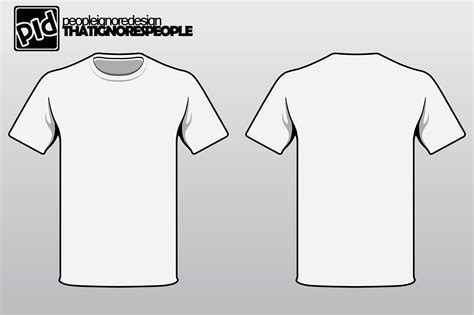
Shirt Template Design Inspiration


We hope this article has provided you with the necessary knowledge to create a shirt template in Photoshop. Whether you're a beginner or an experienced designer, creating a shirt template can be a fun and rewarding experience. Don't be afraid to experiment and try new things – and most importantly, have fun!