
Intro
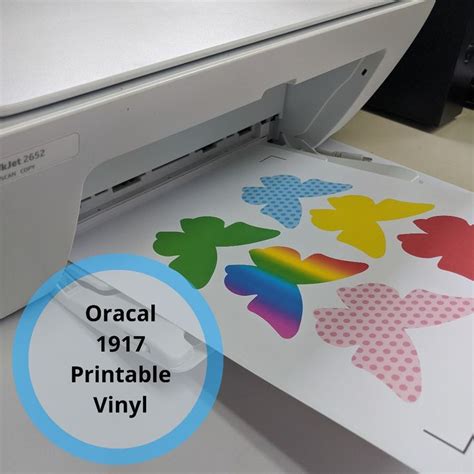
If you're a sign maker, crafter, or DIY enthusiast, you're likely no stranger to working with vinyl. One popular choice among vinyl enthusiasts is Oracal 1917 Inkjet Vinyl, a versatile and easy-to-use material suitable for a wide range of applications, from signs and banners to decals and designs. In this article, we'll share five valuable tips for working with Oracal 1917 Inkjet Vinyl to help you get the most out of this excellent material.

Choosing the Right Printer and Ink
To achieve the best results with Oracal 1917 Inkjet Vinyl, it's crucial to choose the right printer and ink for the job. Oracal 1917 is specifically designed for use with inkjet printers, and it's compatible with a wide range of models, including those from popular brands like Epson and Canon. When selecting a printer, consider the type of projects you'll be working on and the level of detail required. For example, if you're creating intricate designs or small text, a printer with high resolution and precise ink droplets will be essential.

In addition to the printer, the type of ink used can also impact the final result. Oracal 1917 is designed to work with dye-based and pigment-based inks, but it's essential to choose an ink that's specifically designed for use with vinyl. These inks are formulated to adhere well to the vinyl surface and provide vibrant, long-lasting colors.
Preparing Your Design
Before printing your design onto the Oracal 1917 Inkjet Vinyl, it's essential to prepare your file correctly. Here are a few tips to keep in mind:
- Use a software program specifically designed for vinyl cutting and printing, such as Adobe Illustrator or CorelDRAW.
- Ensure your design is mirrored, as the vinyl will be cut with the adhesive side facing down.
- Use a high-resolution image or vector graphic to ensure crisp, clear lines and details.
- Consider using a border or bleed area around your design to prevent white edges or uneven cuts.

Printing and Cutting Your Design
Once your design is prepared, it's time to print and cut your Oracal 1917 Inkjet Vinyl. Here are a few tips to keep in mind:
- Use the correct print settings for your printer and vinyl type.
- Ensure the vinyl is aligned correctly in the printer and that the adhesive side is facing down.
- Use a high-quality cutting mat and blade to prevent damage to the vinyl and ensure clean, precise cuts.
Tips for Cutting Oracal 1917 Inkjet Vinyl:
- Use a cutting mat with a grid pattern to help align your design and prevent errors.
- Use a sharp blade and maintain a consistent cutting pressure to prevent uneven cuts or damage to the vinyl.
- Cut slowly and carefully, using a steady, smooth motion to prevent mistakes or errors.

Applying and Installing Your Vinyl Design
Once your design is printed and cut, it's time to apply and install it. Here are a few tips to keep in mind:
- Use a high-quality transfer tape to apply the vinyl to your surface, ensuring a smooth, bubble-free application.
- Apply the vinyl slowly and carefully, using a credit card or similar tool to smooth out air bubbles and wrinkles.
- Ensure the surface is clean and dry before applying the vinyl, and avoid applying the vinyl in extreme temperatures or humidity.
Tips for Installing Oracal 1917 Inkjet Vinyl:
- Use a level and measuring tape to ensure the vinyl is applied straight and evenly.
- Apply the vinyl in small sections, using a credit card or similar tool to smooth out air bubbles and wrinkles as you go.
- Avoid applying the vinyl over curved or irregular surfaces, as this can cause air bubbles or wrinkles.

Troubleshooting Common Issues
As with any vinyl material, there may be times when you encounter issues with Oracal 1917 Inkjet Vinyl. Here are a few common problems and solutions:
- Air bubbles or wrinkles: Use a credit card or similar tool to smooth out air bubbles and wrinkles as you apply the vinyl.
- Incorrect color or finish: Check your printer settings and ink levels to ensure the correct color and finish are being produced.
- Vinyl not adhering: Ensure the surface is clean and dry, and apply the vinyl slowly and carefully to prevent air bubbles or wrinkles.
Oracal 1917 Inkjet Vinyl Image Gallery


We hope these tips and tricks have been helpful in working with Oracal 1917 Inkjet Vinyl. Whether you're a seasoned pro or just starting out, this versatile material is sure to provide excellent results. Don't be afraid to experiment and try new things – and don't hesitate to reach out if you have any questions or need further guidance. Happy crafting!